
Dia de los Muertos is coming up, which puts sugar skulls on the brain. (Yes, pun intended.) In this tutorial, I show you how to paint a sugar skull design on wood. Some of my favorite artists have been using wood as a surface for their beautiful artworks, and I can’t get over how much I love the way it looks. The smooth surface and the wood grain add something different to a painting, as opposed to using a canvas.
Here are the supplies you’ll need for this sugar skull project:
- 3/4″-thick piece of plywood measuring 8″ x 10″ — use birch, maple, etc
- Wood plaque (*if you are not using plywood)
- Sandpapers, both medium and fine grit
- Black Sharpie marker
- Painter’s Neon Paint Pens
- Liquitex Basics acrylic paint in black, purple, and light pink
- Liquitex Matte Medium
- Large flat brush
- #6 round brush
- Fine-tip round brush for outlining
- Skull drawing, to be transferred onto the wood
- Graphite paper
- Ballpoint pen
- Blue painter’s tape
- Sawtooth hanger
- Hammer
- Needle-nose pliers
- Rag
First you need to sand and prep your wood first. I like using various kinds of wood, but for this project I stuck with plywood. Work on sanding the edges and the surface with a medium-grit sandpaper. Finish sanding with a fine-grit sandpaper to make the wood smooth. After sanding, use a dry rag to wipe away any dust.
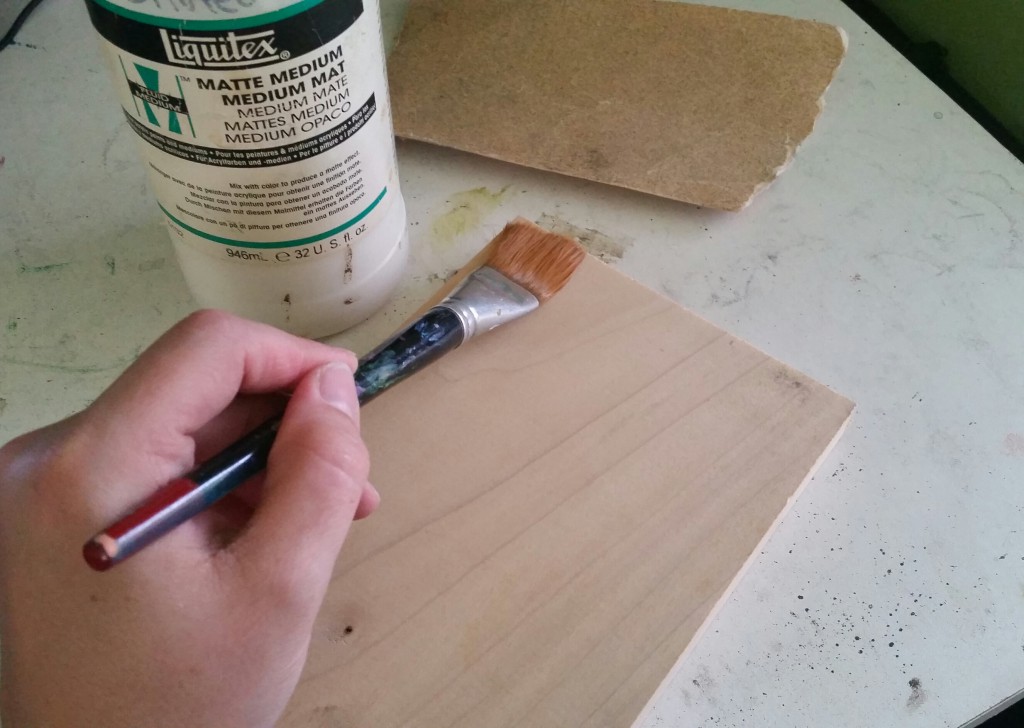
To prep the wood, apply a thin layer of Liquitex Matte Medium all over the surface. Spread it evenly with a large flat brush. Let the liquid dry for at least two hours. This step helps the paint stick without soaking into the wood and creating bleeding edges.
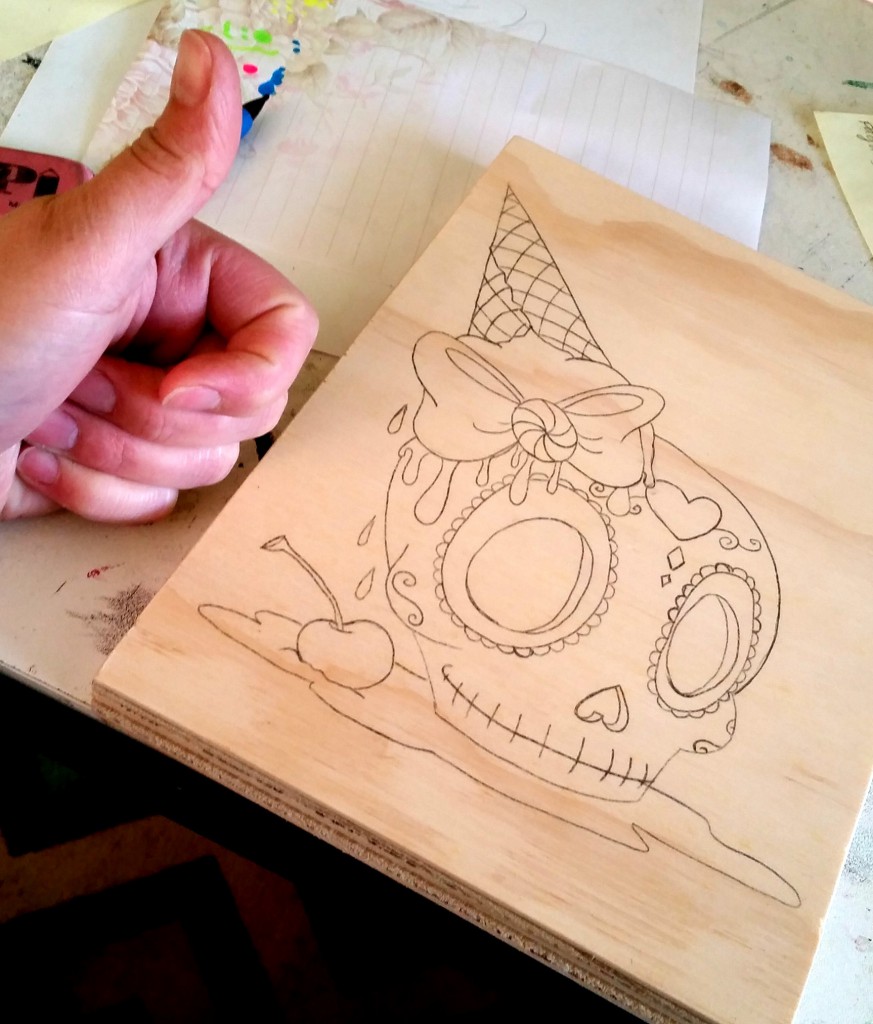
Next, transfer the drawing onto the wood using graphite paper. Blue painter’s tape can keep the graphite paper — and thus your drawing — in place. Pushing firmly with the tip of a pen, carefully trace your drawing. Remove the drawing paper and the graphite paper from the wood. Use an eraser to clean up any unwanted markings.
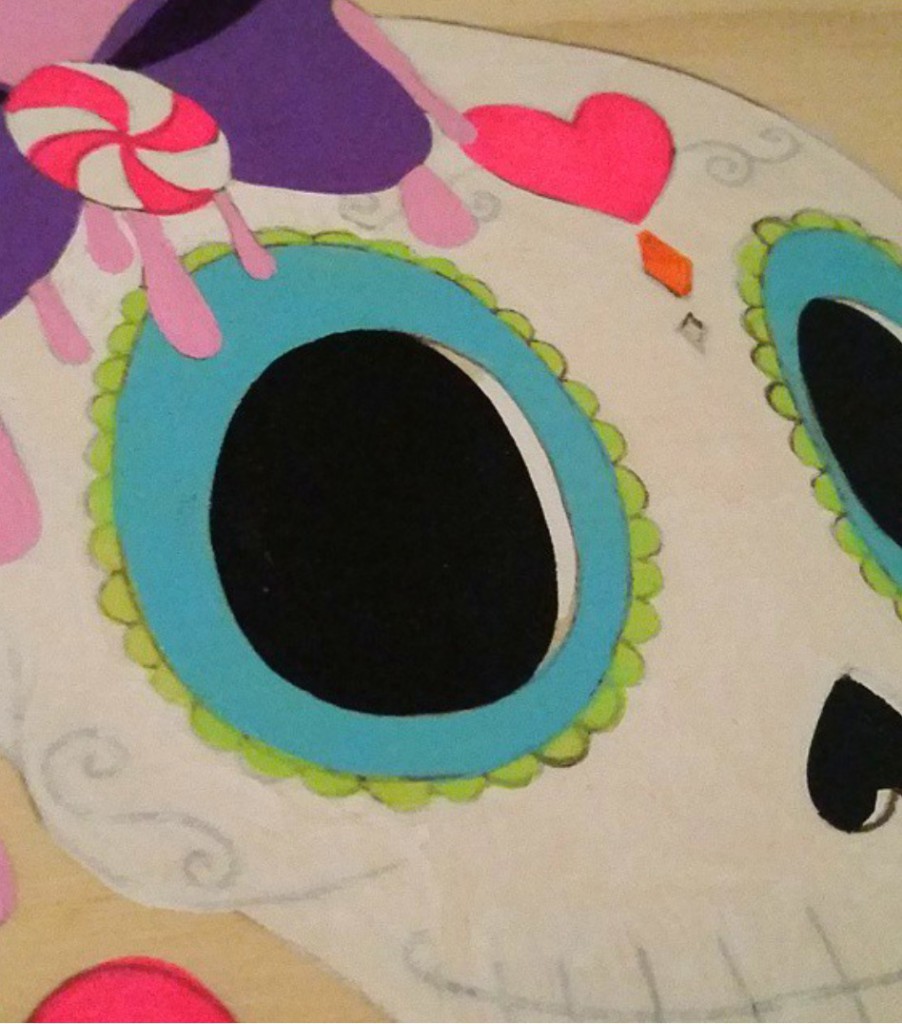
Now it’s time to start applying the paint. If you have not used your Painter’s Neon Paint Pens yet, shake each pen well and press the tip repeatedly on a paper surface to get the paint flowing. You do not want the paint to be gushing out, so use caution. Once the paint pens are workable, slowly paint in your design. I wanted to add a few colors that I did not have in my set of paint pens, so I mixed purple and light pink acrylic paint for the bow and the ice cream.
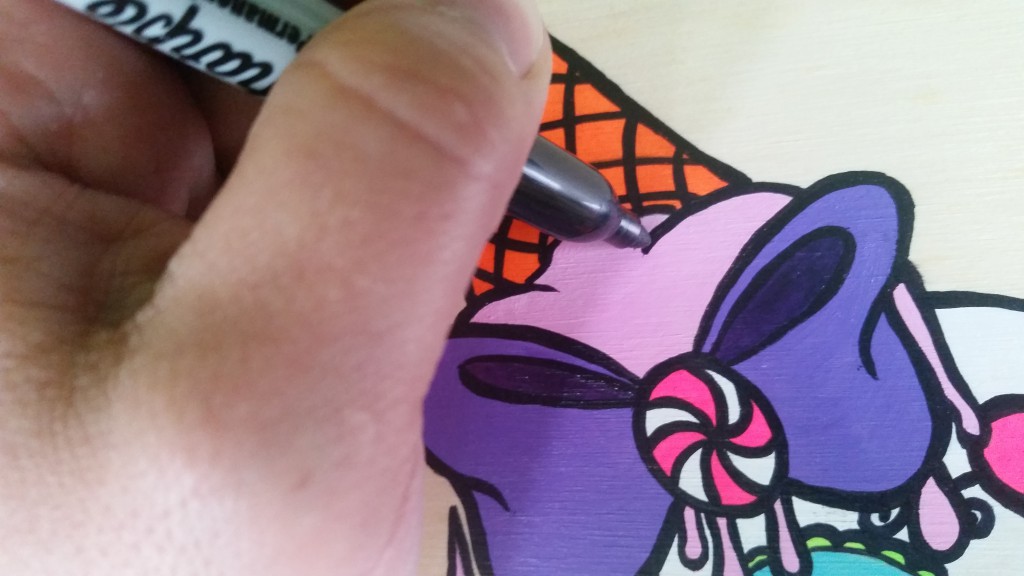
After you’ve finished painting on the colors, use a black Sharpie marker to outline the large areas. Around the eyes and in smaller areas, I used a fine-tip brush for detail work. When outlining with acrylic paint, it is best to add a little extra water to the paint, to thin it. This helps the brush glide across the surface and gives you very fine lines. If you have enough control with a paint brush, I do suggest outlining the entire piece with black paint for consistency.
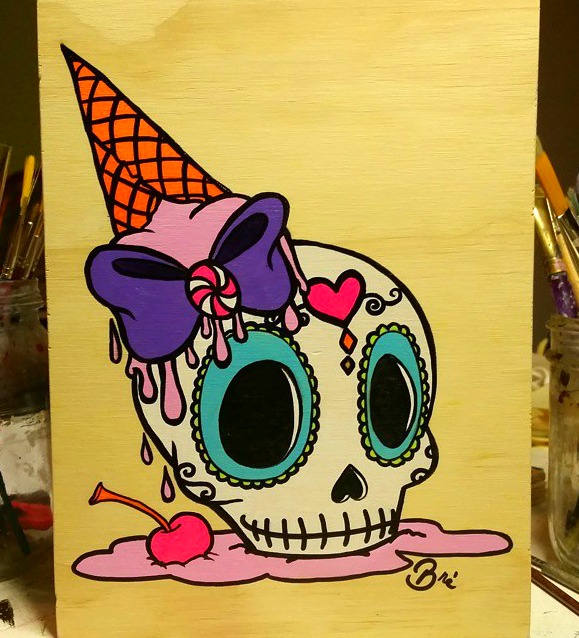
Let the paint dry completely. Turn over the wood and measure where the center is, along the top edge. Using a hammer, attach the sawtooth hanger at the center point of your board, roughly 1/2″ below the top edge. Use a pair of needle-nose pliers to hold the tiny nails in place while you’re nailing them into the wood. When this is complete, your painting is ready to be hung!
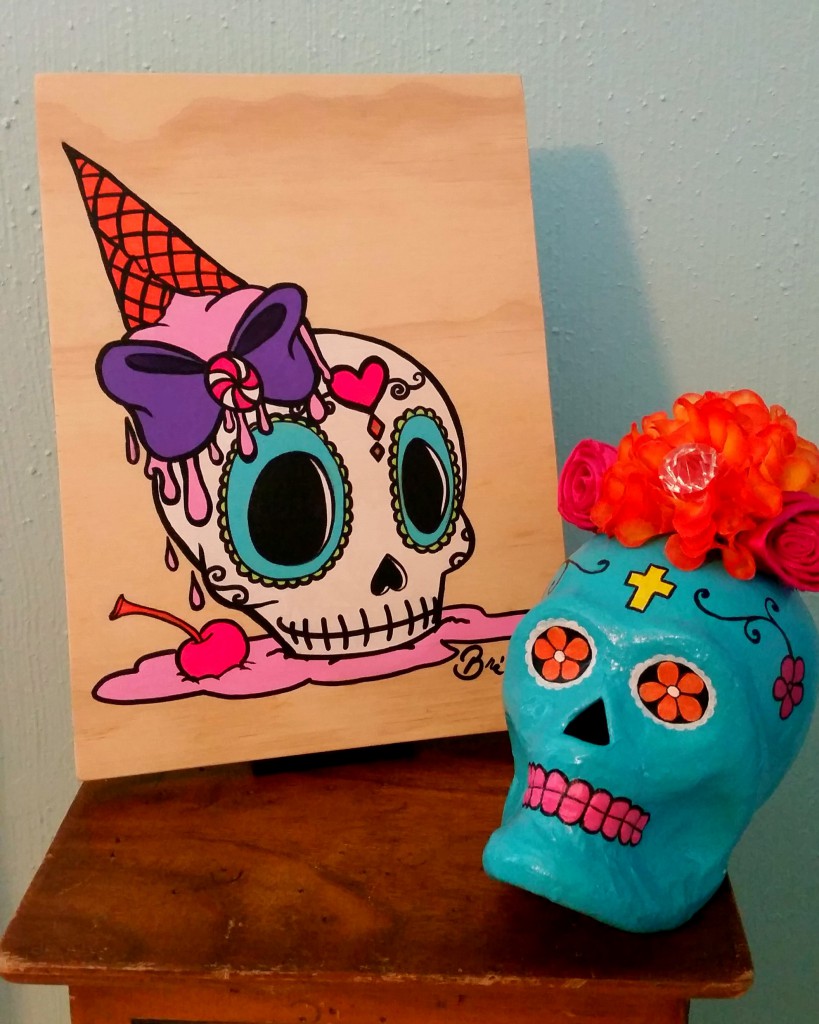
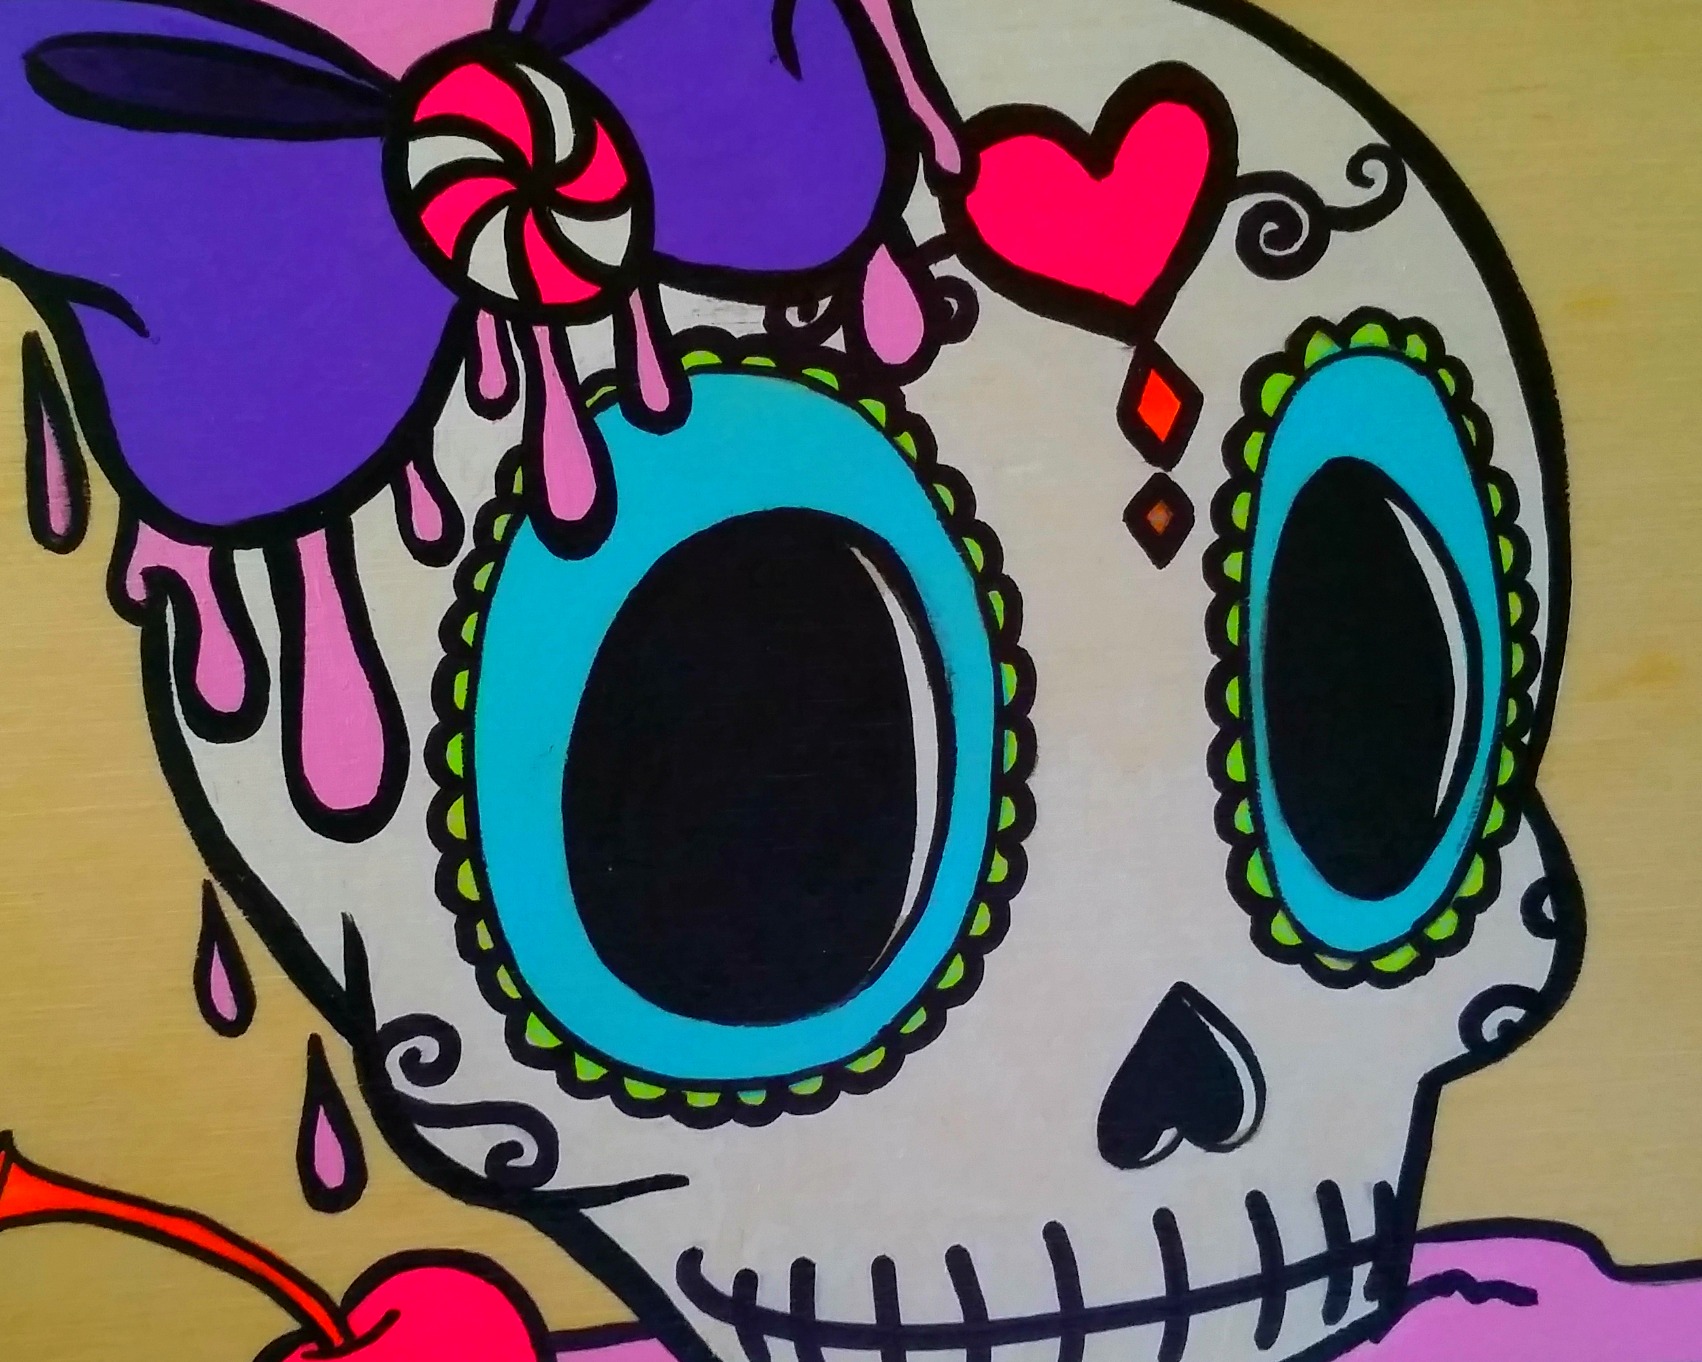
Here is my sugar skull painting on display.
Leave a Reply