Assemblage artists combine found objects to create a layered, three-dimensional collage. Assemblage (pronounced “ah-sem-blahj”) is a cross between scrapbooking and sculpture. The found objects used in assemblage art are incorporated into a multi-textural 3D work. The components are usually fastened to a box, frame, or sturdy canvas.
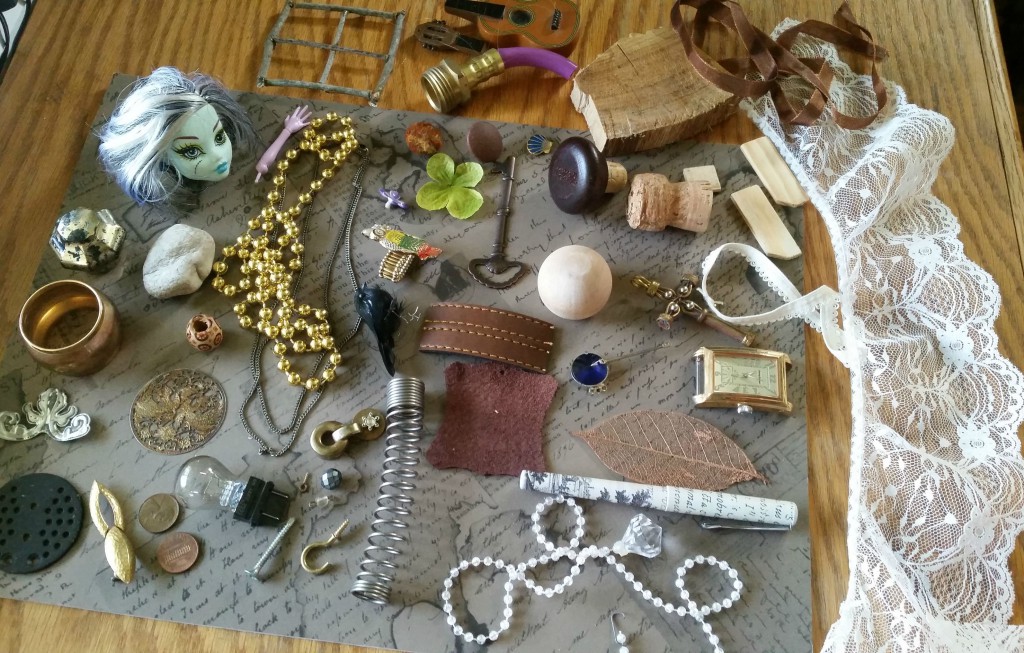
In this tutorial, I am going to show you how to create an assemblage artwork. I used found objects that were floating around in my studio.
Supplies:
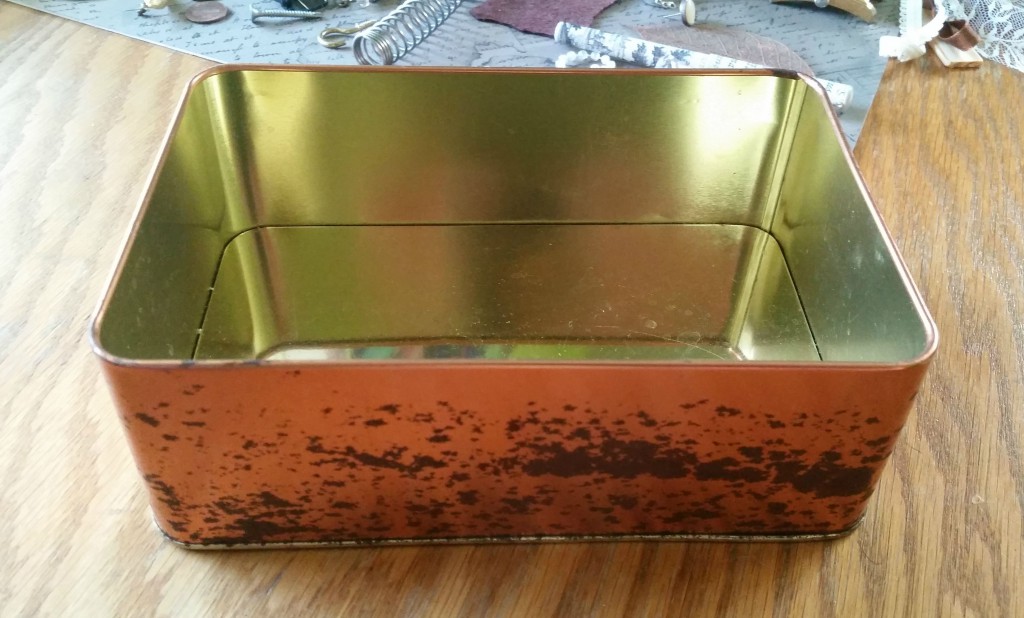
- frame, box, or container to hold your assemblage piece
- wood scraps: dowels, balls, plywood pieces, blocks
- metal items: keys, springs, hardware, jewelry
- fabric scraps, ribbon, lace
- doll parts
- acrylic paint
- cardboard or matte board
- X-ACTO blade
- scrapbook papers
- E6000 glue
- glue gun
- Rust-Oleum 2X Ultra Cover Spray Paint, black
- Krylon Fusion spray paint for plastic and metal, white and dark orange
- metal punch tool (I used a single-prong corncob holder)
- craft wire
- old paint brush
- Tulip white matte fabric paint
- masking tape
- newspaper for masking while painting
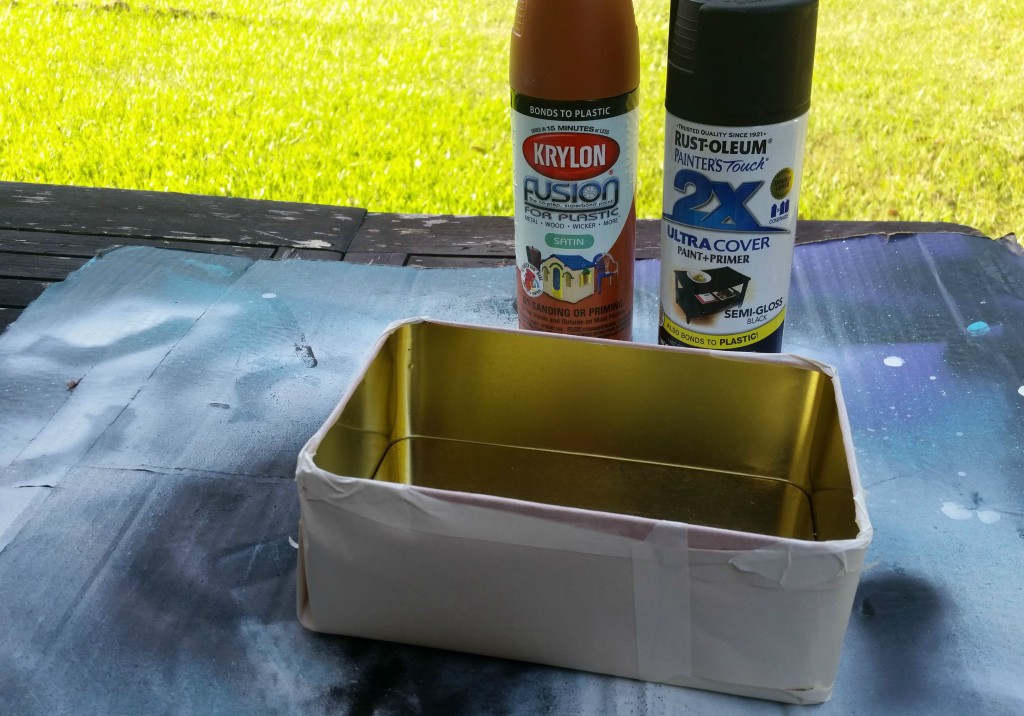
First, you will prep and paint your frame or box if needed. I am using a rusted copper-colored tin, but the inside needs to be painted to look old and worn. The bottom of the tin will be covered with various papers and textures so I am concentrating on covering the sides with paint only. I taped off the outer area of the tin to protect it from the spray paint.
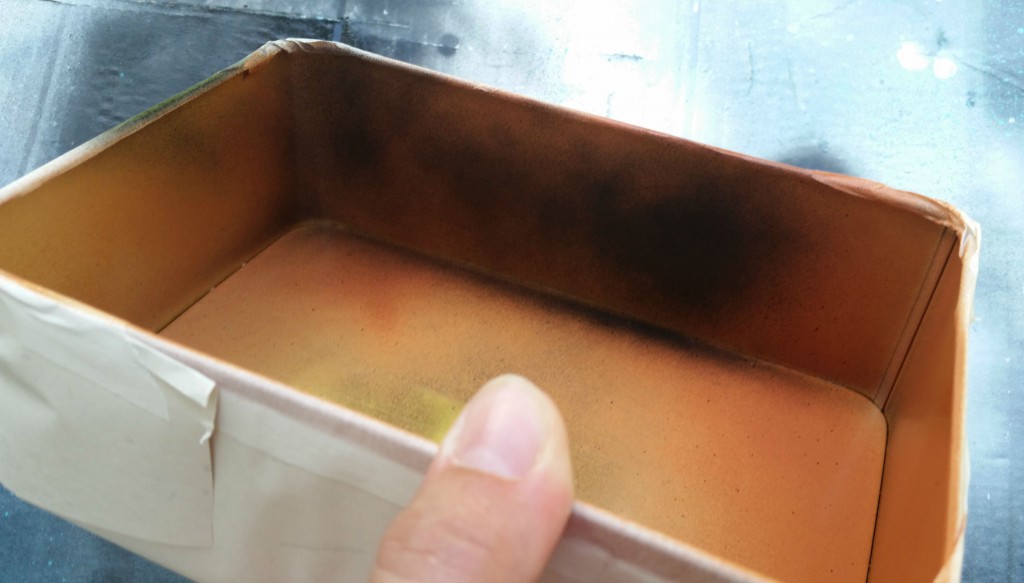
Using a very light amount of paint, starting with the dark orange. Spray the insides of the tin. Next, add a thin, uneven layer of black and then repeat with the dark orange again until the surface looks like it is worn. Remove the tape and paper after the paint has dried.
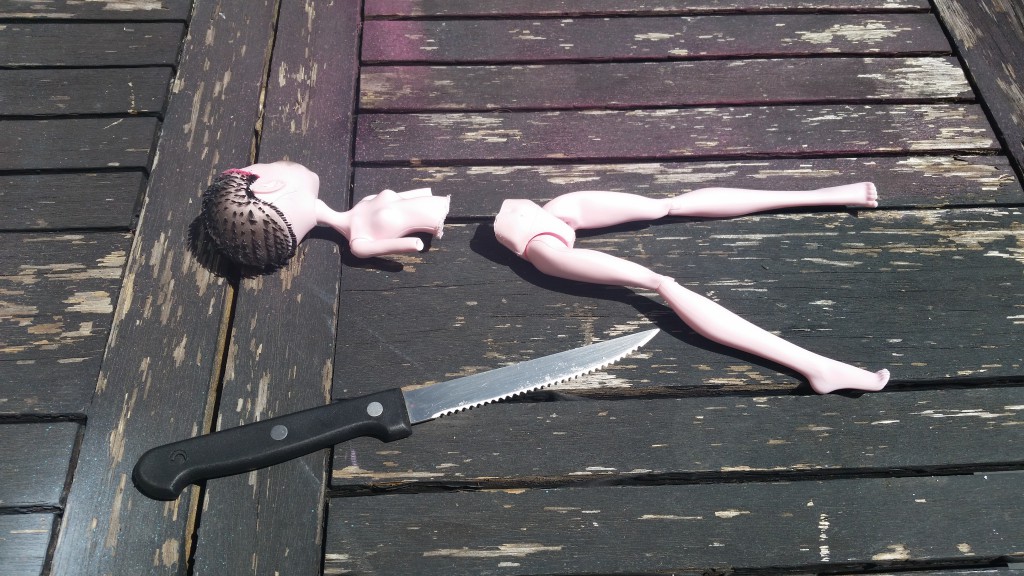
I wanted an antique porcelain doll to be the centerpiece of this assemblage project. Instead of going on a treasure hunt at local thrift shops, I tried using a doll that was already handy. A friend had given me some old unwanted Monster High dolls to use in art projects a while back.
I only needed half of a doll, so I got to saw one in two! As you can see, I used a plain steak knife to saw through the waist of the doll. It was not very hard to cut apart. Before I cut her in half, I took some scissors to her hair to make her bald.
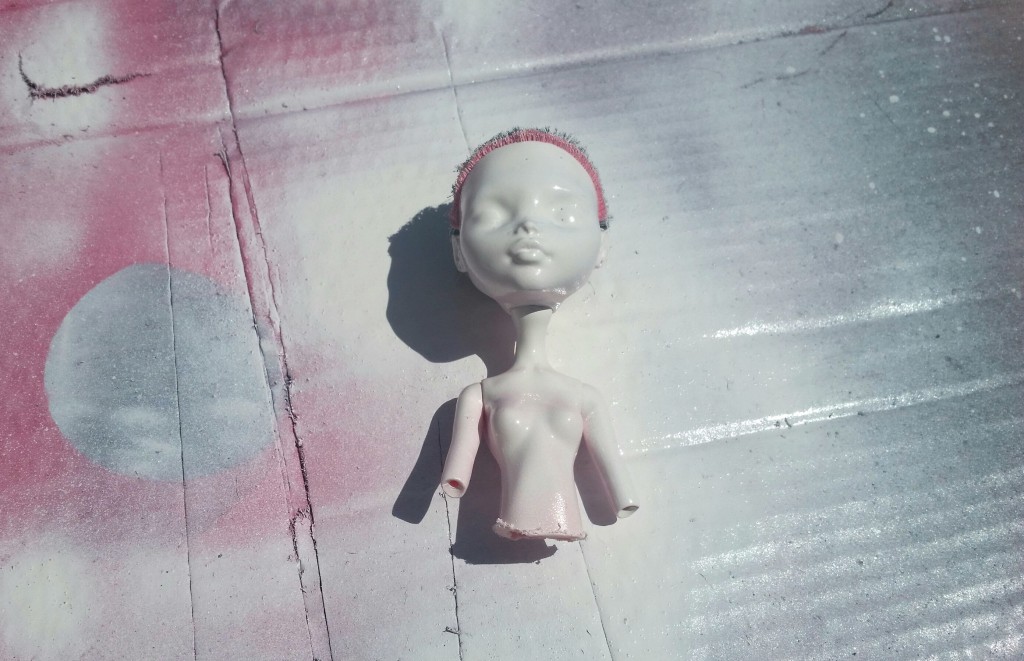
Using a white plastic spray paint, paint the entire doll. Let dry and repeat until she is evenly coated. When the paint has dried, you will then paint the hair. My spray paint did not stick to her hair spikes so I used Tulip white matte fabric paint and a brush to touch it up.
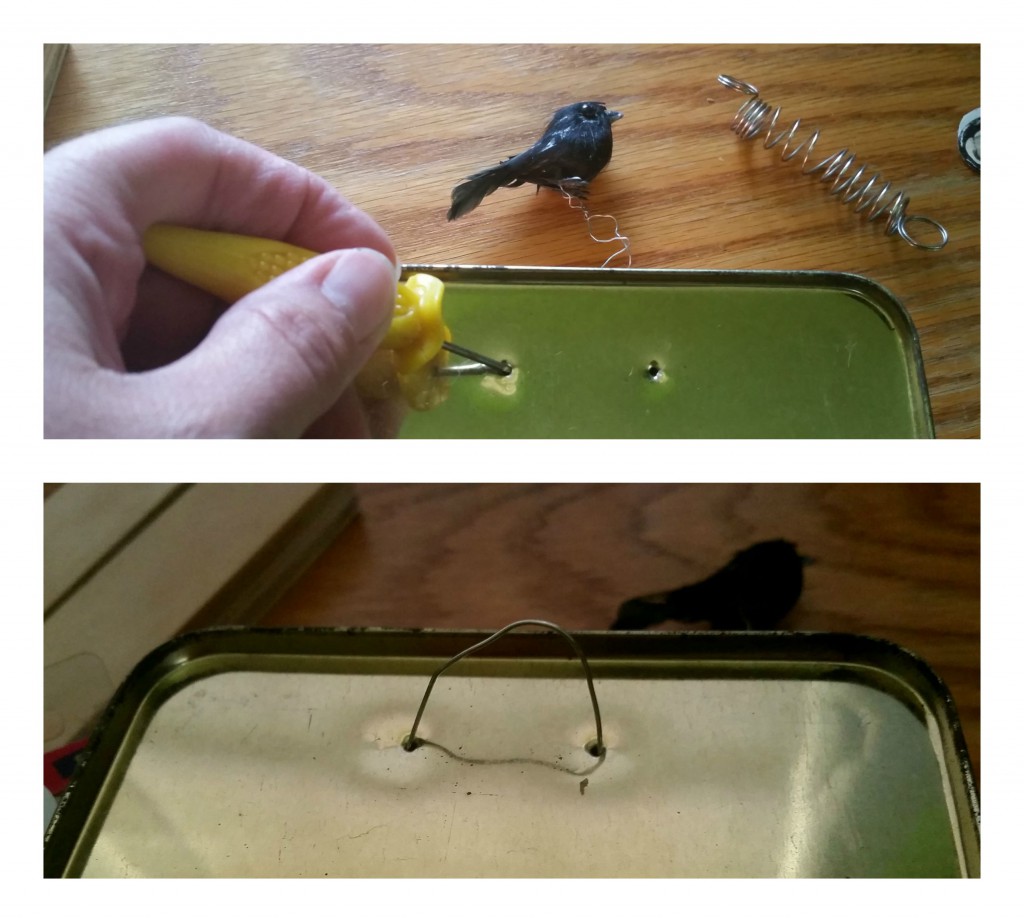
As the doll’s hair dried, I began to prepare items for the inside of my tin. I needed to come up with a way to hang this piece and decided that wire would support the weight.
I used a one-prong broken corncob holder to pierce through the metal in two places. I fed craft wire through the holes to create an arch on the back. Make sure this loop or arch does not stick up over the top edge of the tin. Then twist the two ends together firmly so they hold in place.
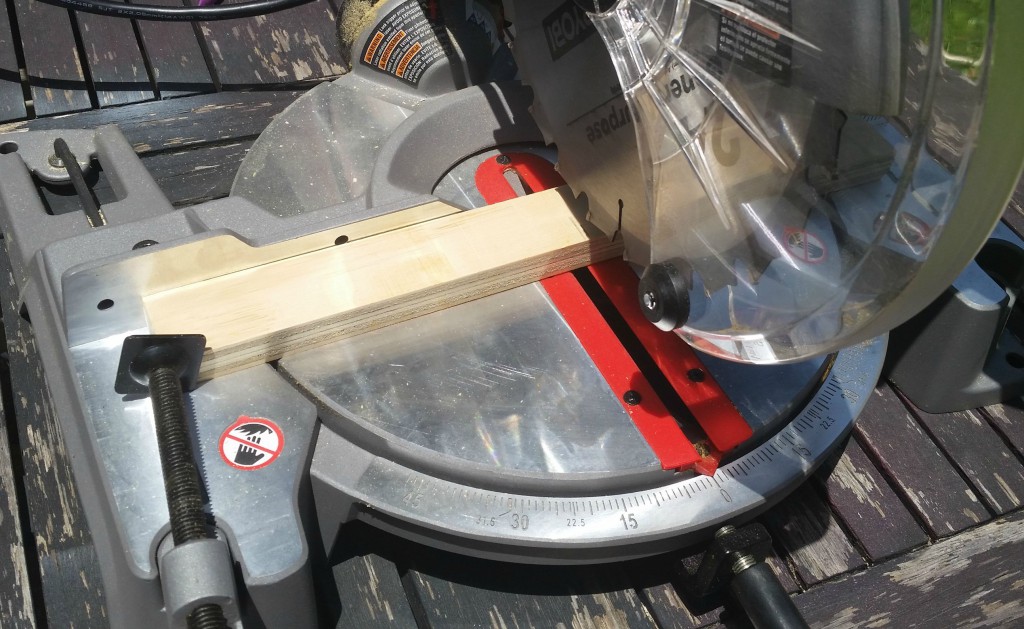
I decided that the tin I was using was too deep so I needed add some bracing in the bottom so the back wall would sit up closer to the opening. I had some scraps of plywood that I cut quickly to fit into the bottom. This also acted as a counterweight to help balance out the piece. Notice how the wire is twisted in order to stay in place and support the weight when it is later hung.
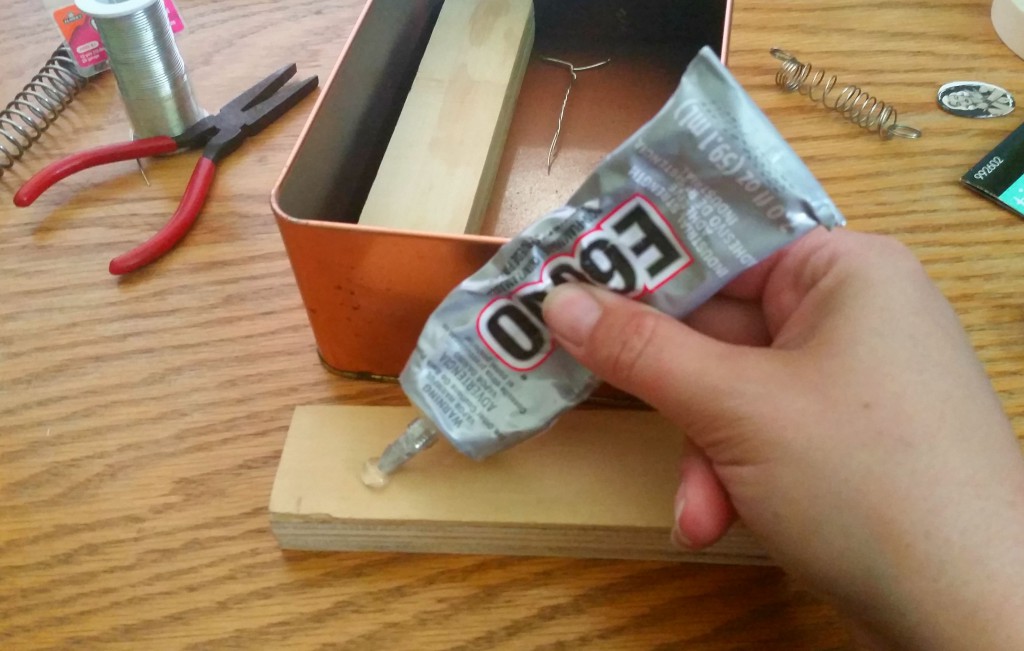
After the wood is cut to fit, use E6000 to glue it in place. Press the wood pieces firmly into the bottom of the tin.
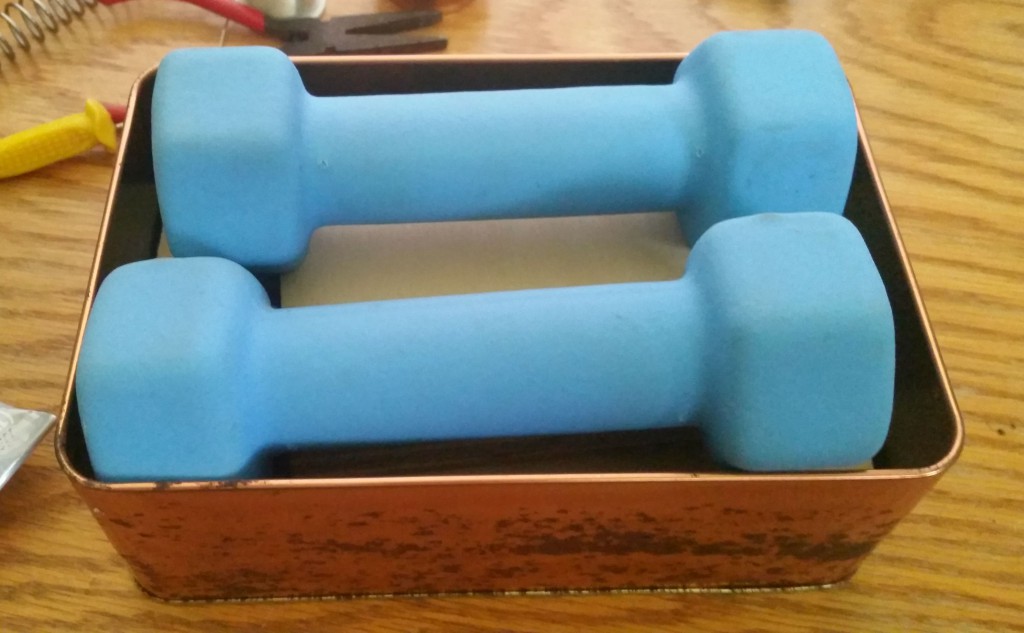
I used some hand weights to hold the wood in place while it dried, to make sure it was very sturdy.
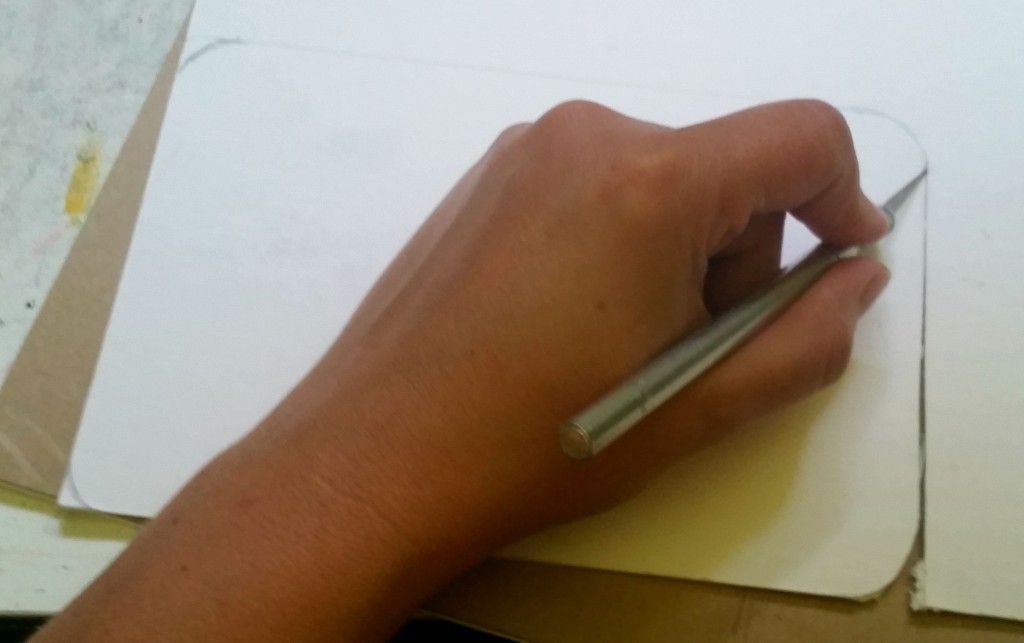
I had a piece of matte board with a pattern of aged handwritten letters and postage stamps that I wanted to use as the background of this piece. I traced the outer edge of the tin on the back side of my matte board. Using a sharp X-ACTO blade, I cut out the matte board just slightly smaller than the traced line, so it would fit inside the tin.
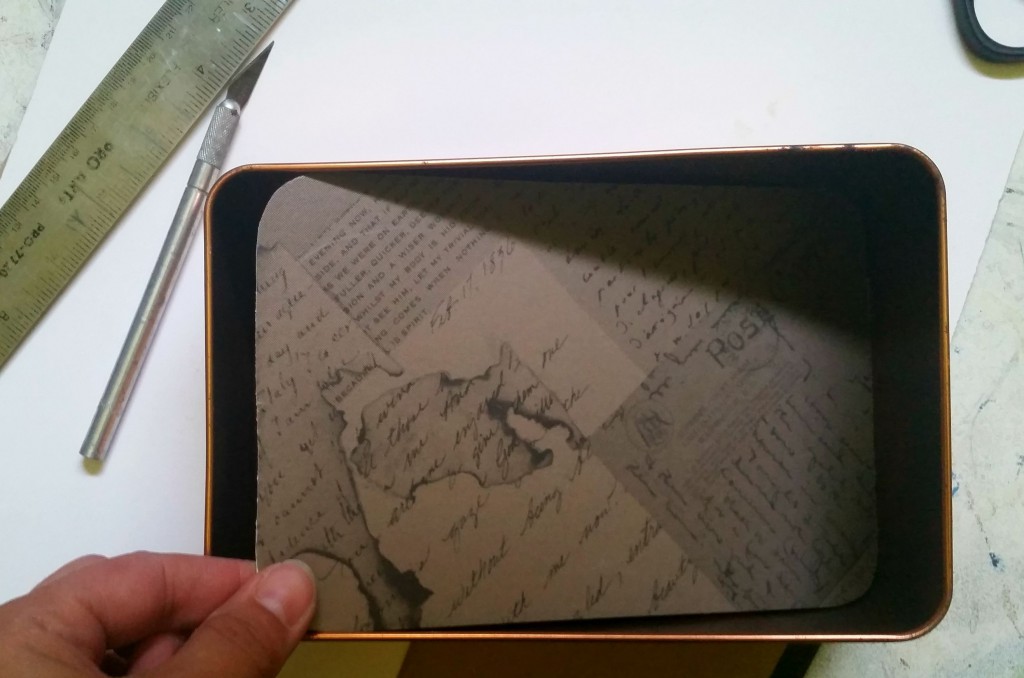
This is what the front of the matte board looks like. I inserted the piece to make sure it fit properly before proceeding to the next step.
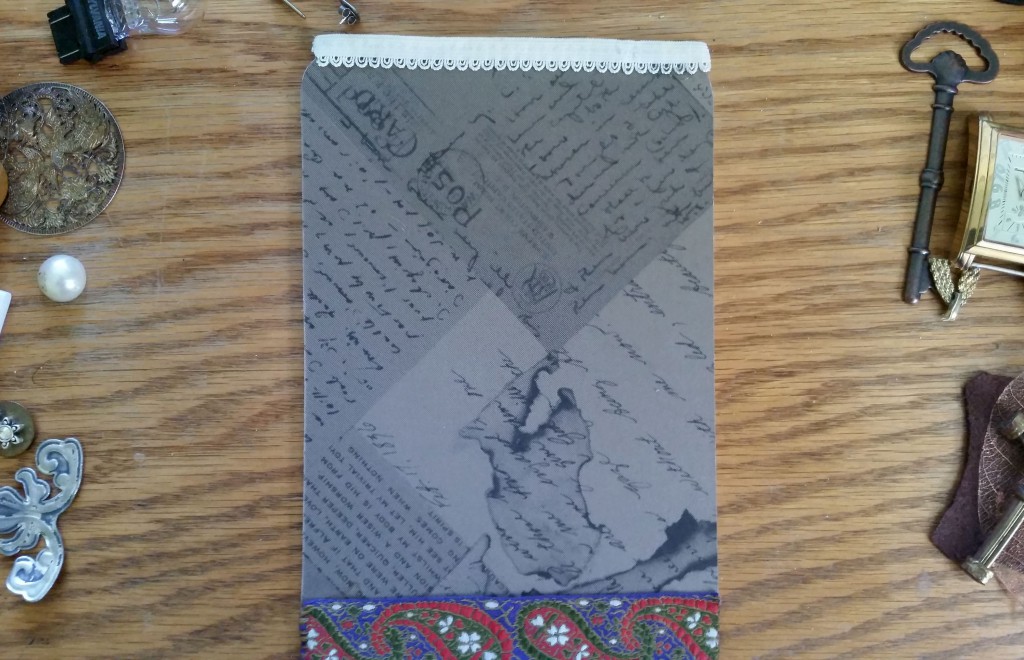
The first thing I added to my matte board was some decorative trim. I used a paisley ribbon for the bottom and a loop-lace elastic trim across the top. They were attached with the glue gun.
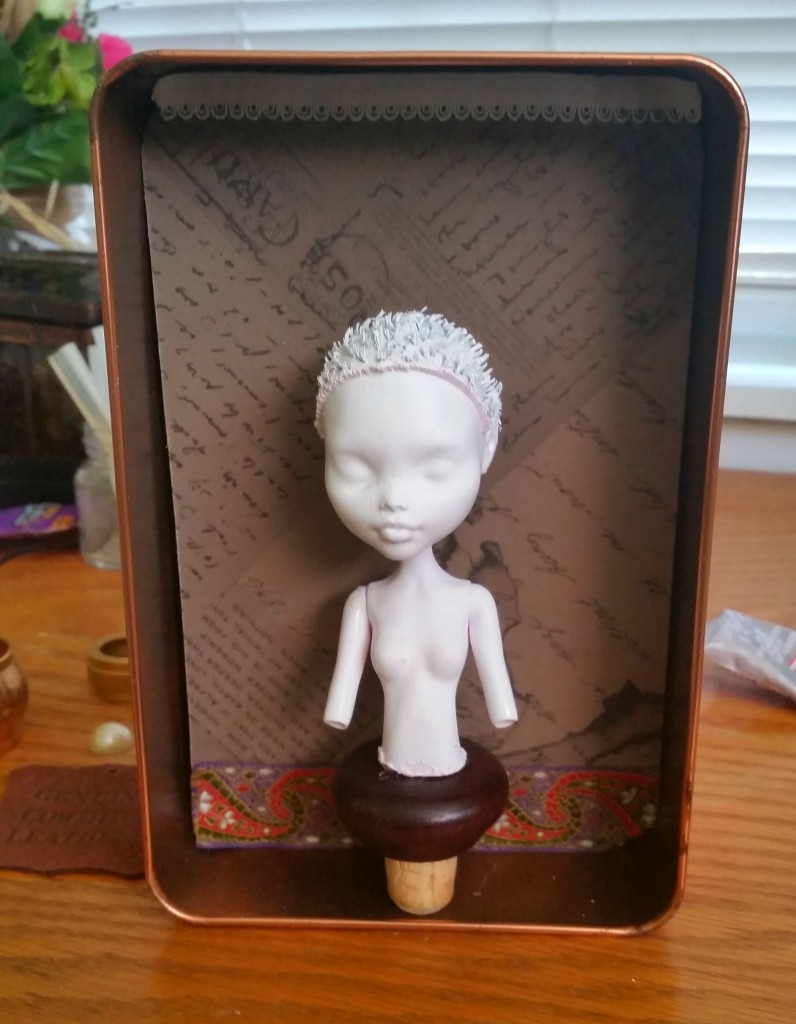
To make the doll look more complete, I add a wooden cork for the base. When you attach these two pieces with your glue gun, make sure you press them together firmly as the glue dries. At this stage, do not attach the doll to the tin yet.
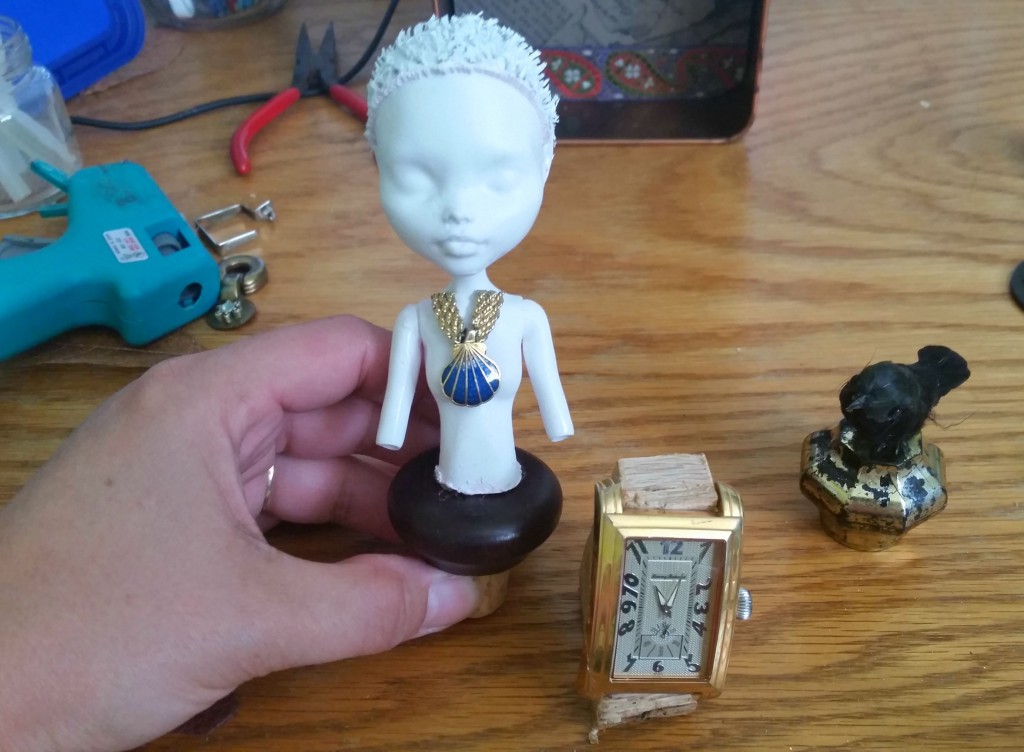
The doll needed something else to complete her, so I used two gold pieces of jewelry and joined them with hot glue to form a necklace. I wanted two taller pieces to stand on either side of her inside the tin. I used a triangular piece of wood with a watch face glued to it for one side and glued a raven to an old perfume bottle lid for the other.
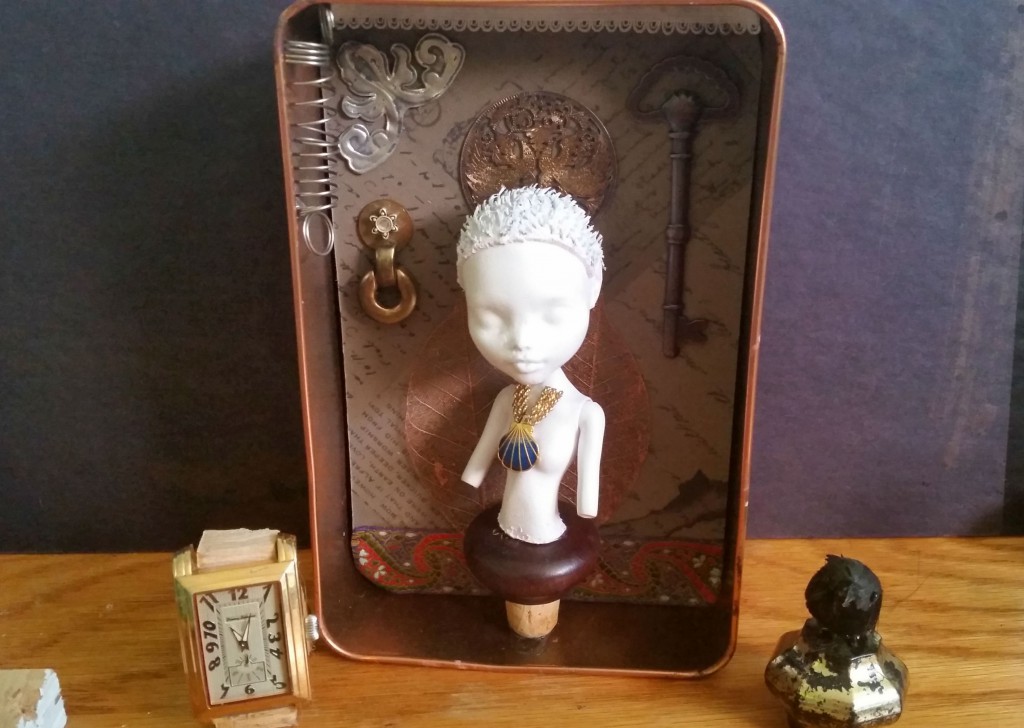
Now it’s time to start putting all the separate pieces together! First, decorate your matte board with found objects and jewelry pieces. I glued and attached many items to my background. For the back wall, I used two gold-dipped dead leaves, a key, a decorative metal photo corner, a spring, and various jewelry pieces.
Once you have the back wall complete, glue the doll in place with hot glue. I used some on the base and some on the back of her head and pressed it against the wall behind it for added stability.
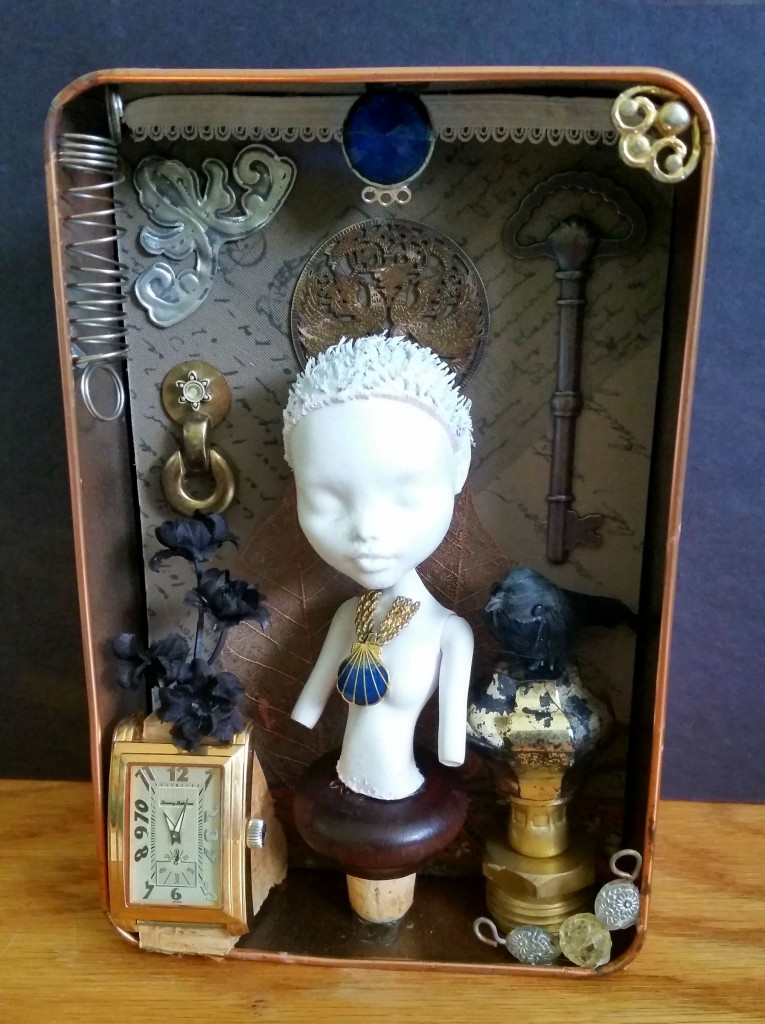
Finally, add any finishing touches that you want to your assemblage piece, then call it a day. I added flowers above the watch face with hot glue, to increase its height. On the right, I attached a hose fitting to the perfume bottle lid with my glue gun. On a few corners and at the top of the tin, I added a few more jewelry pieces and a spring to complete it.
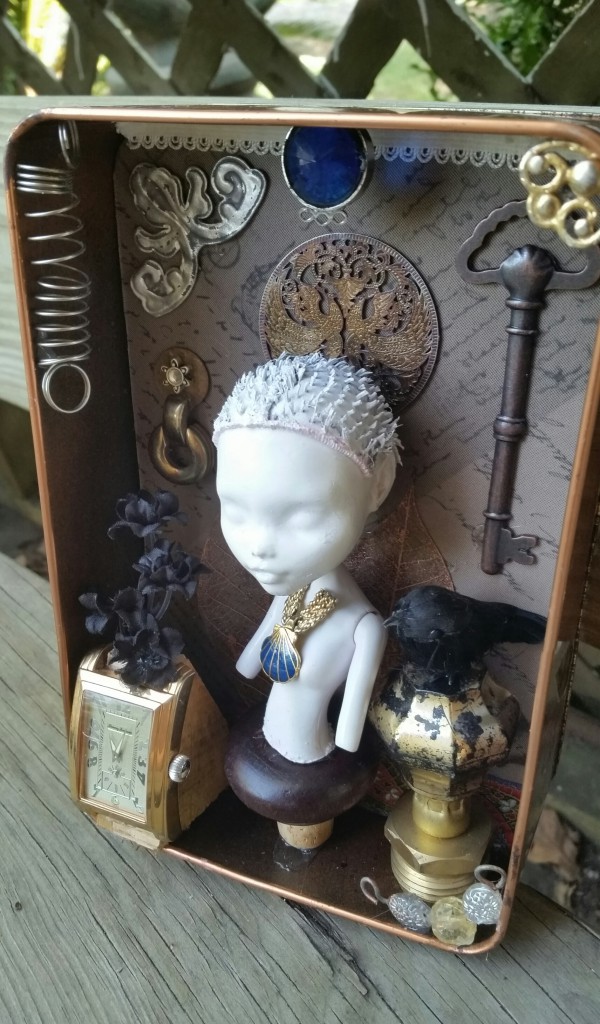
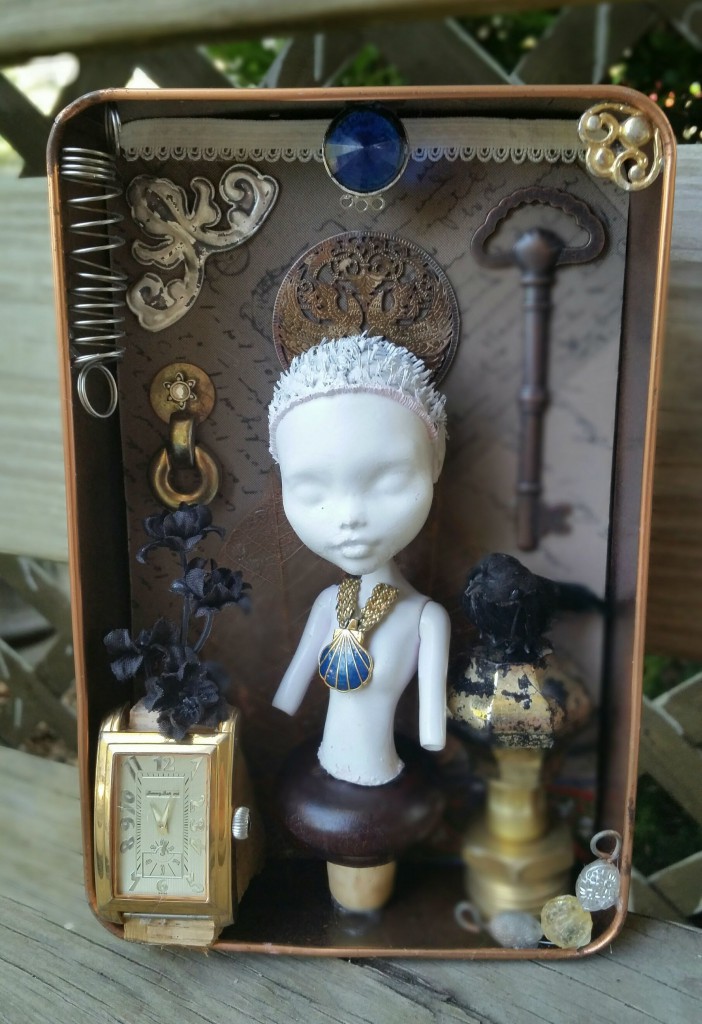
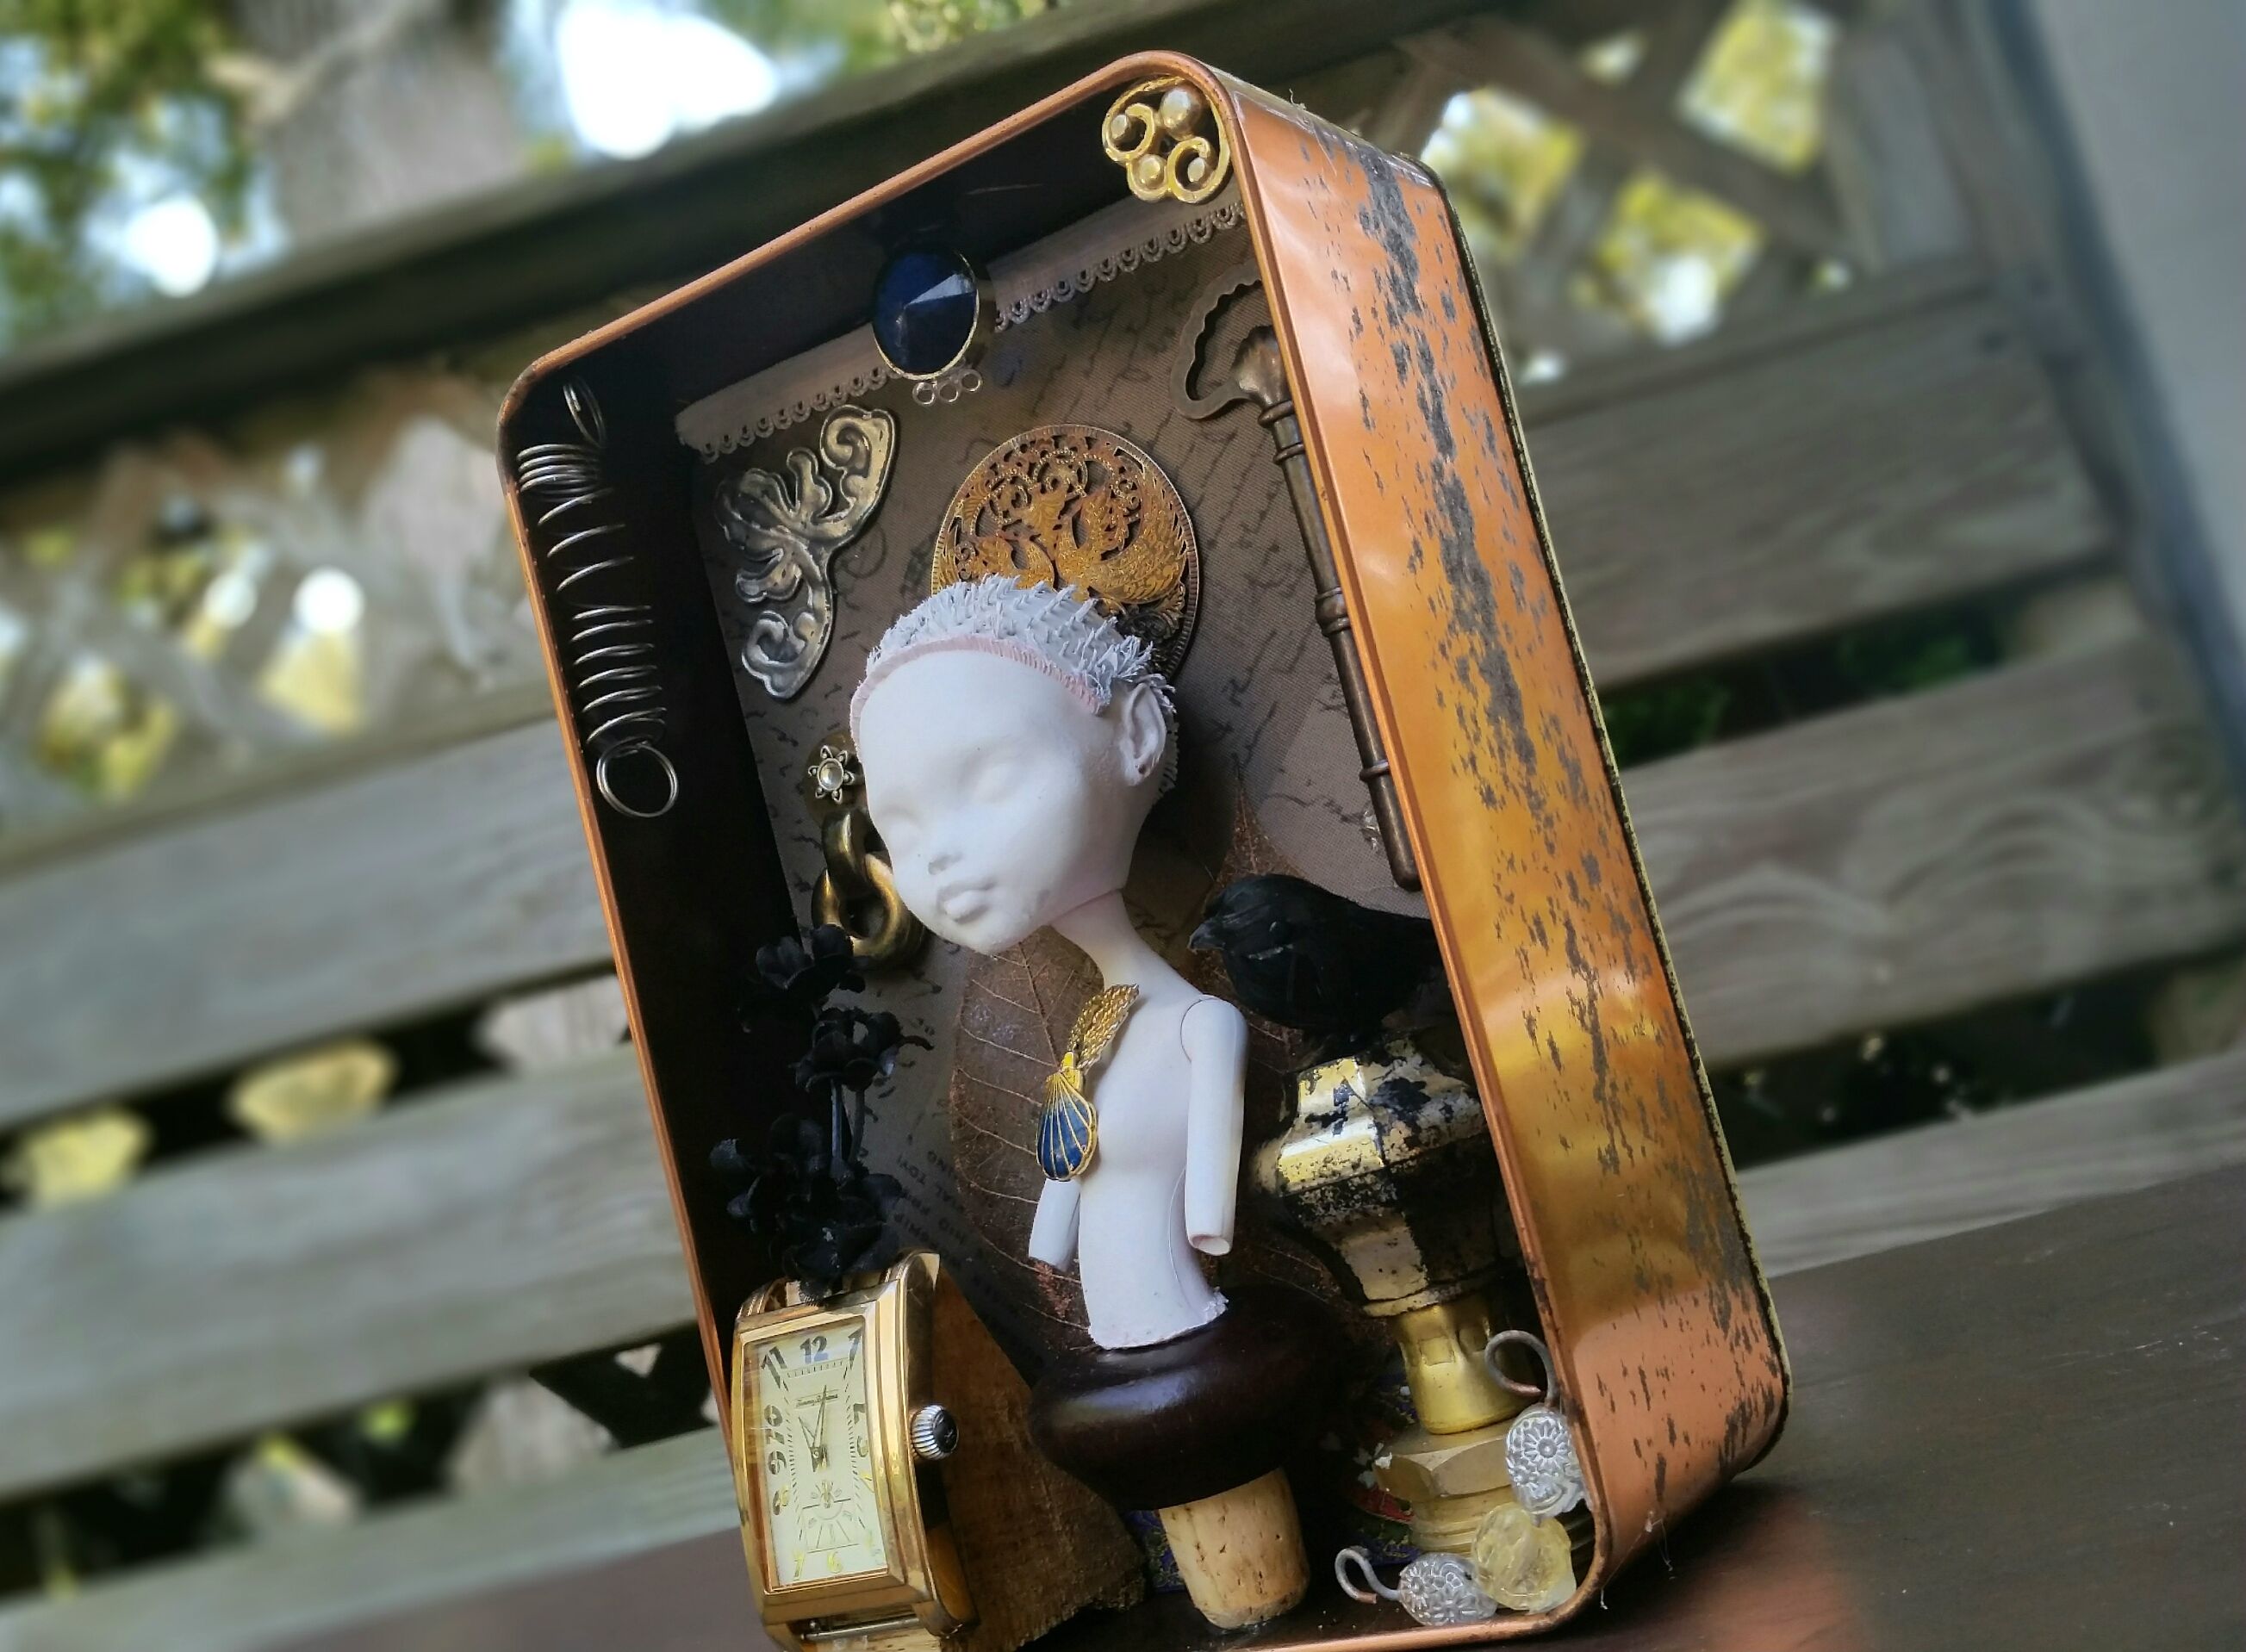
Here is another look at the finished piece. I am pretty happy with how it turned out. She will be hanging up in my studio in the near future. I hope you enjoyed the tutorial and found it helpful!
Sherrie
What a great idea. It would be fun to do one of these with little Trinkets that we’ve saved over a lifetime. A “Memory box”
Grace Brook
For the future, to remove the rest of the hair on the doll, take her head off and scrape put the glue. Just in case you wanted her completely bald and didn’t know how. Great work!