
Have you ever had a drawing that was perfect — but then when it came time to draw it again, you couldn’t reproduce the same effect as the original? When you are faced with this dilemma, there is a product that can help! Graphite transfer paper is just like that old carbon paper that people once used when pressing a receipt of a credit card. The paper is used to transfer a design onto a new surface.
Graphite transfer paper comes in the classic black color and also as a white transfer paper. The black is generally used to transfer a drawing onto a light surface, while the white paper is used for darker surfaces so that the lines will show up. Graphite transfer paper will work on all types of paper, wood, metal, ceramics and other surfaces and can be used over and over again.
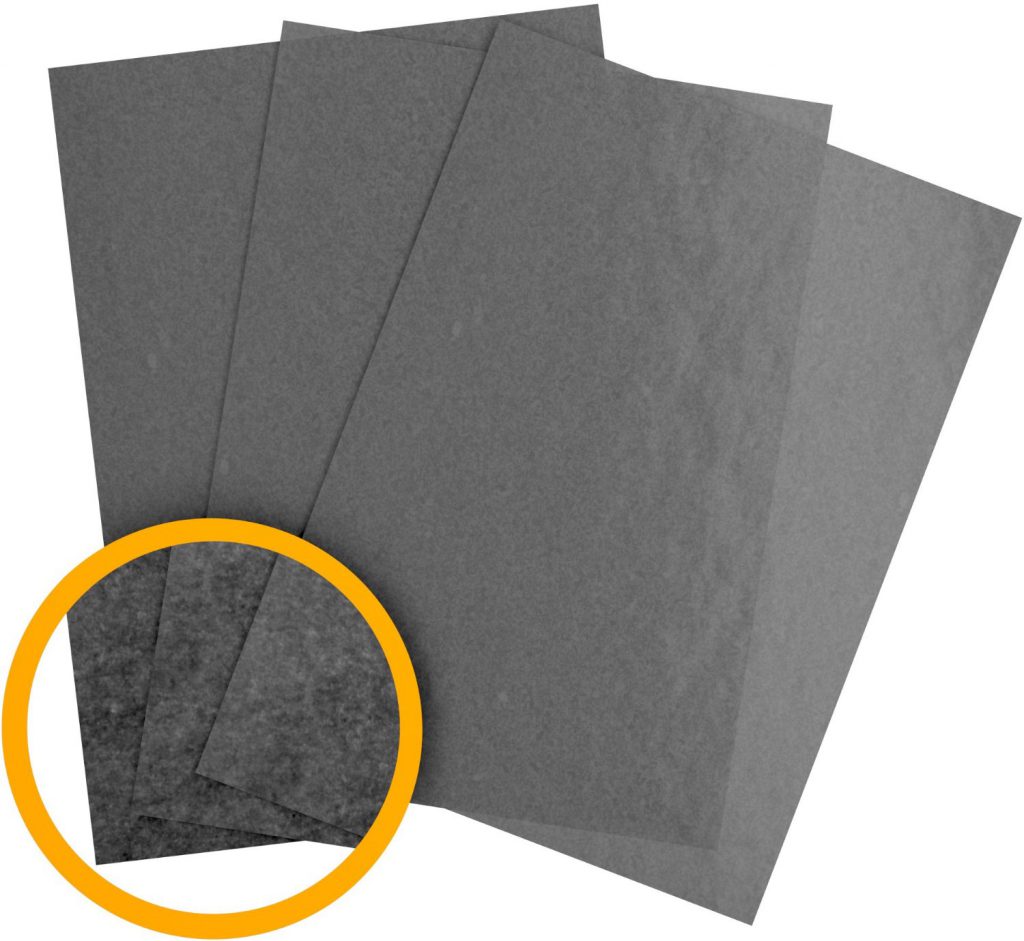
Image of graphite transfer paper via Amazon.
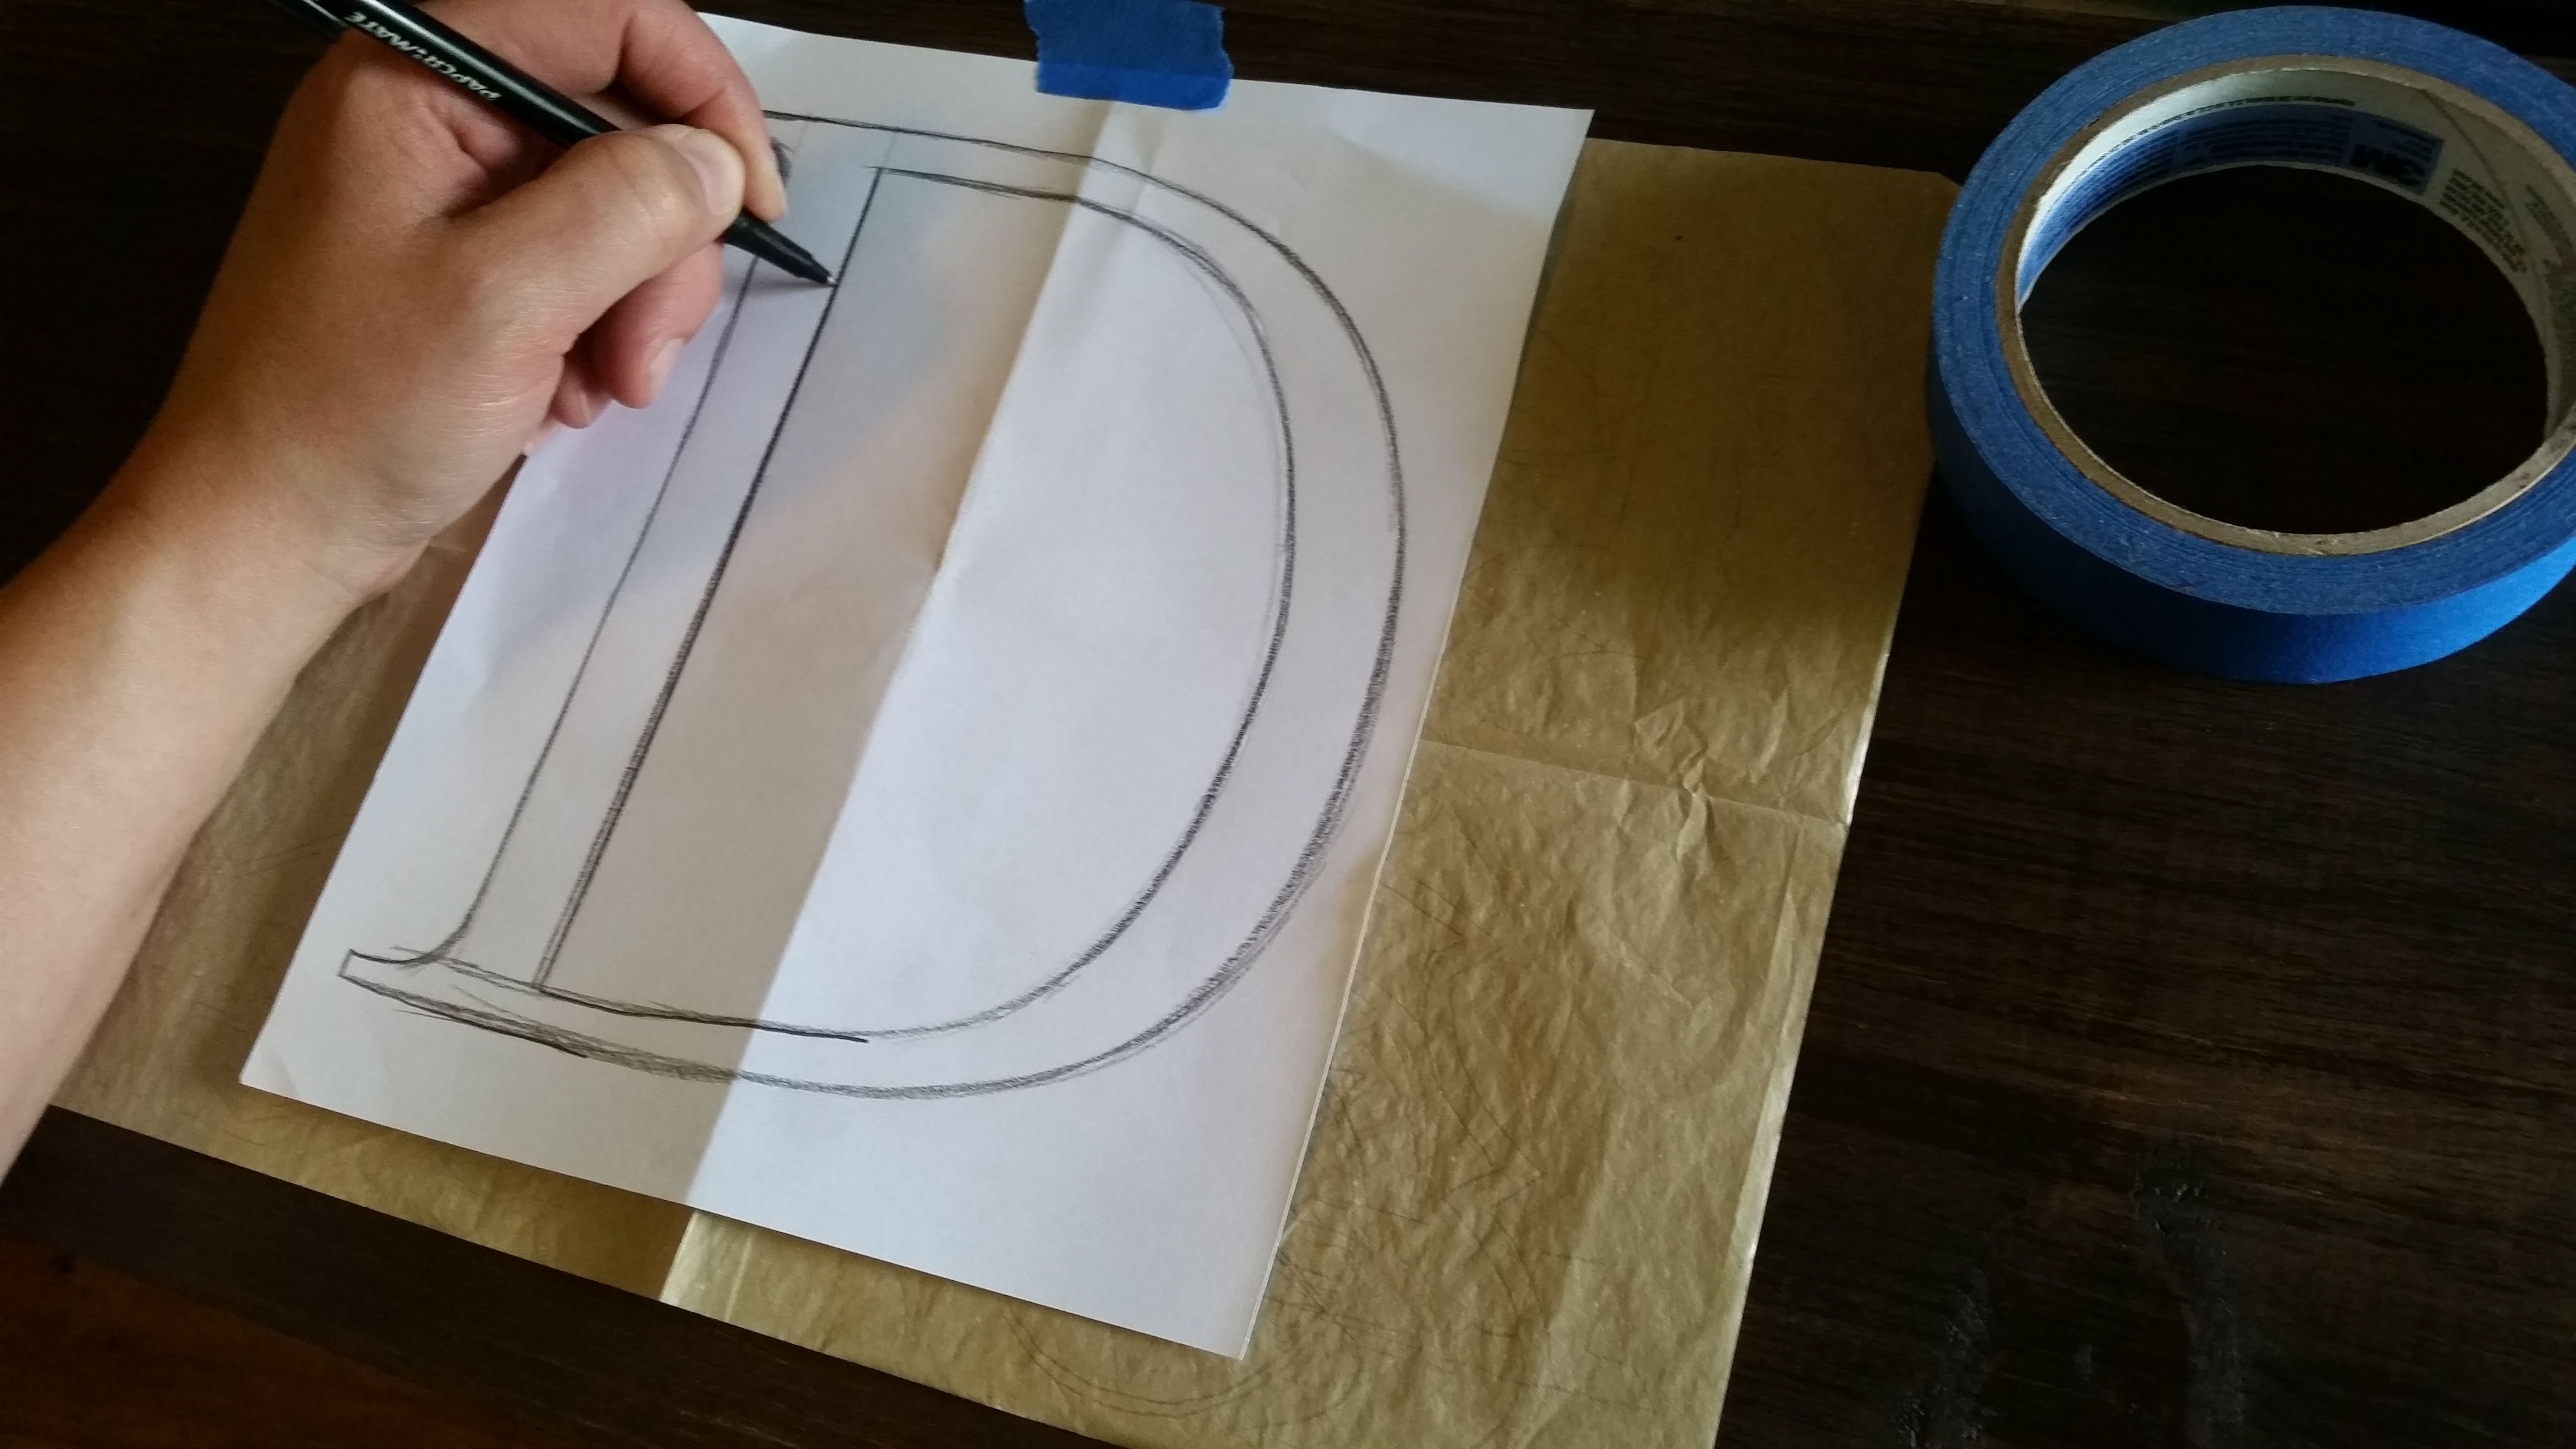
To use graphite transfer paper, start with your drawing (or if you prefer to keep the original, make a copy of it). Choose a surface that you’ll be transferring the artwork onto, and lay it down first. Then lay your graphite transfer paper on top of the blank surface. Lay your drawing on top of the transfer paper, and gently use painter’s tape to tape it to the bottom surface. You do not want your drawing to move at all or the design will not line up onto the new surface.
Then using a regular ballpoint pen, trace over the lines until you have done the entire drawing. Remove the drawing, tape, and transfer paper — your design will be on your new surface! If you press a lot with your fingers or make unwanted marks, they will generally transfer onto your surface as well. Just take an eraser and clean up all the unwanted marks. Then your artwork is ready to be inked, colored, or painted.
Leave a Reply