
There is something very convenient about having a big box of plywood scraps lying about. I have been using these wood scraps for so many decorative sign projects from sports teams, to chevron patterned signs with lettering, to inspirational scriptures and more. This project is very quick and easy for you to make to add to your holiday decor to to give away as a gift.
Supplies:
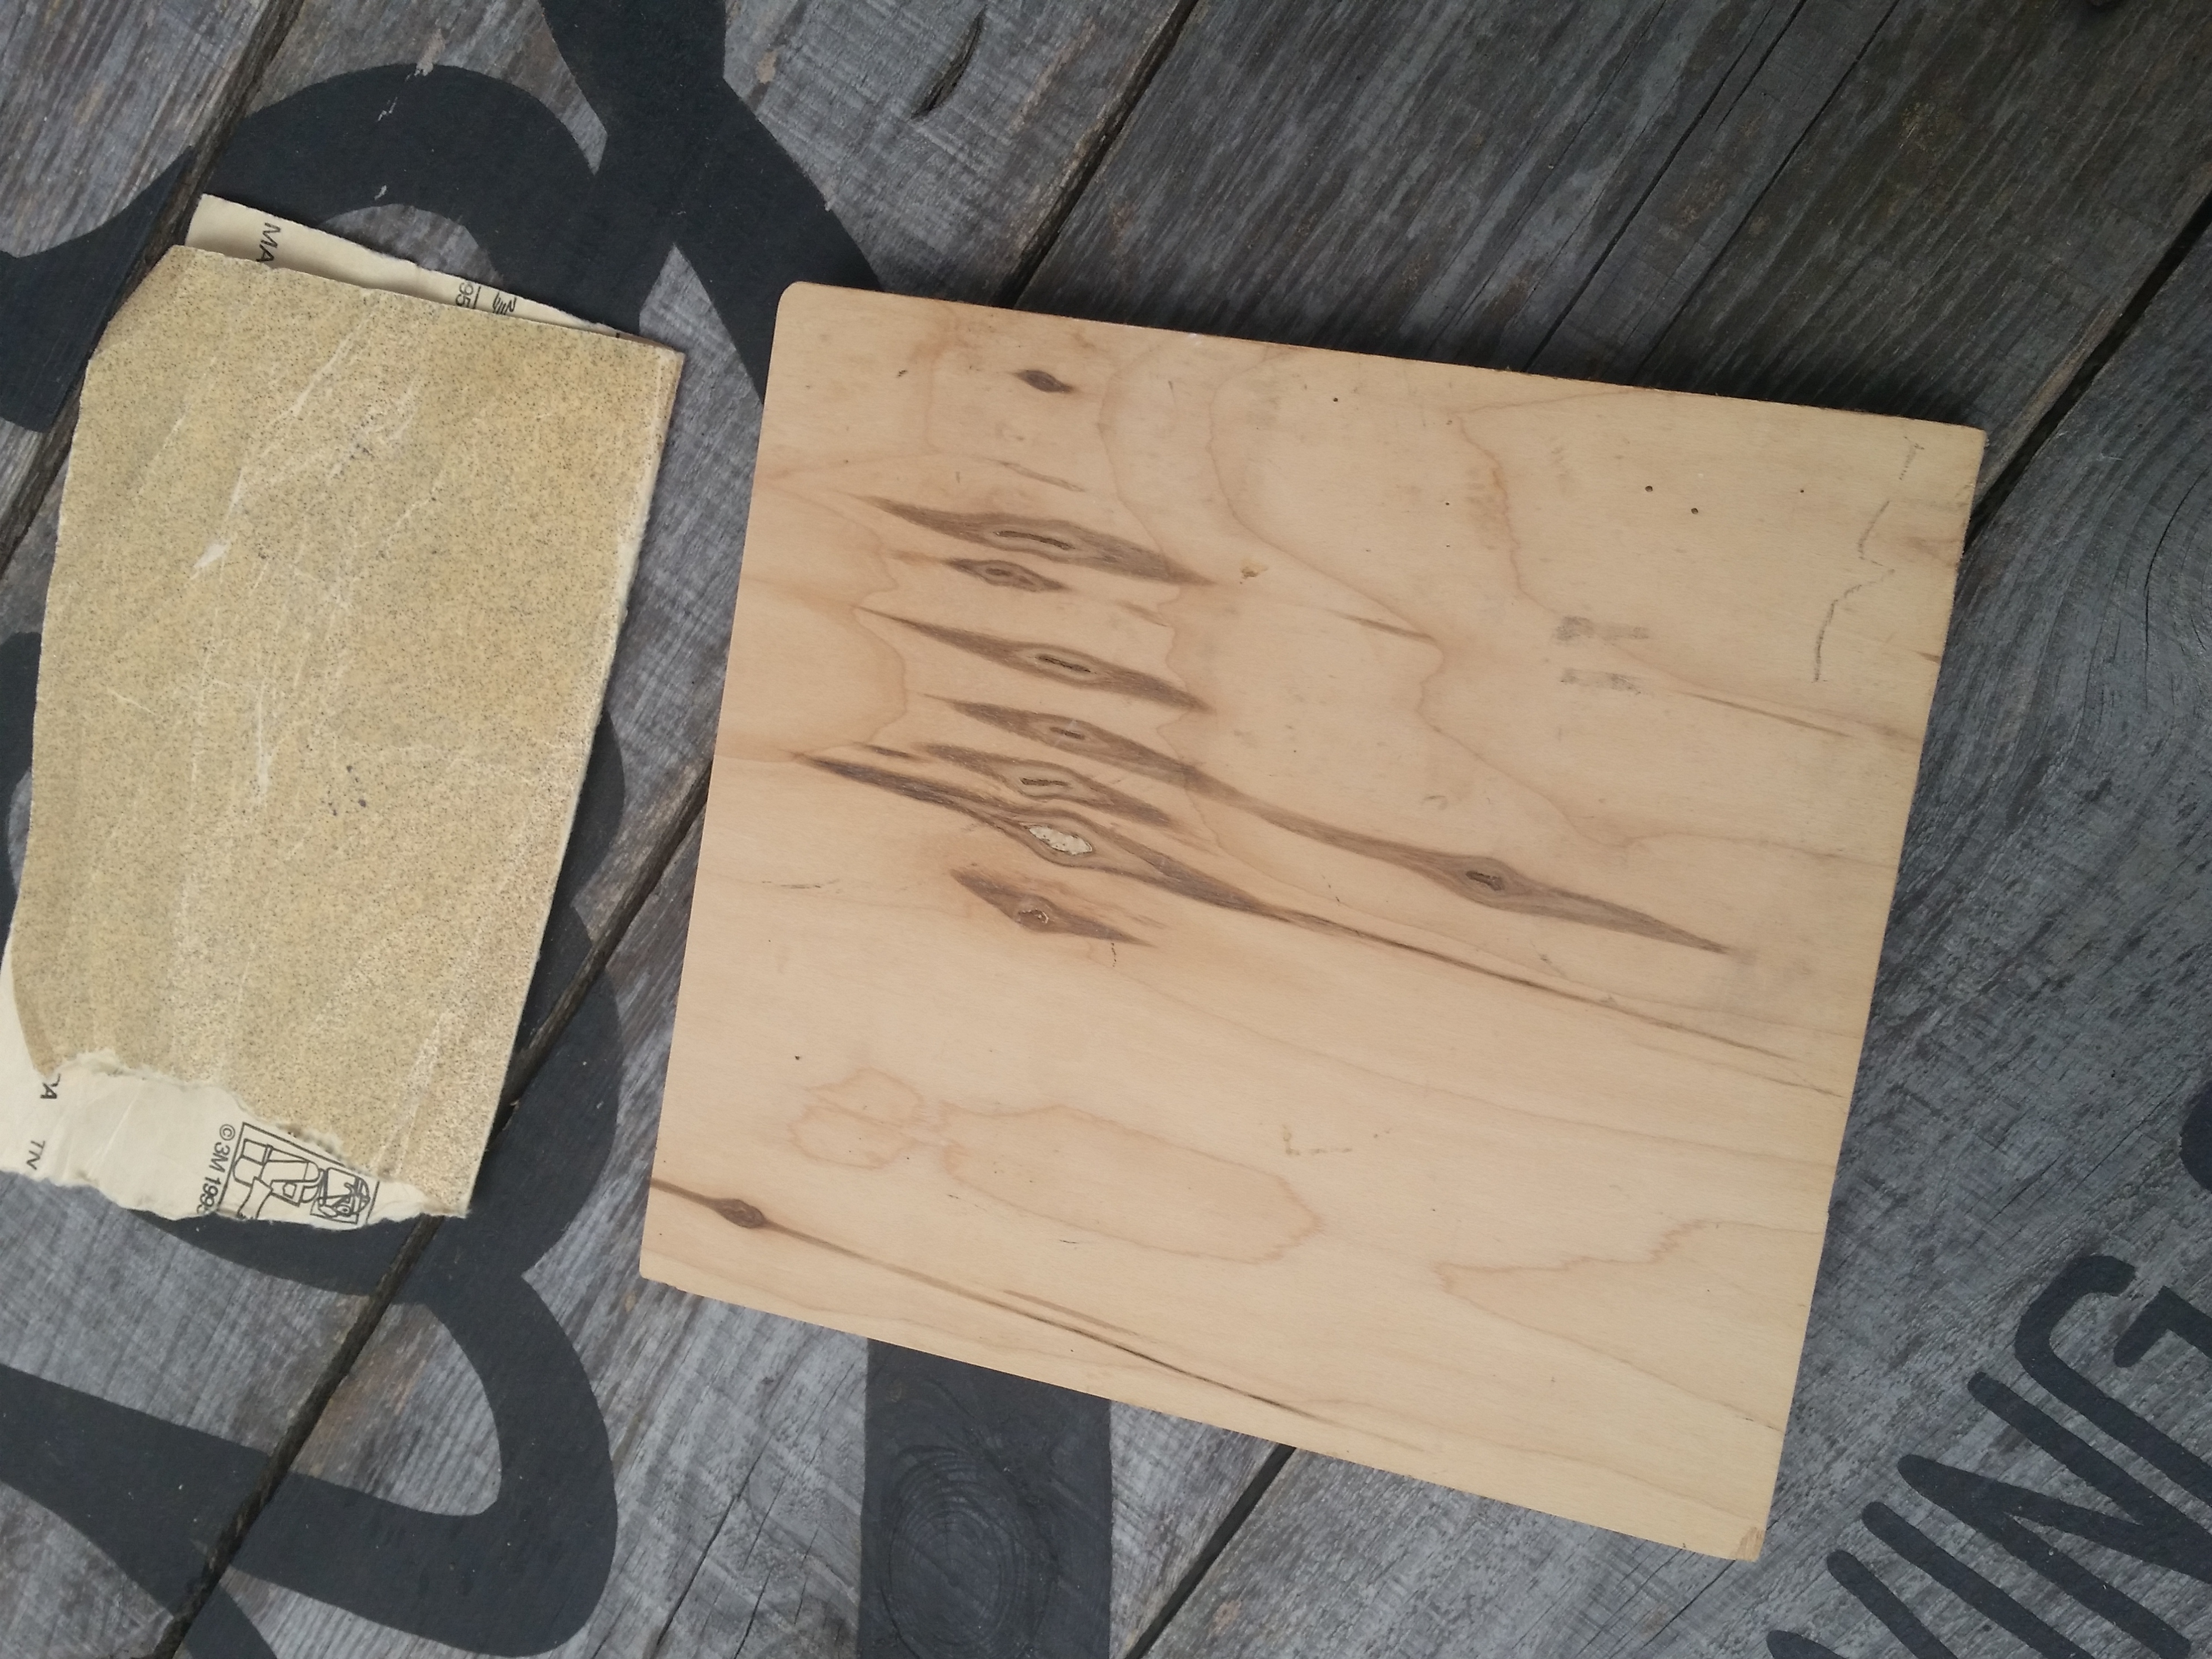
- 7 x 7 inch. Square piece of plywood; 3/4″ thick
- 2″ Cheap synthetic flat brush with coarse hairs
- Size 0 round fine tip brush
- Size 4 flat brush
- Black and white acrylic paint
- Pencil
- Saw tooth hanger and nails
- Hammer
- Needle nose pliers
- Paper plate
- Sandpaper; medium grit 100
First you will need to sand your board on the front and all edges. I also rounded the corners off by sanding them too.
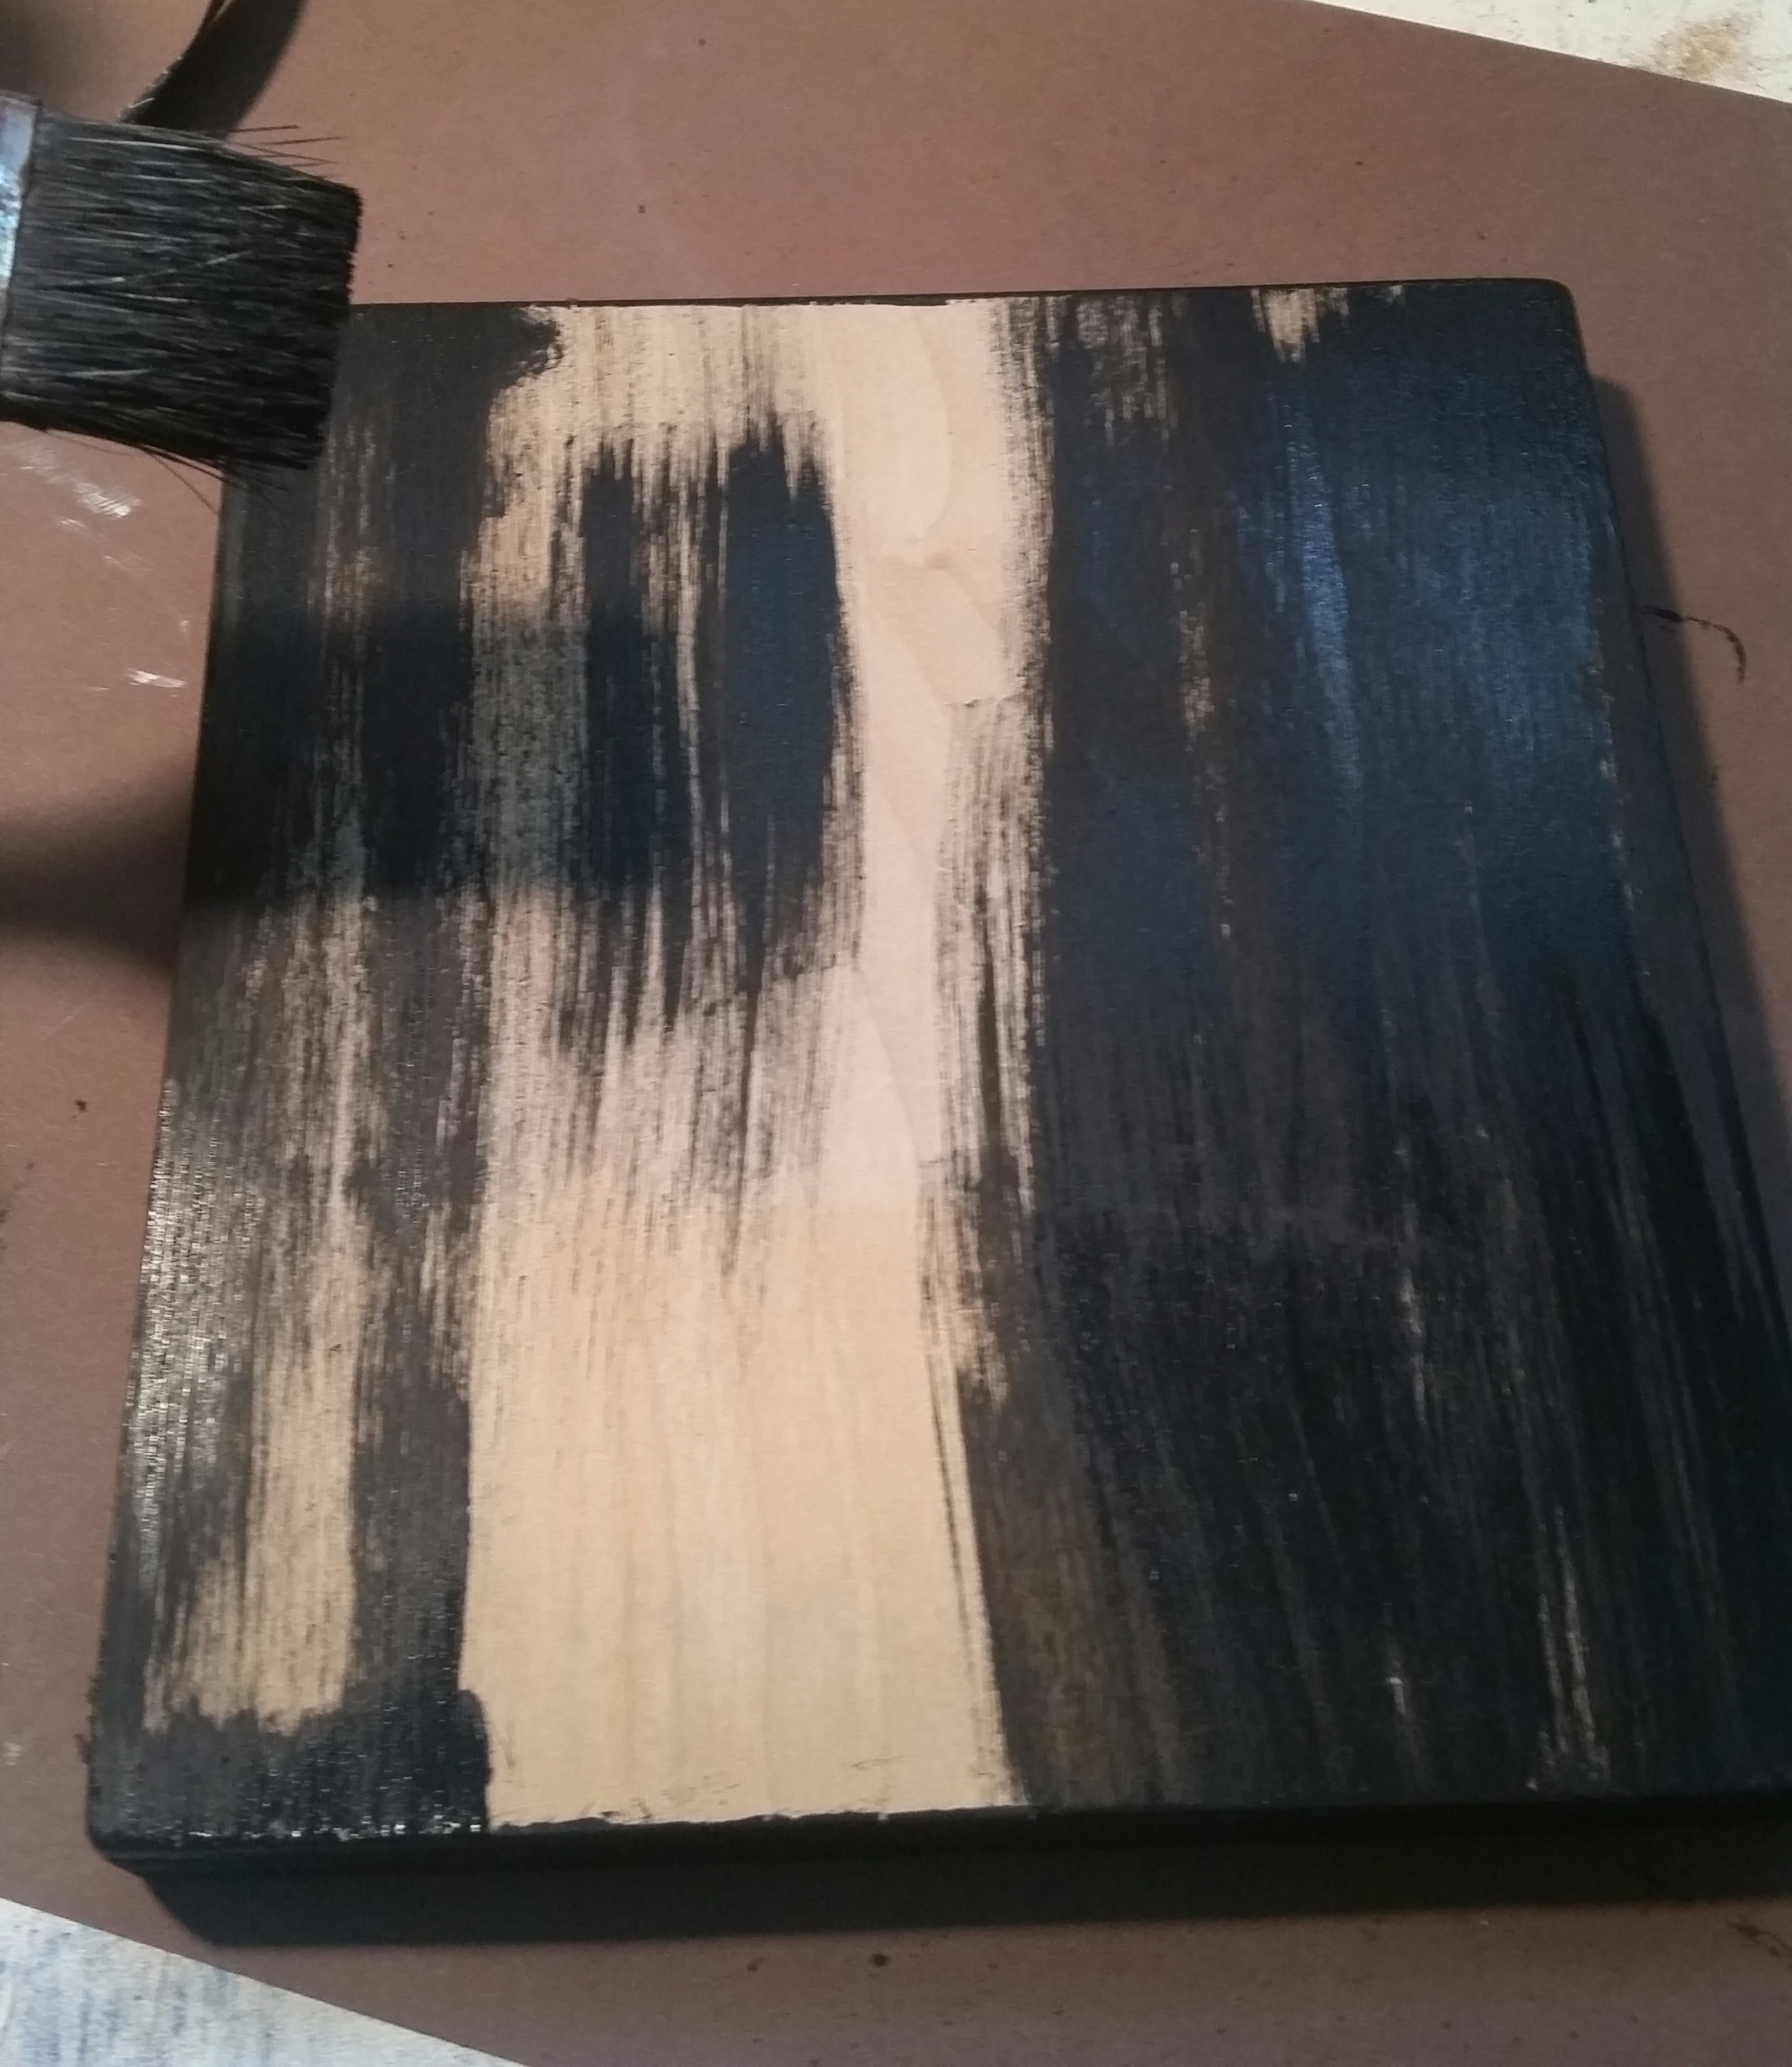
Apply a base coat of black paint to the front and the sides of the board with the large flat brush. After it is dried, apply a second coat of black and let it dry.
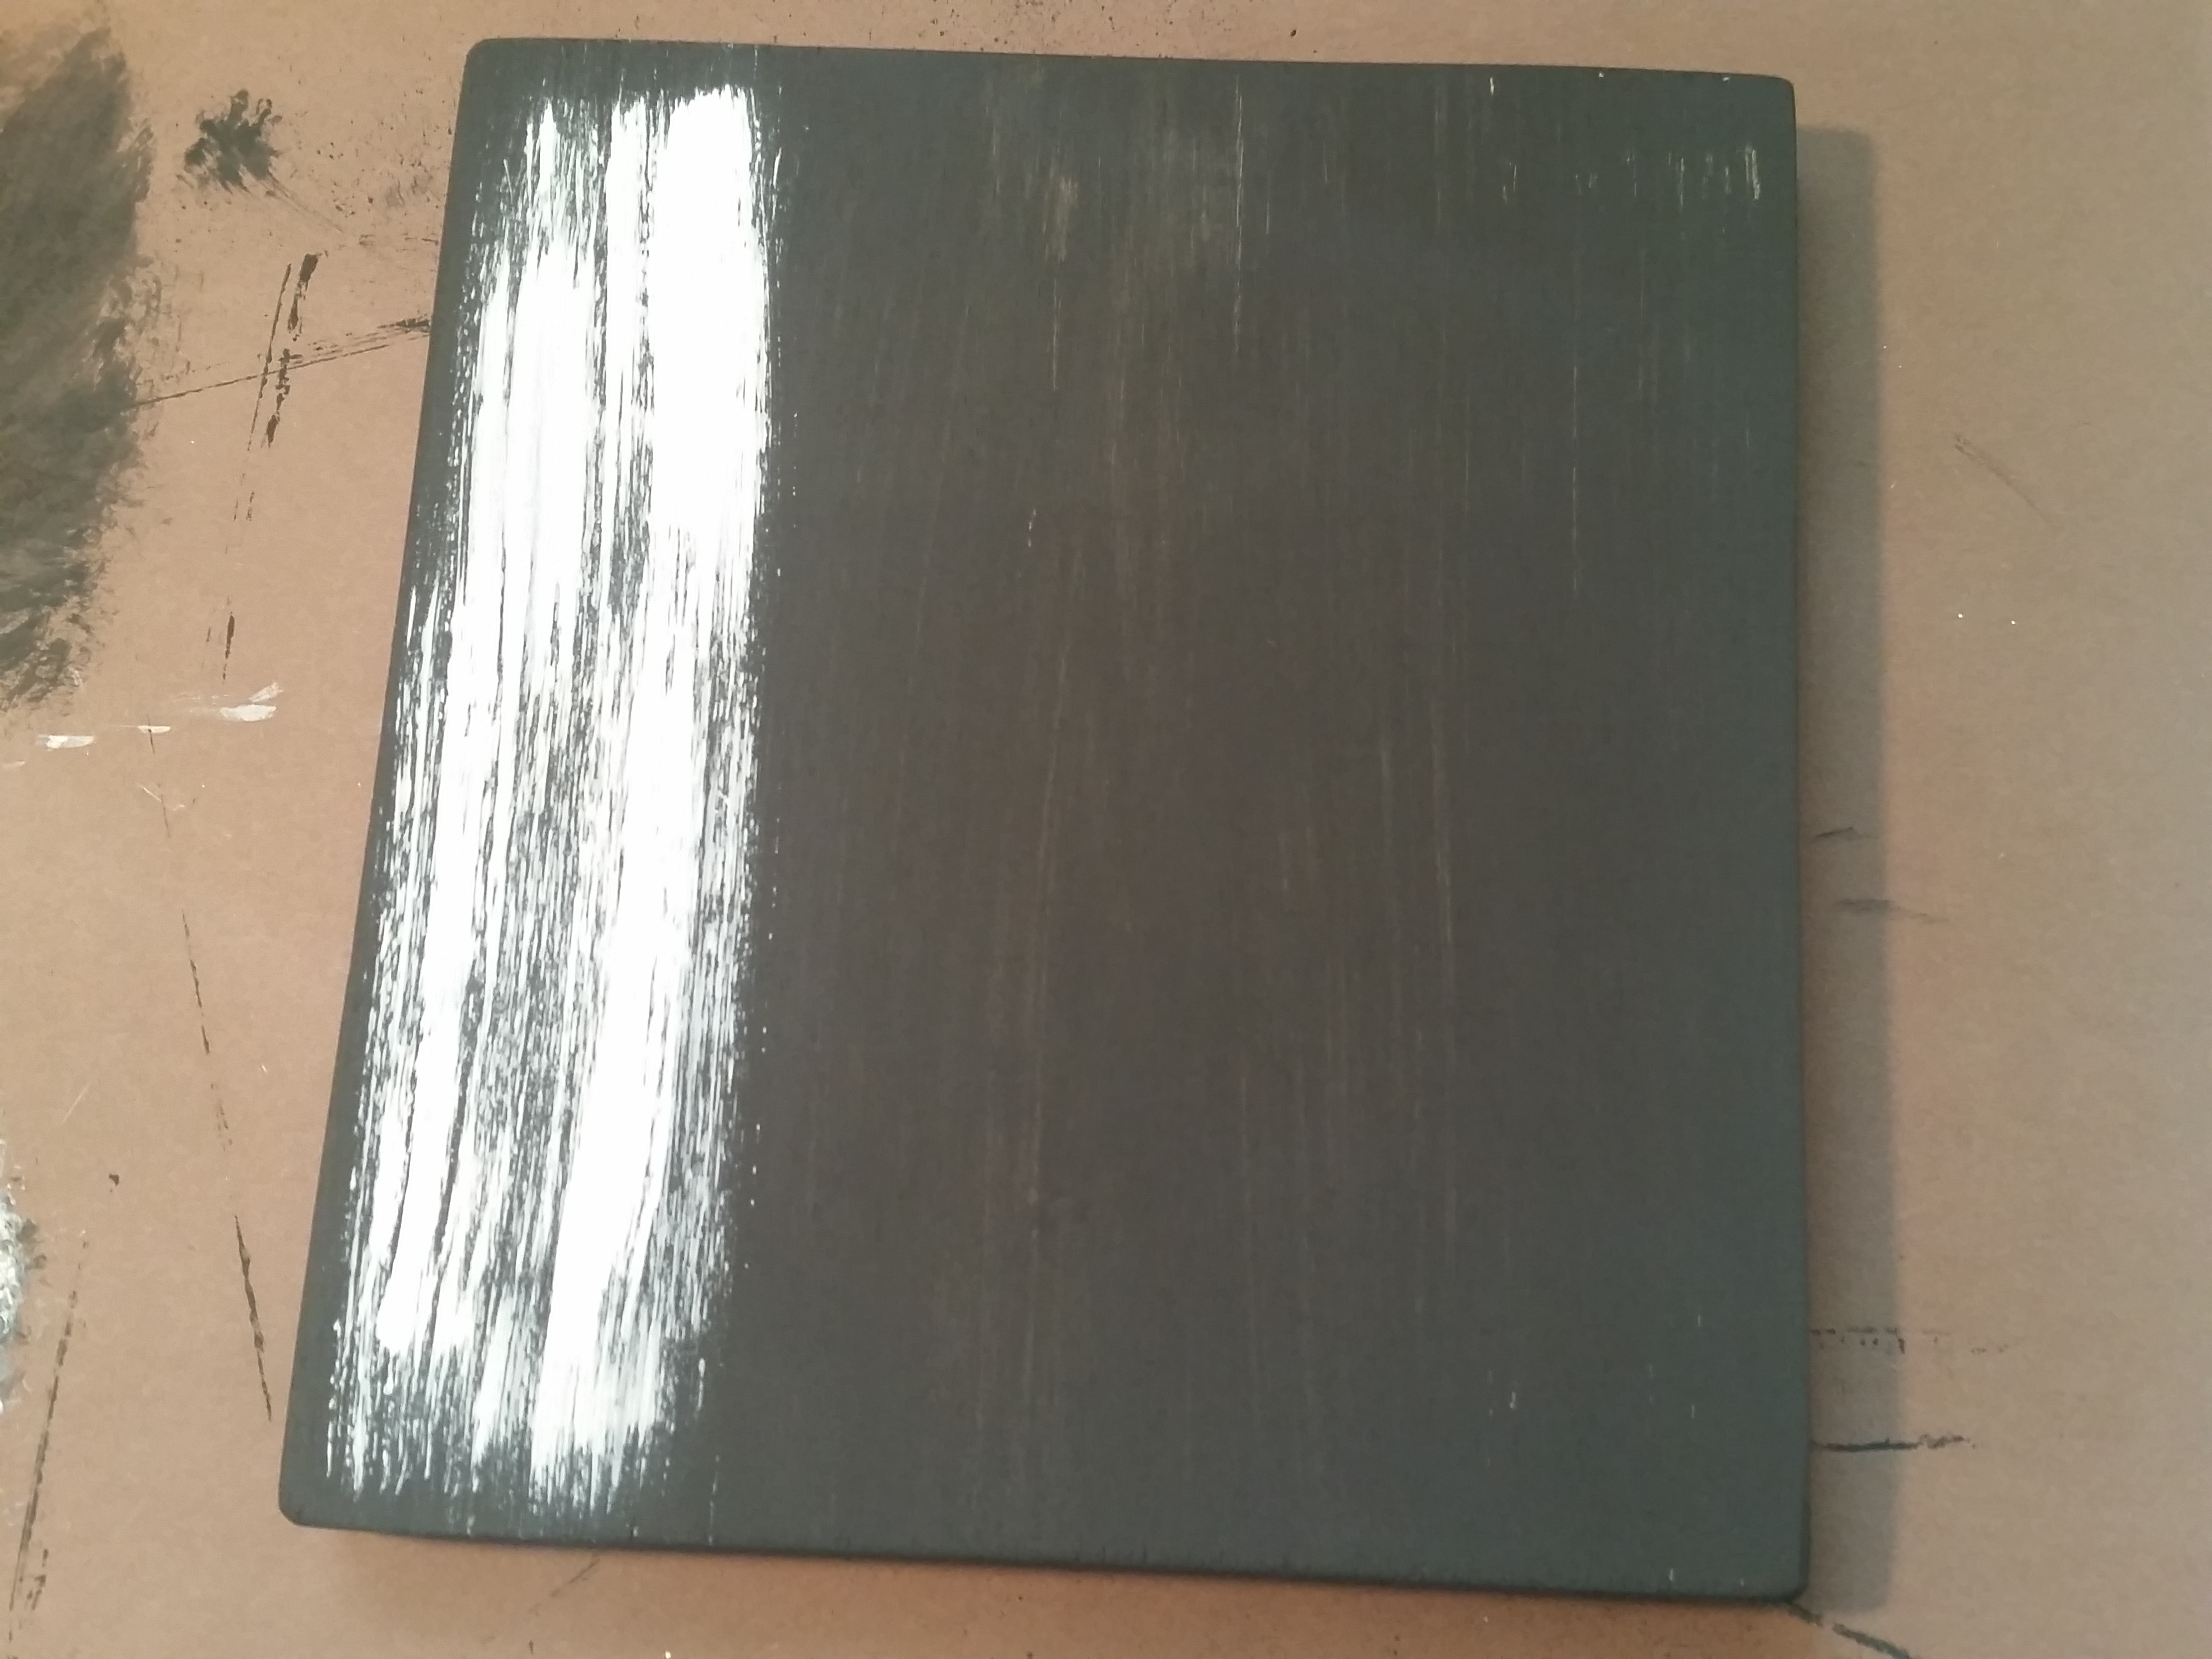
Mix together a tiny dot of black into some white paint to create a slighlty off white color. It is a very pale gray in color. Using the coarse hair brush, tap the tip of the brush hairs into the off white paint. Gently tap the paint off of the brush onto a clean surface of a paper plate to get any globs out of the brush hairs. After the brush is evenly coated with a bit of paint, gently pull the brush down the surface of the board in straight vertical lines to create a streaky aged effect. Notice how the white paint is not going all the way to the edge of the board. If the lines are going too far to the edge, when white paint dries, take a small brush with black paint to touch it up.
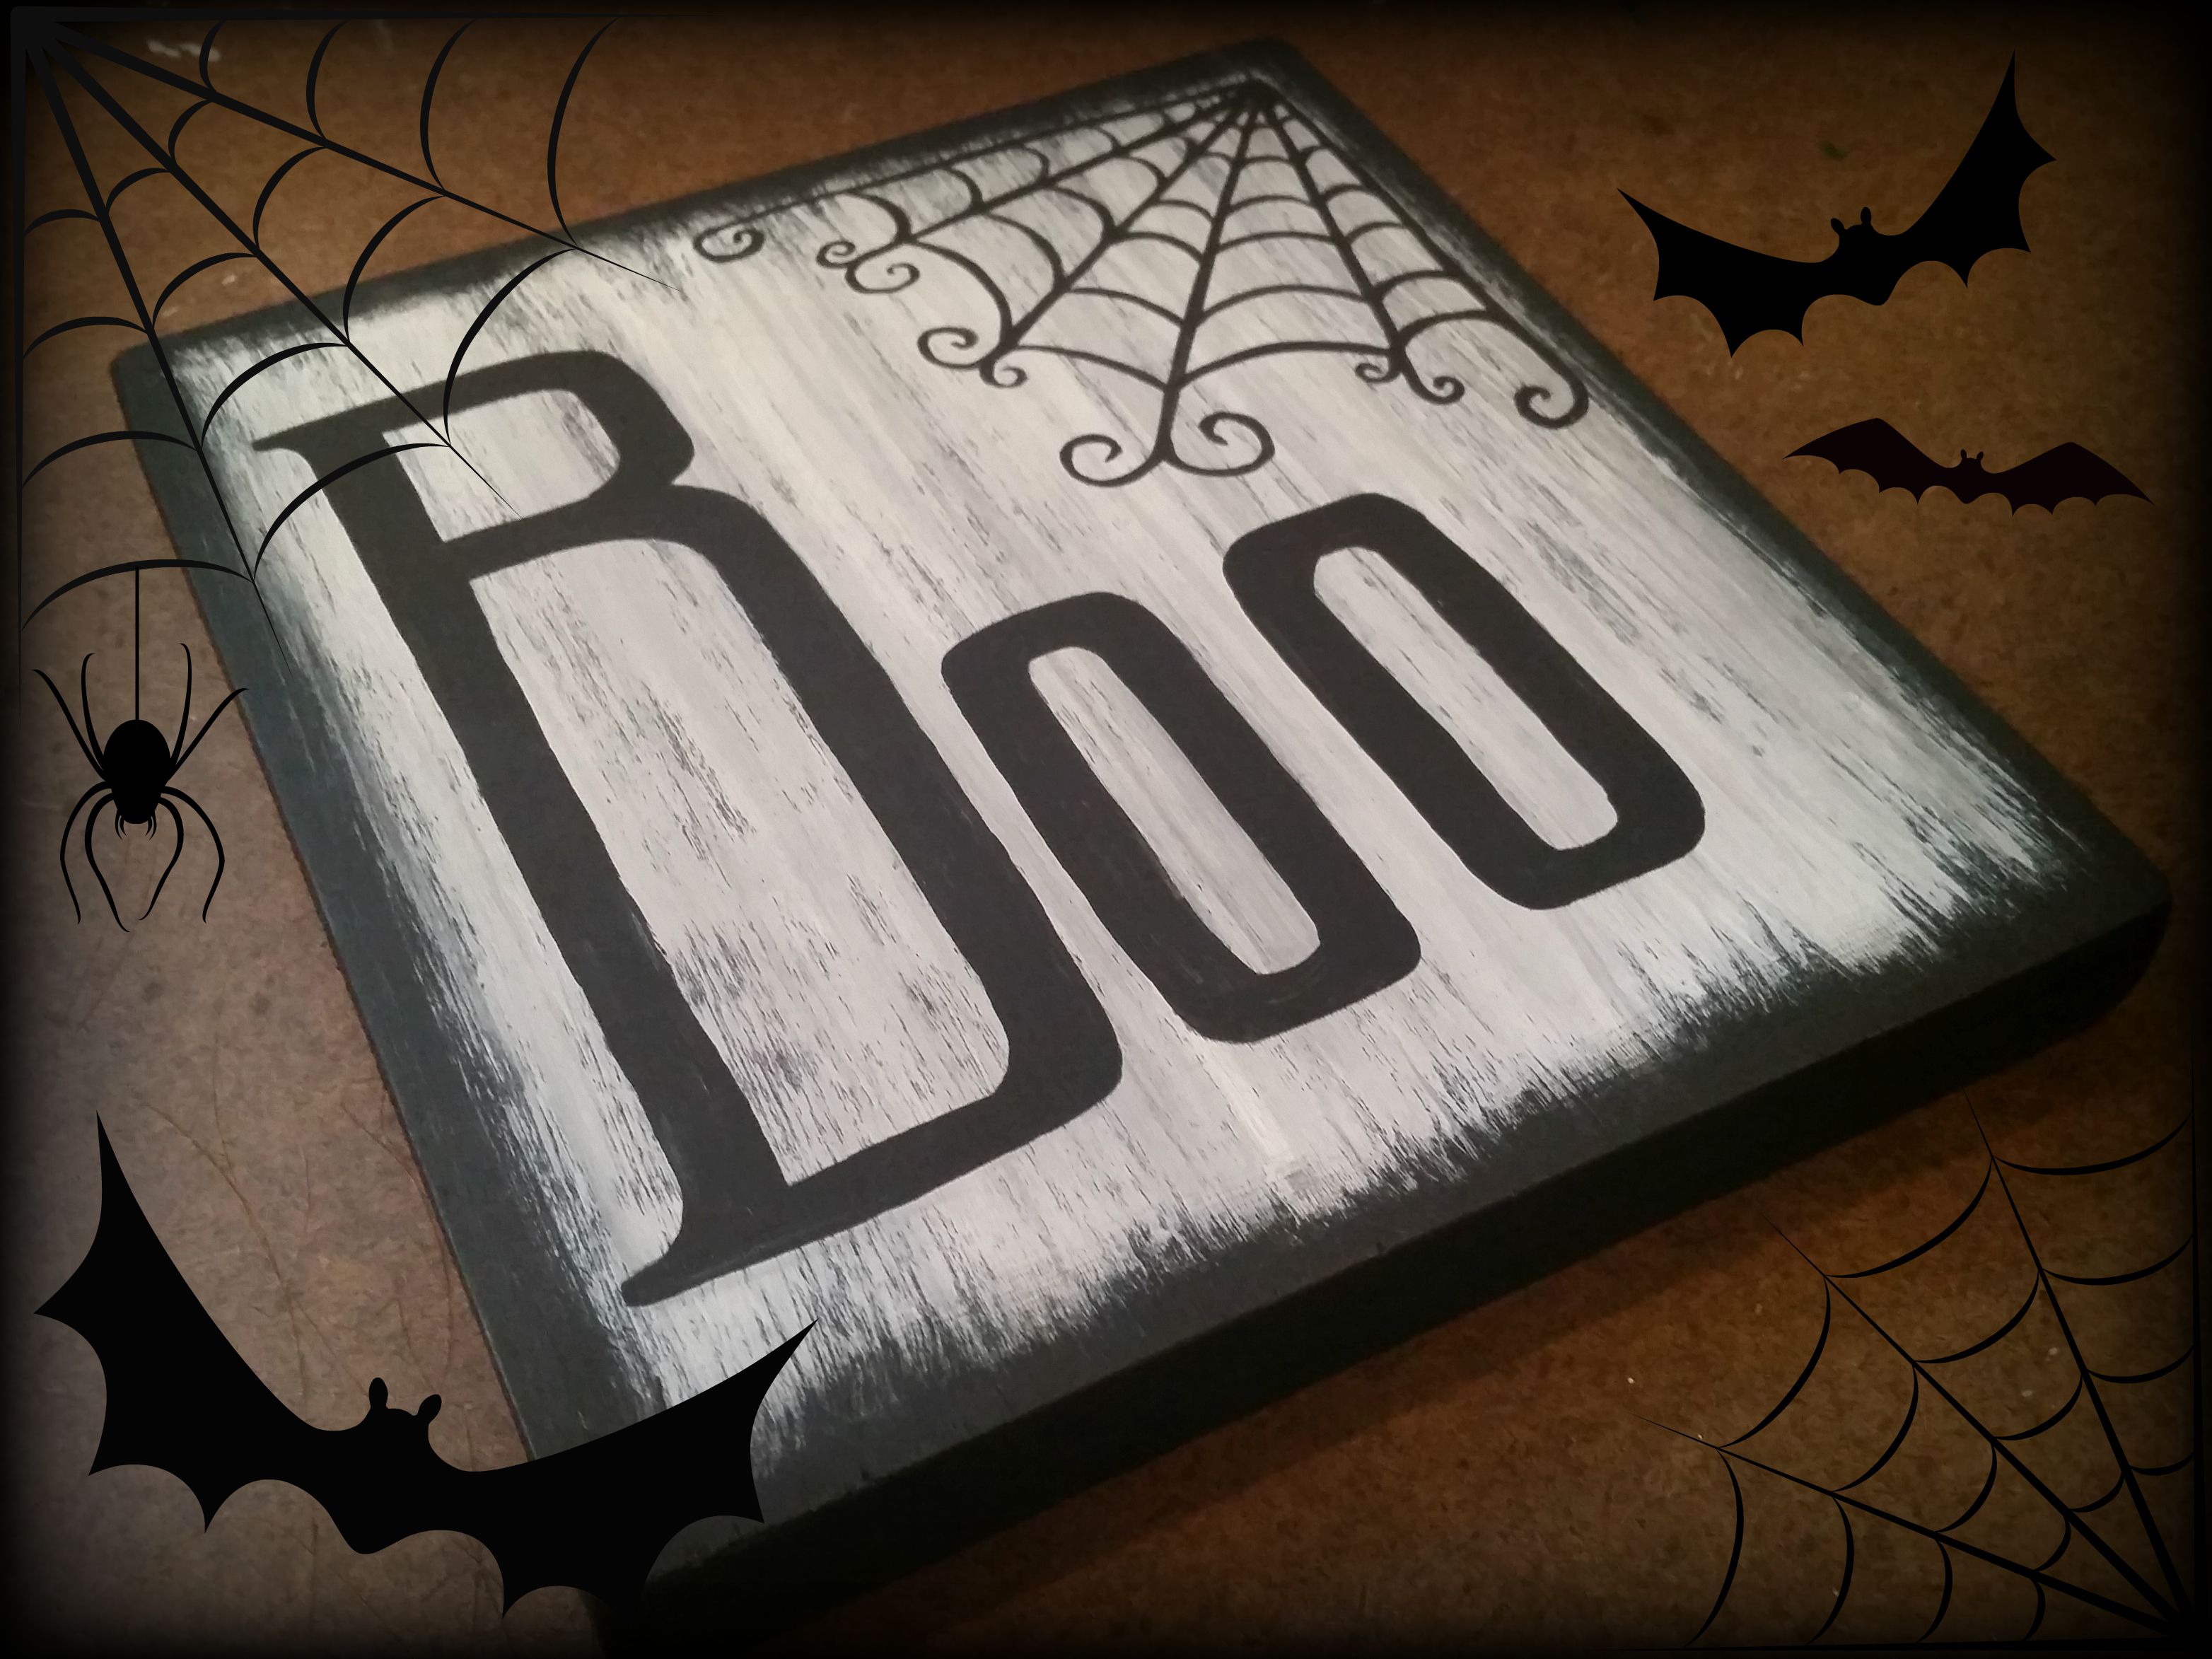
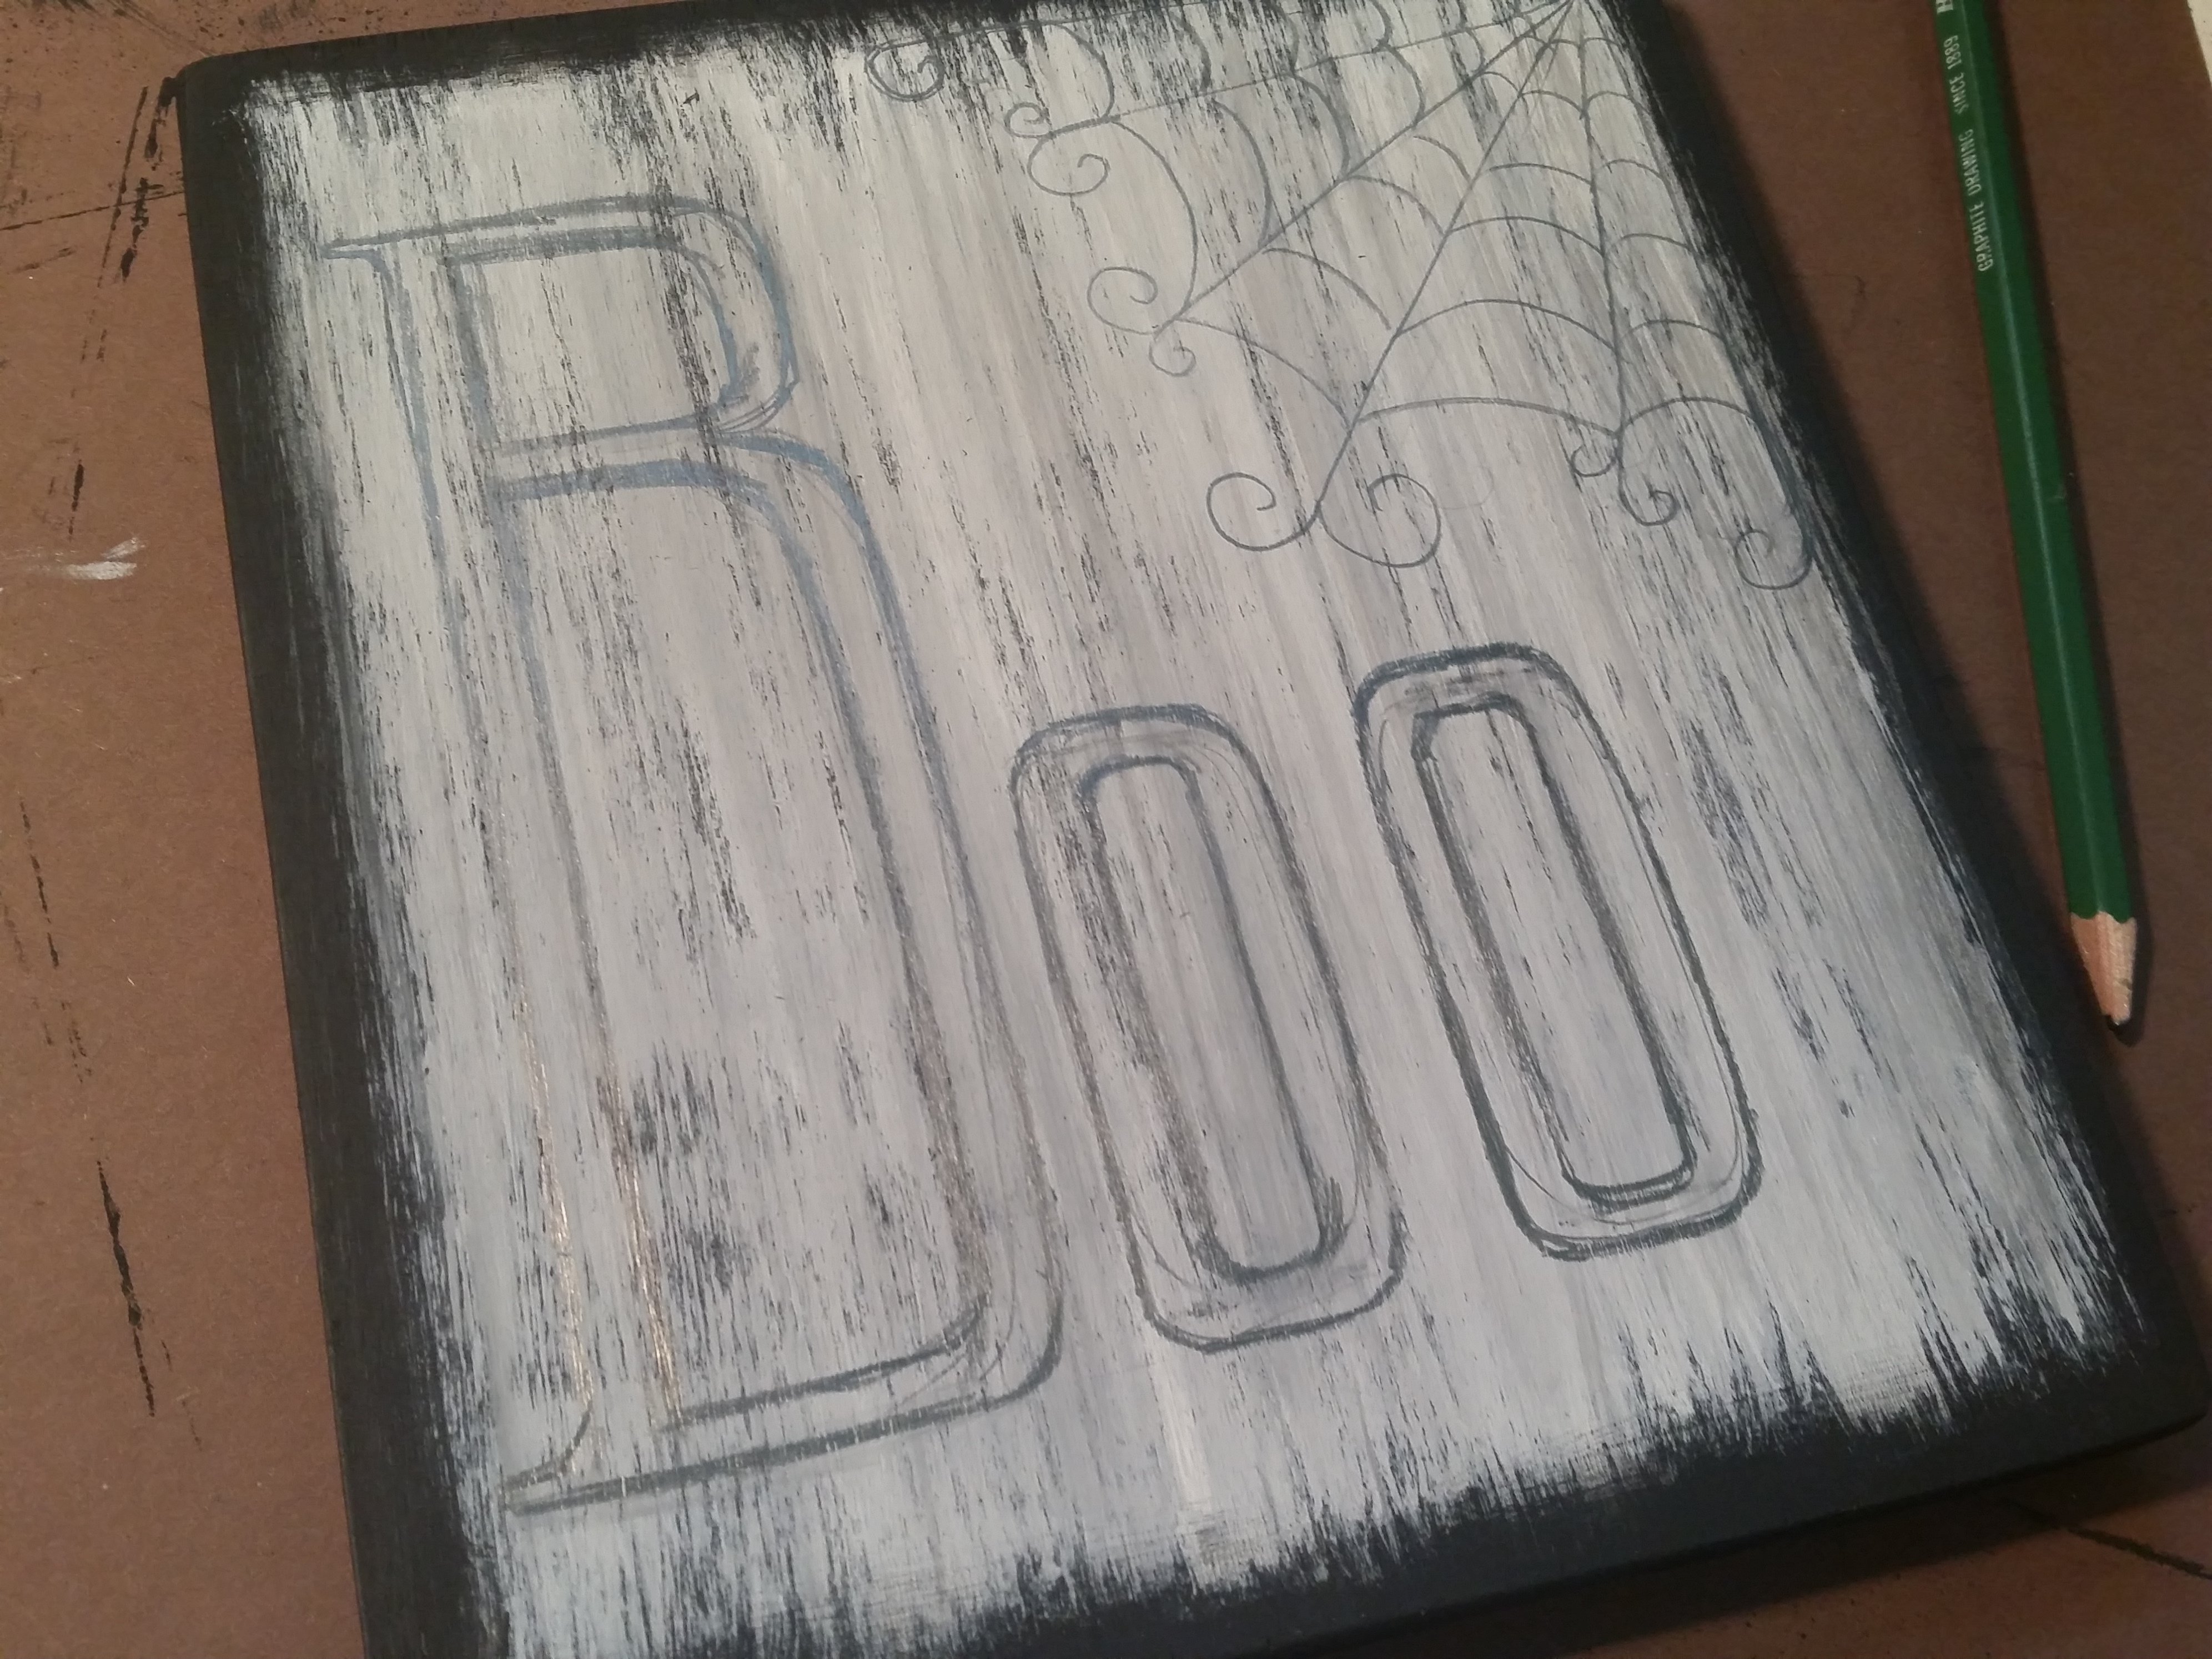
When the paint is completely dried, use a pencil to draw on the lettering as well as the spider web designs. If you are not confident in doing hand lettering, you can print out the word from your computer and then transfer it onto the board using graphite paper or coloring the back of the page with a pencil and then tracing over the word by pressing the design onto the board.
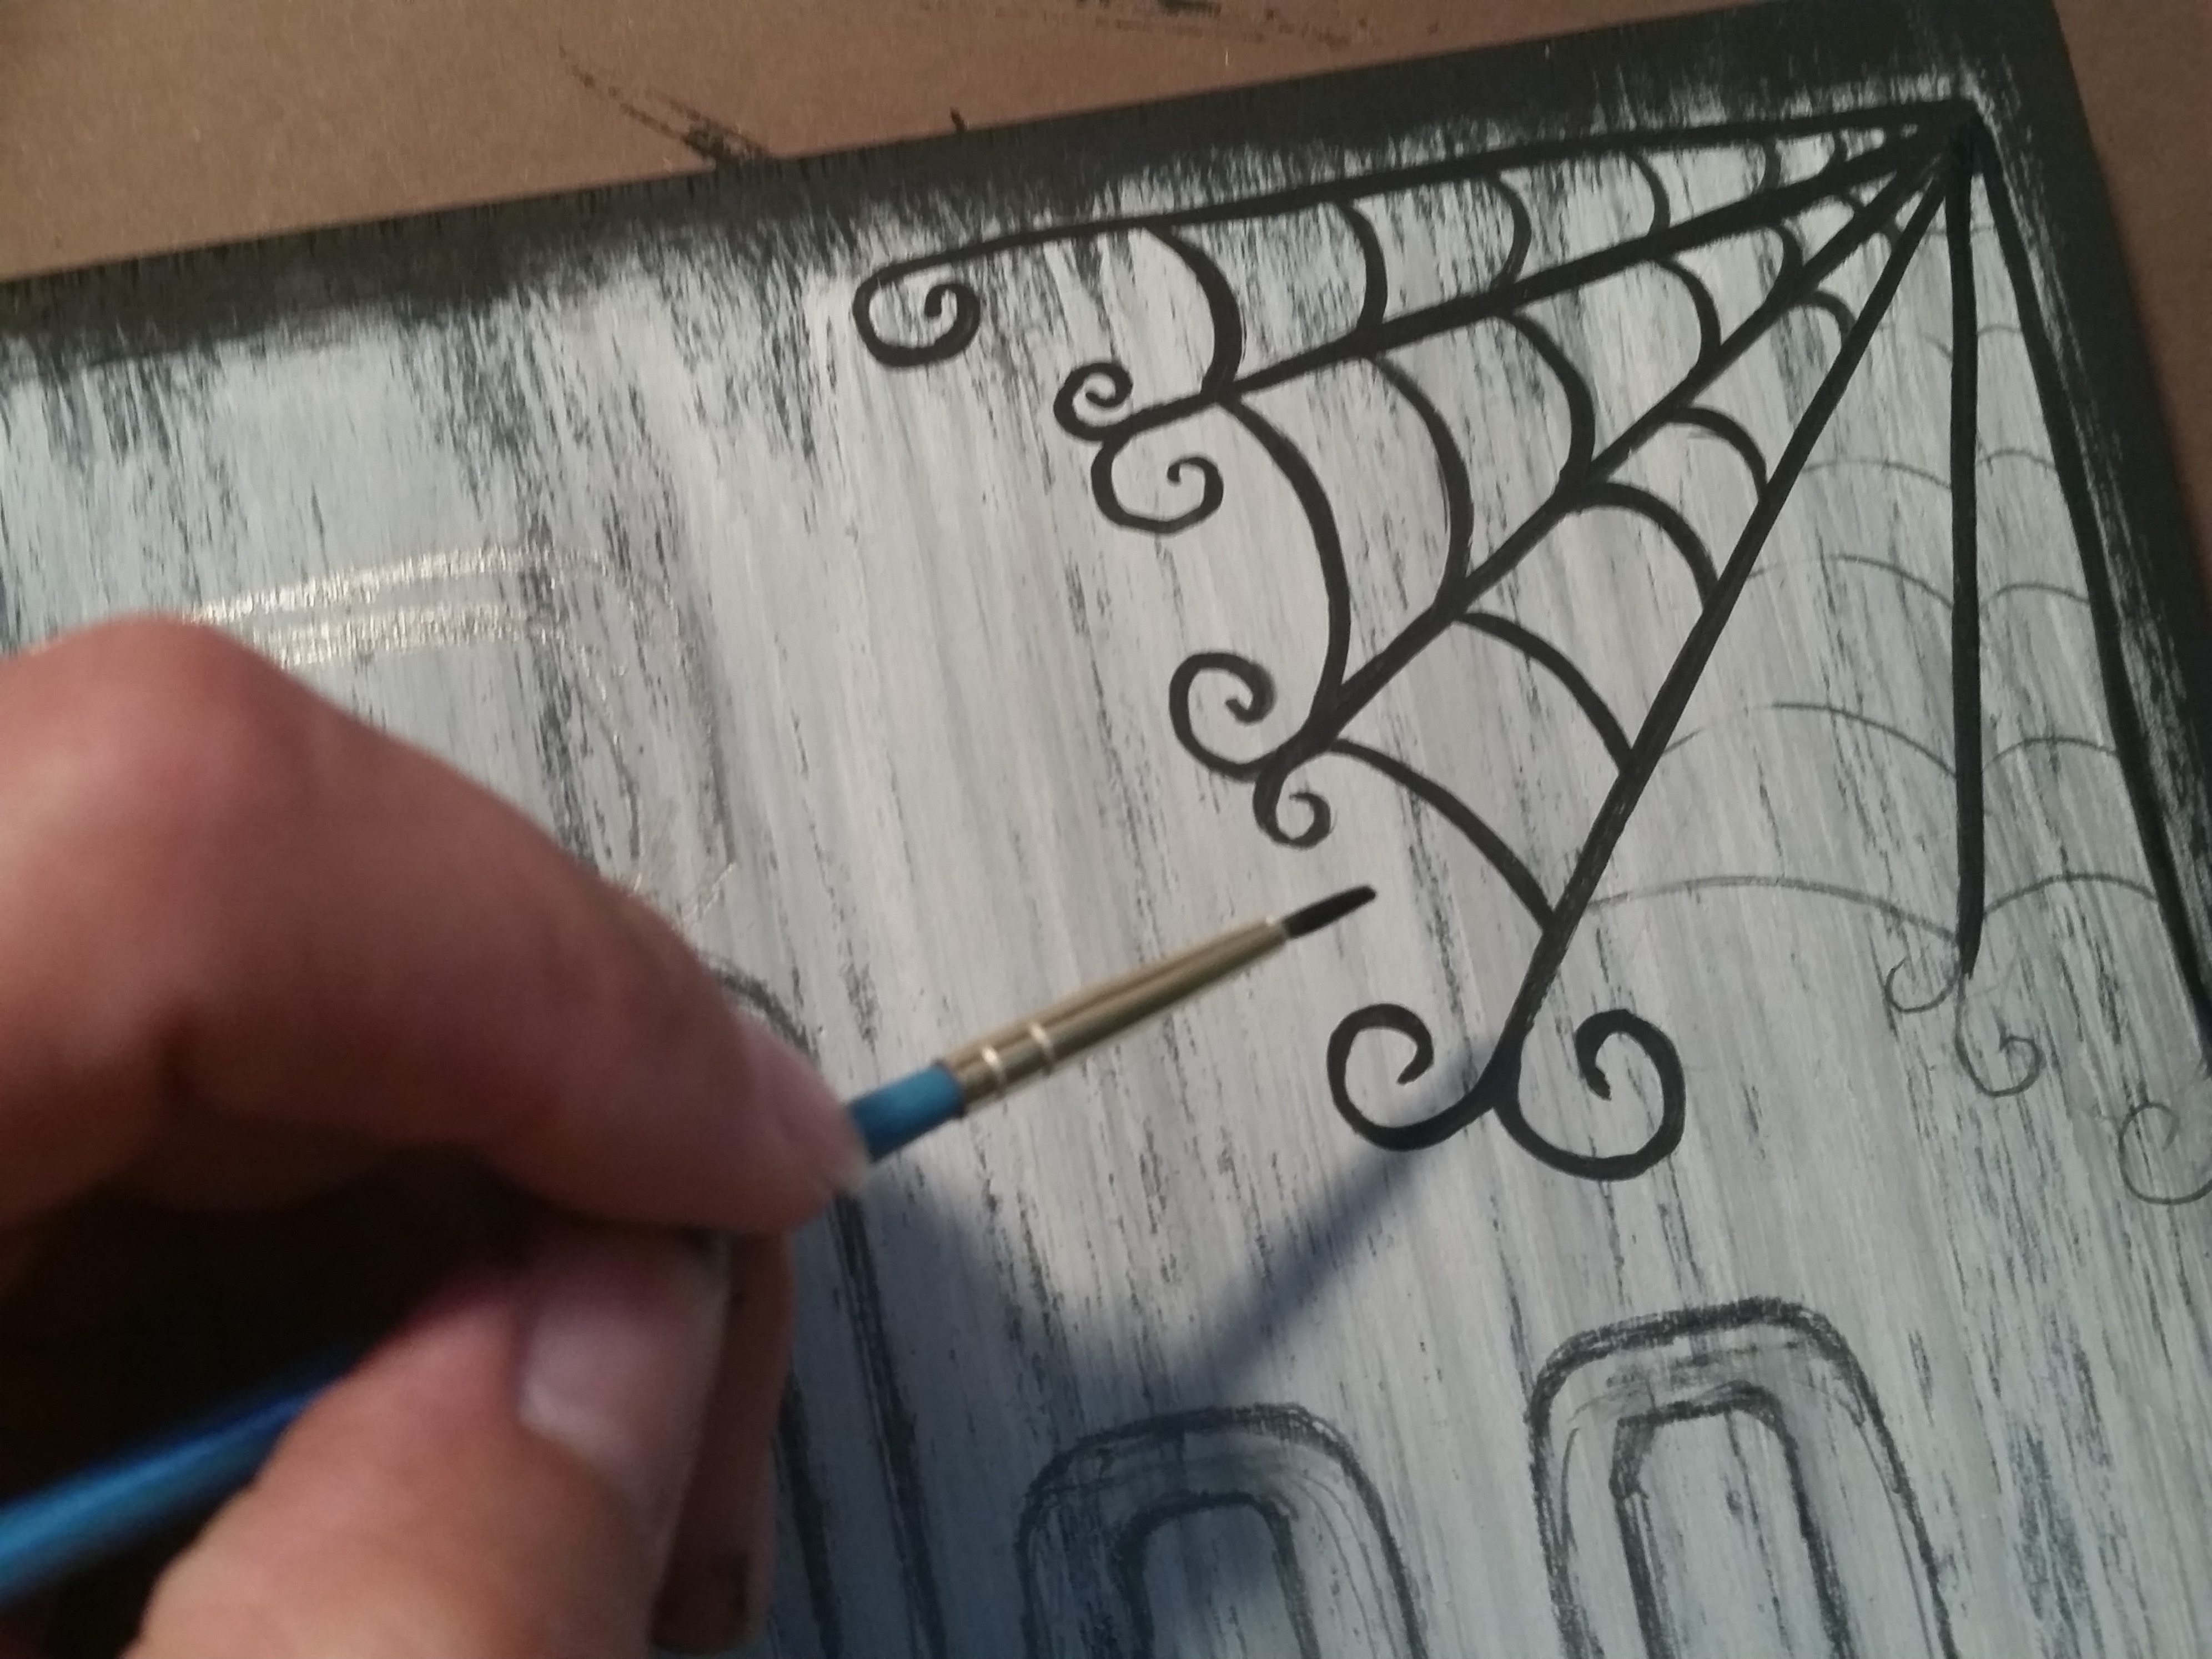
After the design is drawn onto the board, use the size 0 fine tip round brush to paint in the thin lines of the spider web design and the swirls on the letters. For the larger areas on the letters, use the 4 flat brush to create straighter lines with more control.
When it has completely dried, turn the board over and nail the saw tooth hanger to the back using your hammer. I prefer to use my needle nose pliers to hold the tiny nails in place when hammering.
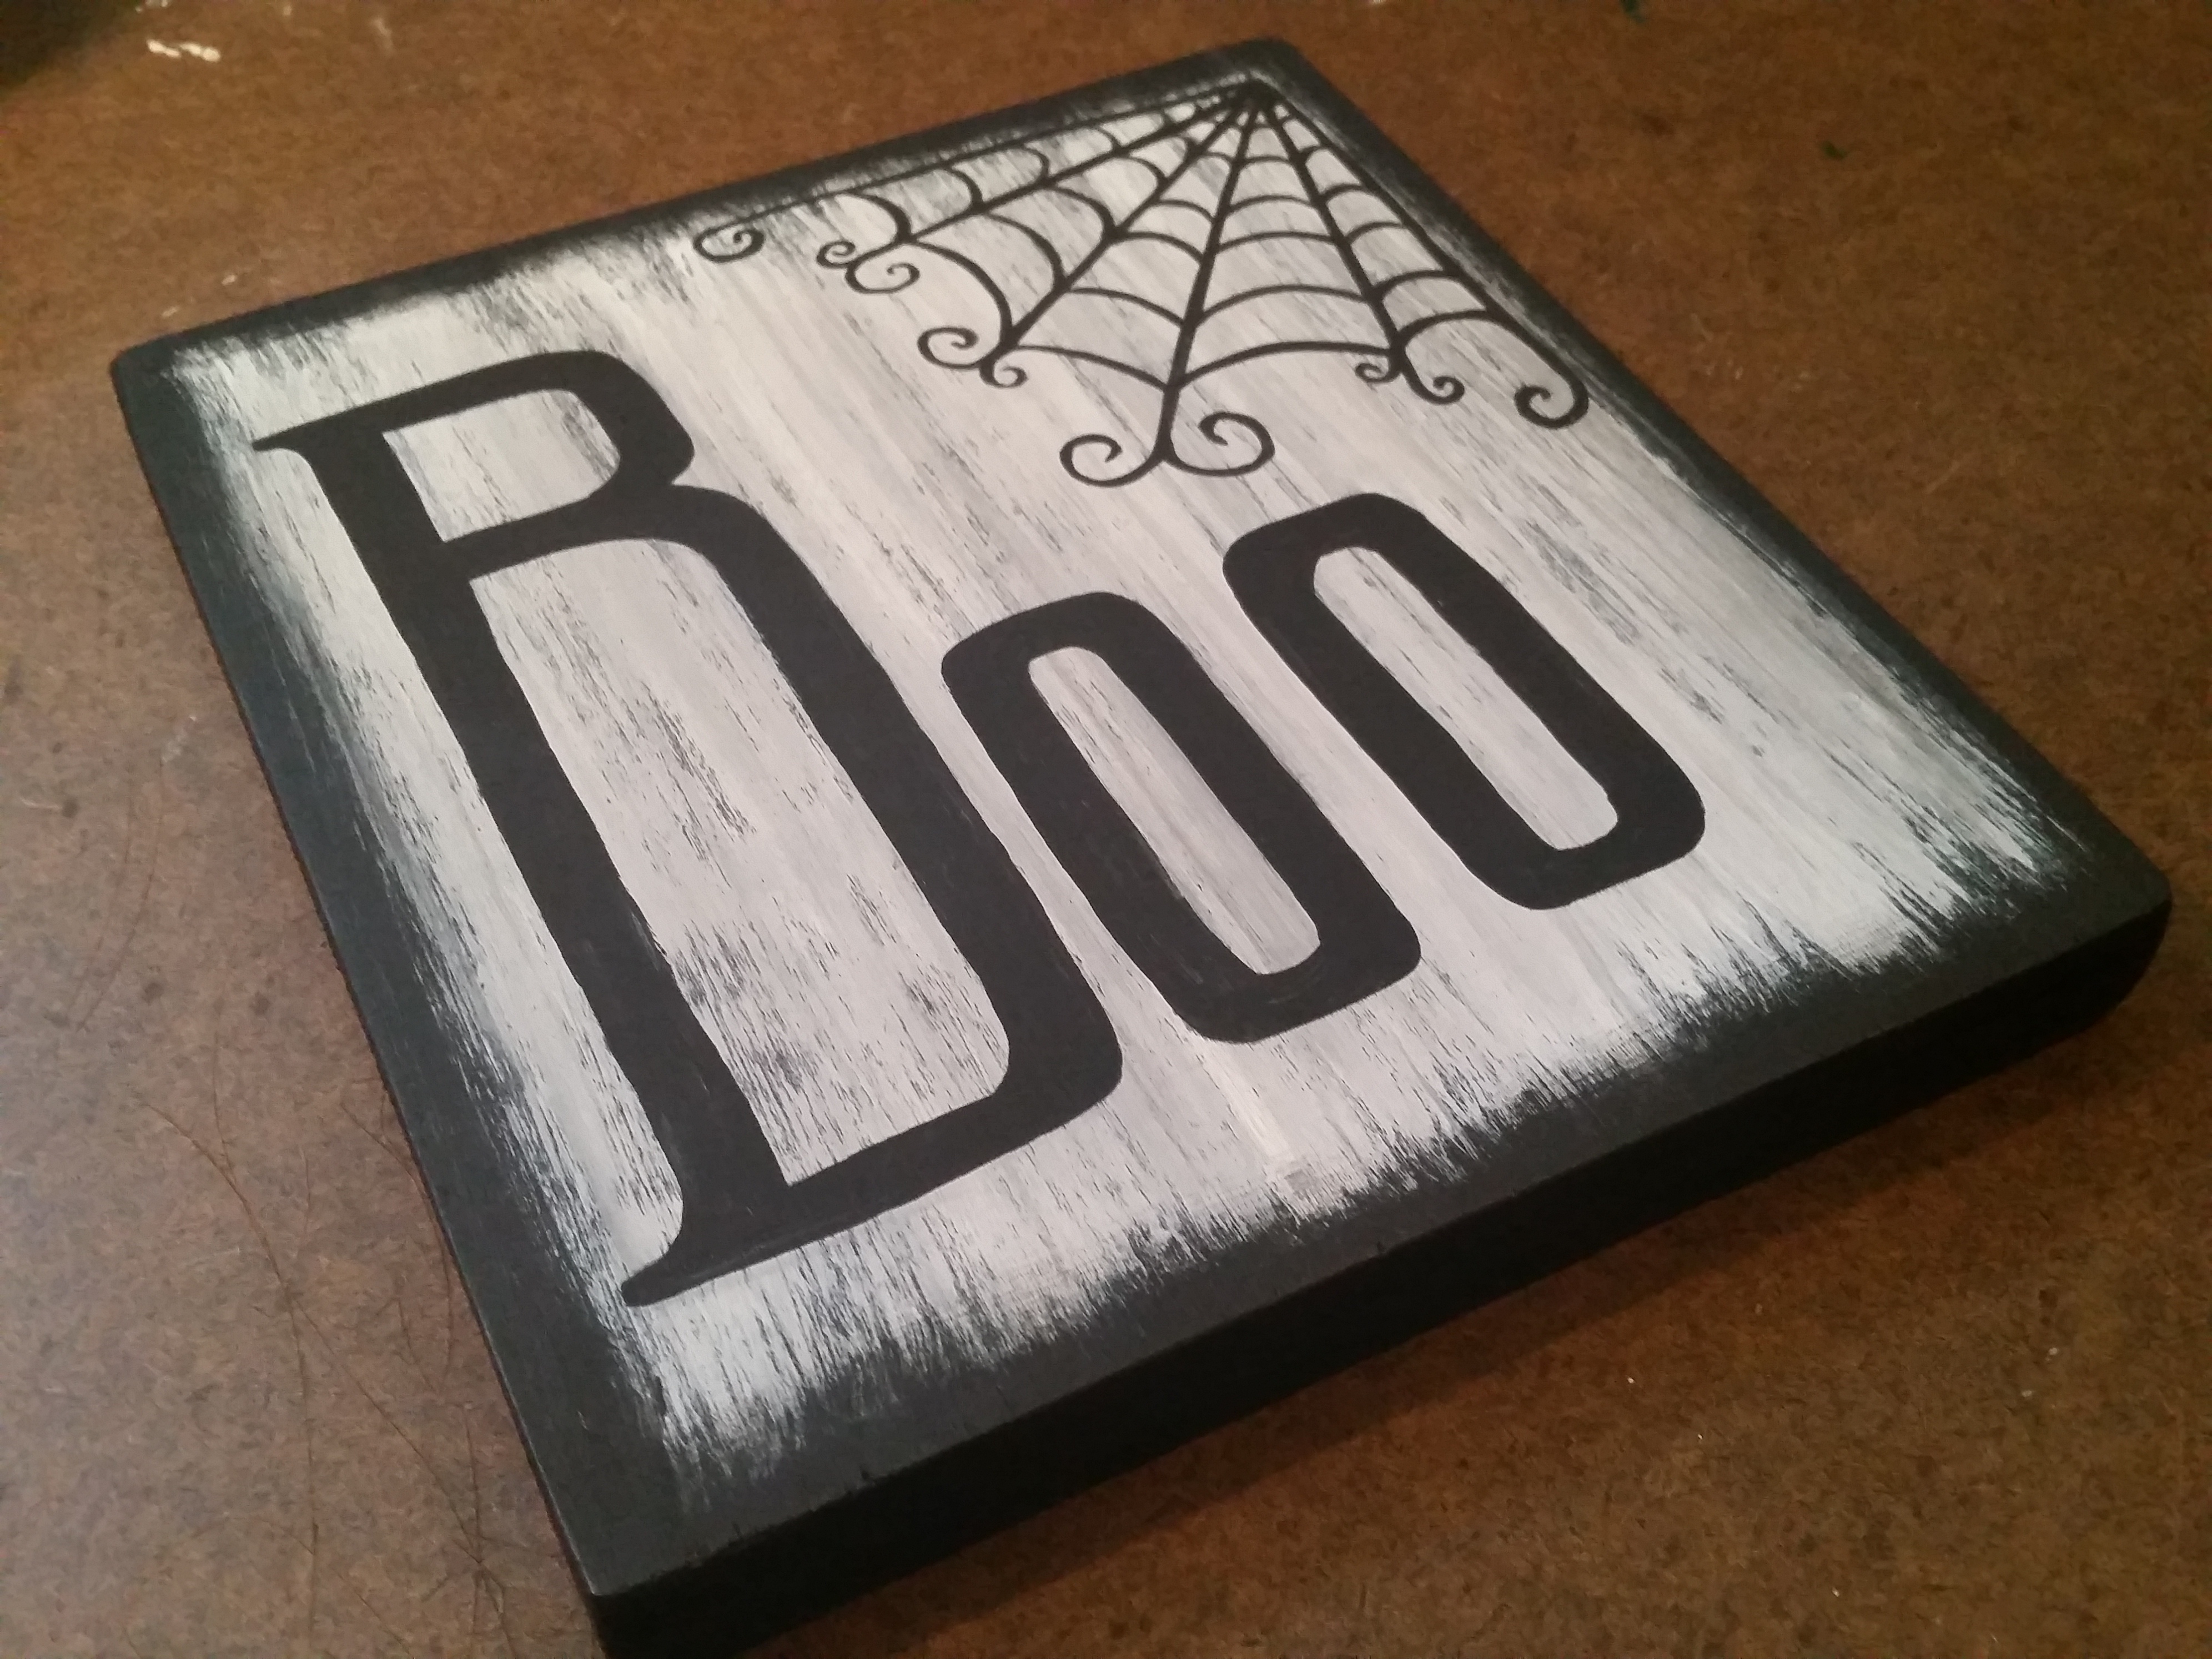
And that wraps it up! This project is very easy and probably only took about an hour total including sanding and drying time. Making Halloween decor seems so much easier now, doesn’t it?
Leave a Reply