
Paper dolls have steadily become a revived craft for both vintage collectors and parents who wish to share this dying art with their children. Many classroom projects among young children are very similar to this specific type of paper doll; the posable paper doll. Each part of the figure is separately cut out and fastened together with a metal brad at each joint allowing the doll to be posable.
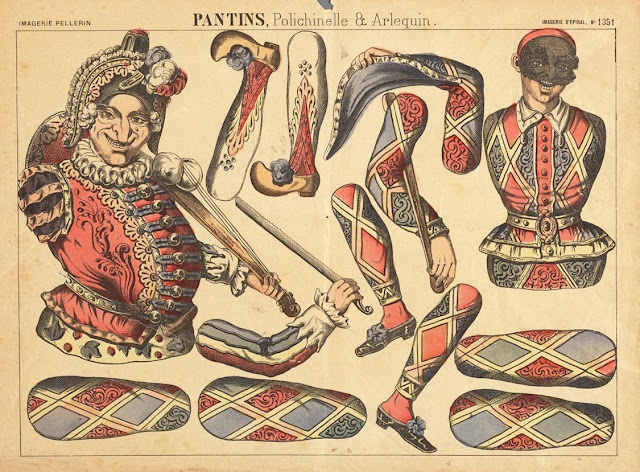
Posable paper dolls go back as far as the 18th century in France. The French call these posable dolls “pantins” because it was believed that these dolls had originated in the village of Pantin. These dolls were usually made from a thick cardboard paper, wood or press board and hand painted by artists. The joints were all held together with a string and when you pulled on it from behind, it made the doll dance and jump in an animated fashion. Pantin dolls were very common additions to just about every household, hanging near the fireplace ready to be used as a source of entertainment. They also quickly became a novelty among adults which used these puppets as a way to satirize the noble class. Modern advances in paper production made these dolls easy to reproduce and became available at a much cheaper cost, sometimes printed in only black and white for the purchaser to paint their pantin at home.
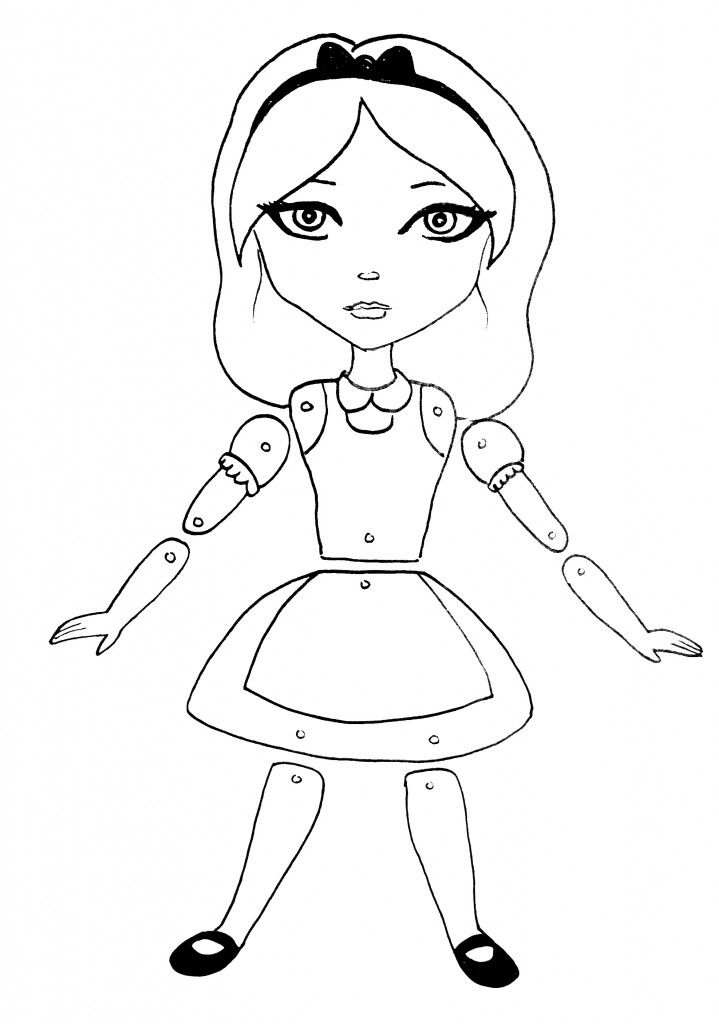
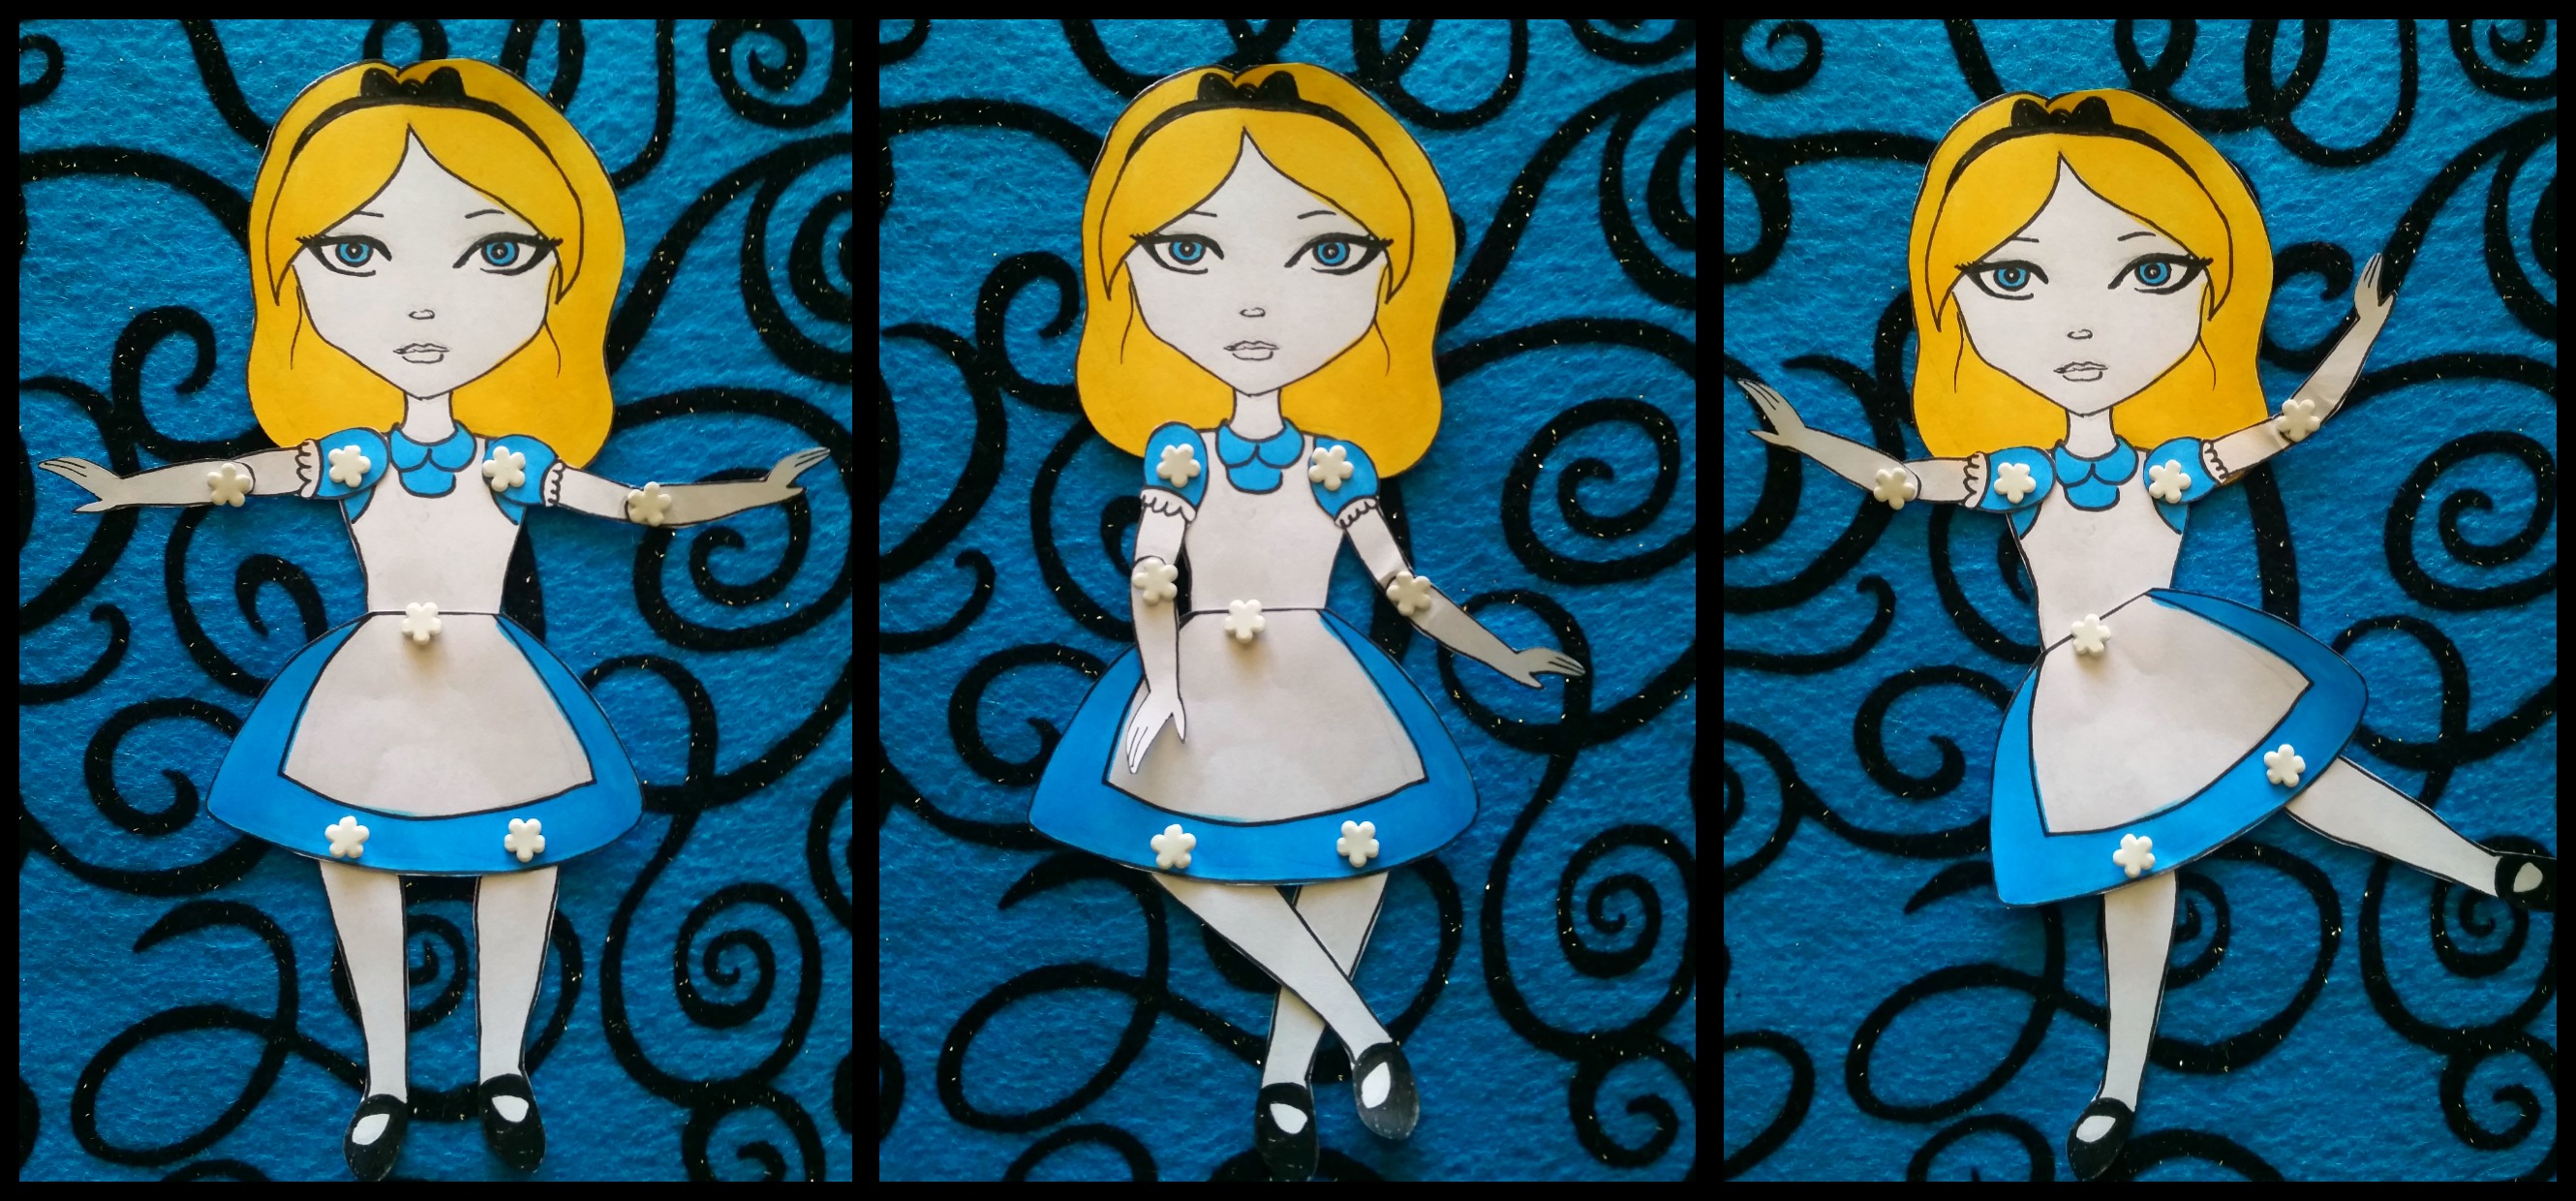
Today different variations of these dolls are now made from a heavy cardstock paper and held together with metal brads at the joints allowing the doll to become posable. For this tutorial I have included a free Alice in Wonderland doll template for you to assemble and color. If you wish to make a doll of your own, you can also print out the template as a guide to design your own using the same general proportions.
Supplies:
- Heavy cardstock 8 1/2 x 11 inch. white
- Small brads, any color
- Colored pencils
- Markers
- Crayons
- Scissors
- Tiny hold punch or X-acto knife
- Printer
- Alice doll template
Print out the free Alice doll template onto cardstock paper from your computer. Color your Alice character using any dry media such as crayons, colored pencils, or markers. Cut out your character carefully using scissors or an X-acto knife. Use a tiny hold punch or an X-acto knife to cut a small hole where each circle is on the doll’s joints. Carefully insert the brads and assemble each part of the doll together. Now you are ready to play with your Alice doll! Make her move and pose to tell a story. I hope you enjoyed this quick little tutorial!
Leave a Reply