

Many people enjoy displaying large holiday decor outside in their yards, porches or in their homes. I had a family friend ask me to build a few of these large characters for Halloween. I had just come into a bunch of old sections of wooden fence so I thought I would give it a try. With many projects, I sometimes find with trial and error what works best and what needs to be tweaked. In this project I will show you how I made each character but I will also give some advice along the way so that if you wish to attempt to create your own decor, you will not have to deal with so much trouble. I’m always here to help!
Supplies:
Fence boards cut 36″ long (5 cut slats per character) Have extras on hand for the hats
18 in. long cross boards for bracing (2 per character) I recommend that 1 x 4 boards be used instead of fence boards.
1 x 4 board for tripod leg to stand on, must measure after assembly (1 per character)
1 inch nails or screws
1 hinge w screws (1 per character)
carpenter’s pencil
tape measure
wood glue
Large 4″ flat painter’s brush
small round paint brushes for fine details
craft paint in large 8 oz. bottles- green, brown, black, white, orange, and yellow (sm. amount needed for candy corn)
raffia
fake fall flowers
glue gun and glue sticks
E6000 glue
jigsaw (for pumpkin and witch designs)
Chop saw, circular saw or jigsaw to cut fence boards
8 bricks (per character used for weight when wood glue is drying)
Hammer
screwdriver
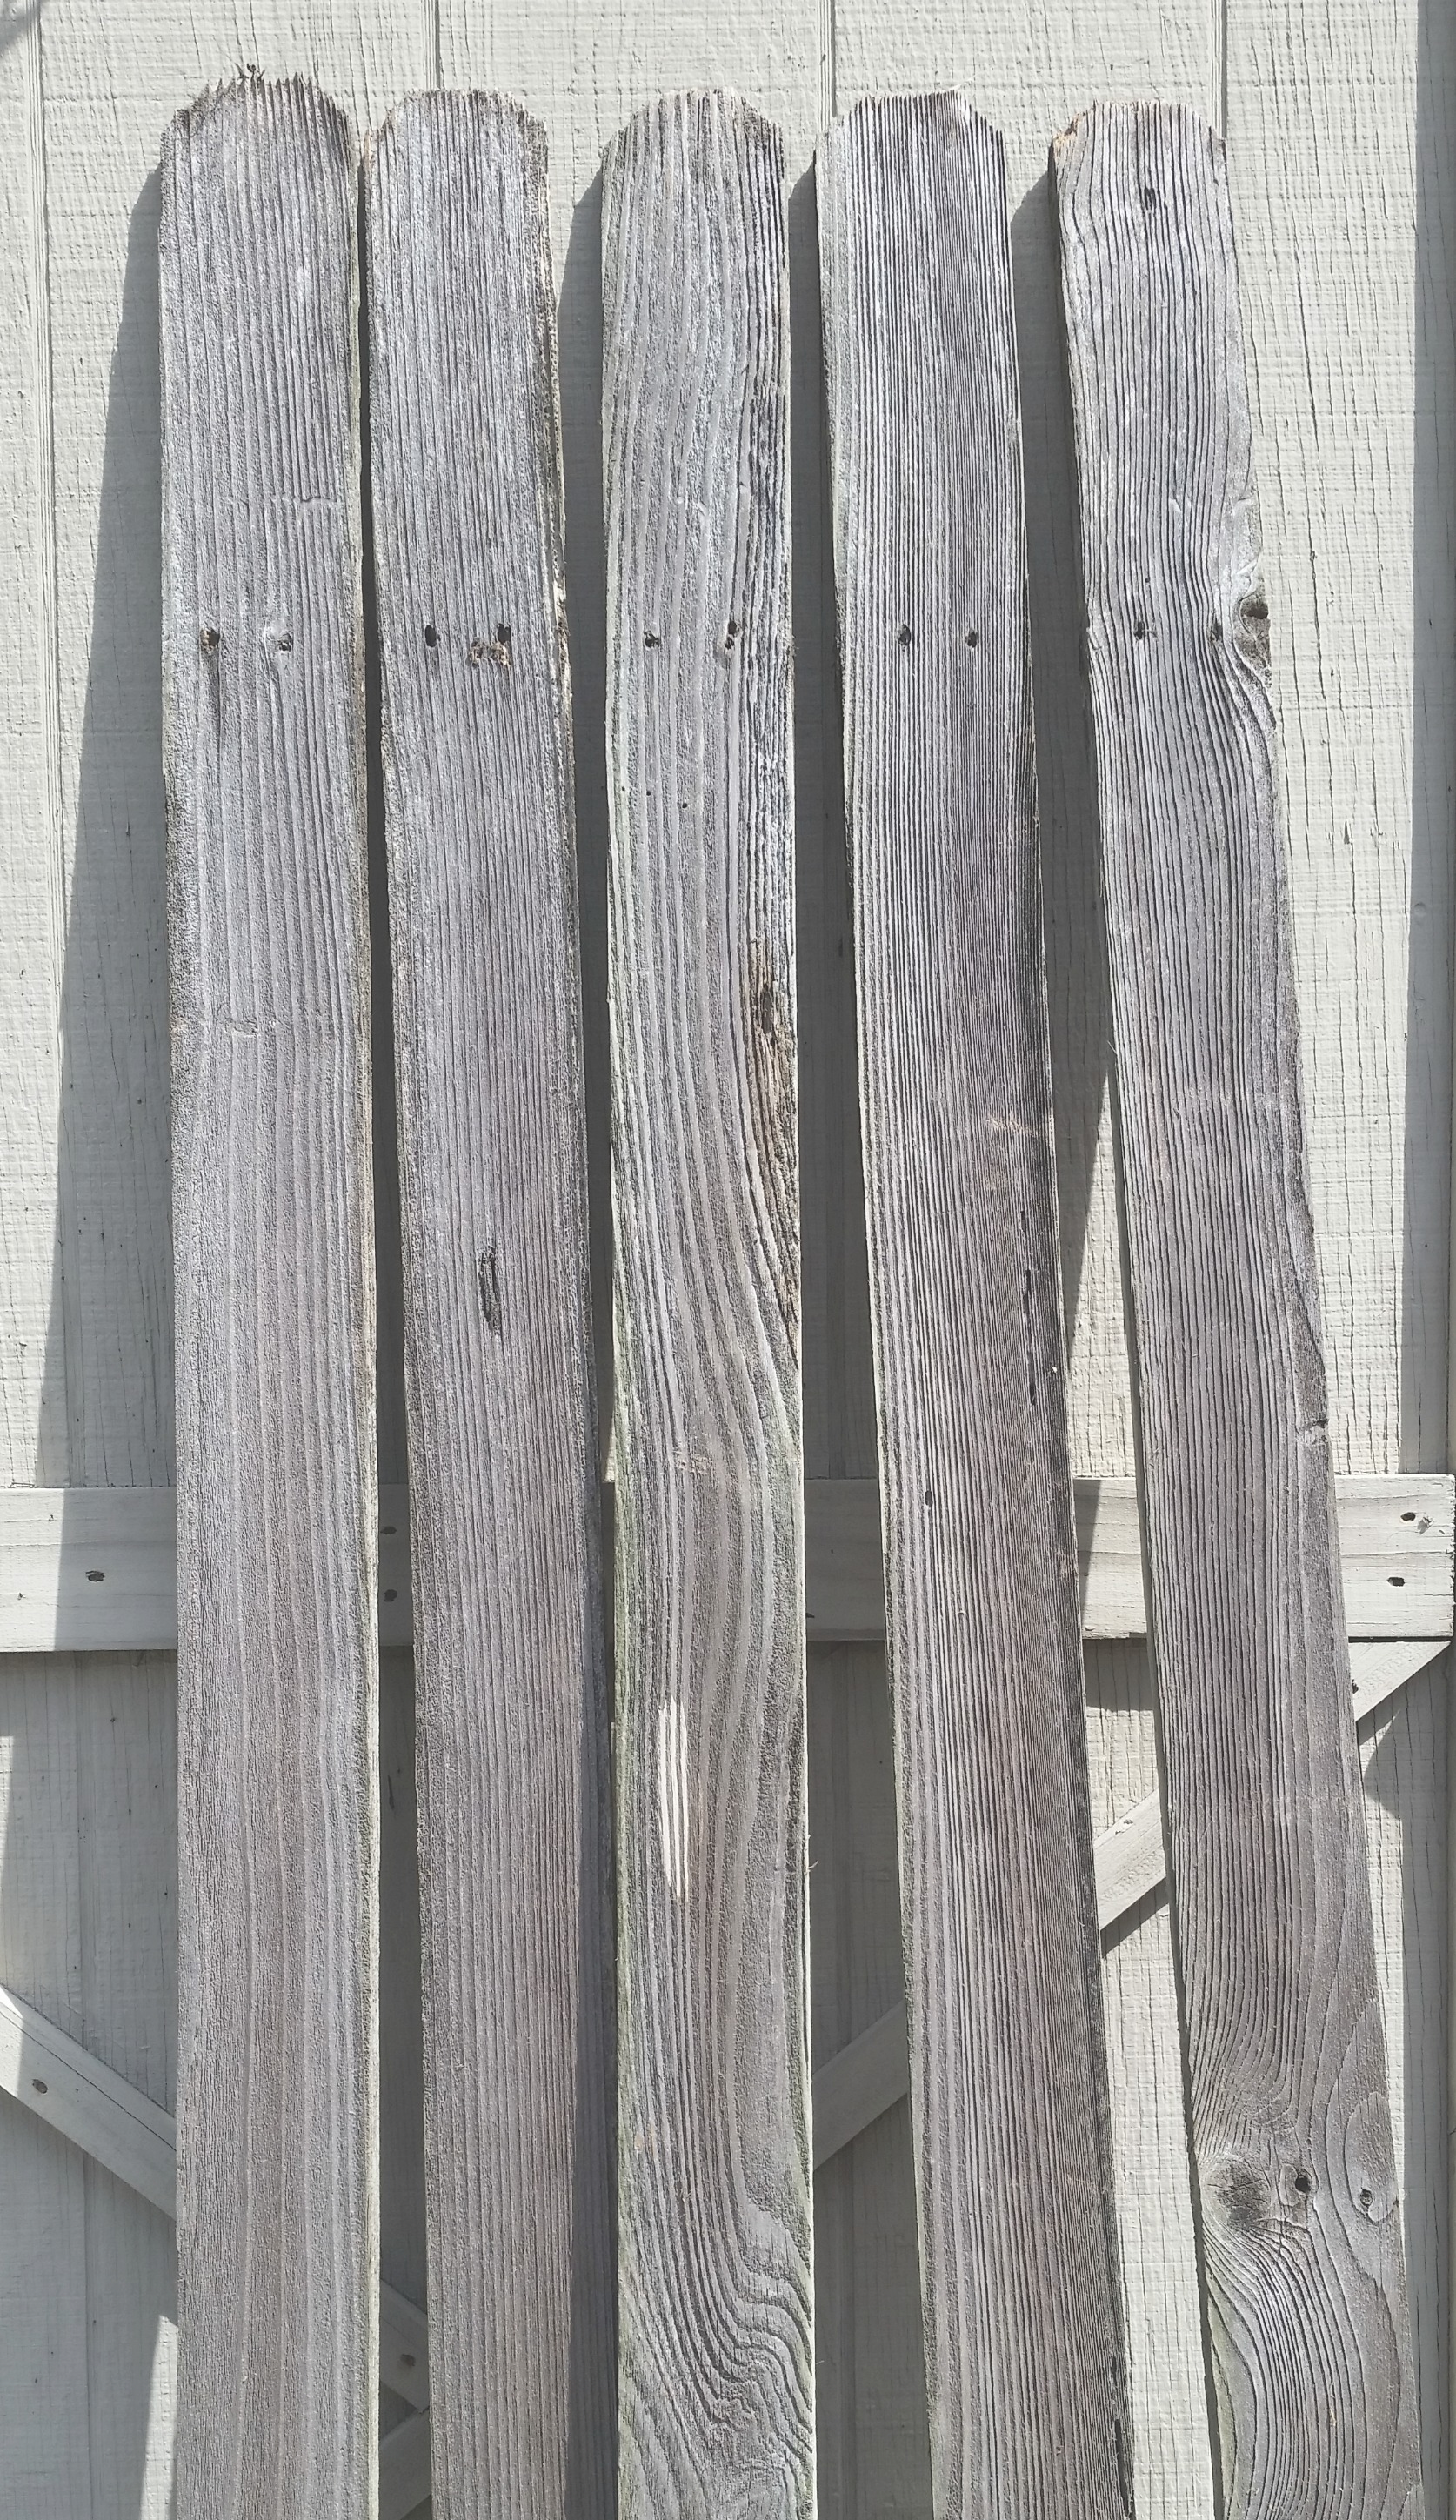
My fence boards were still assembled to the fence bracing so I had to take a crowbar and break all of the boards free before beginning this project. After you have completed this task, have at least 5 boards per character available. This all depends on the condition of your wood. This wood was very old so there were some boards with rot and some with large open knot holes, etc.
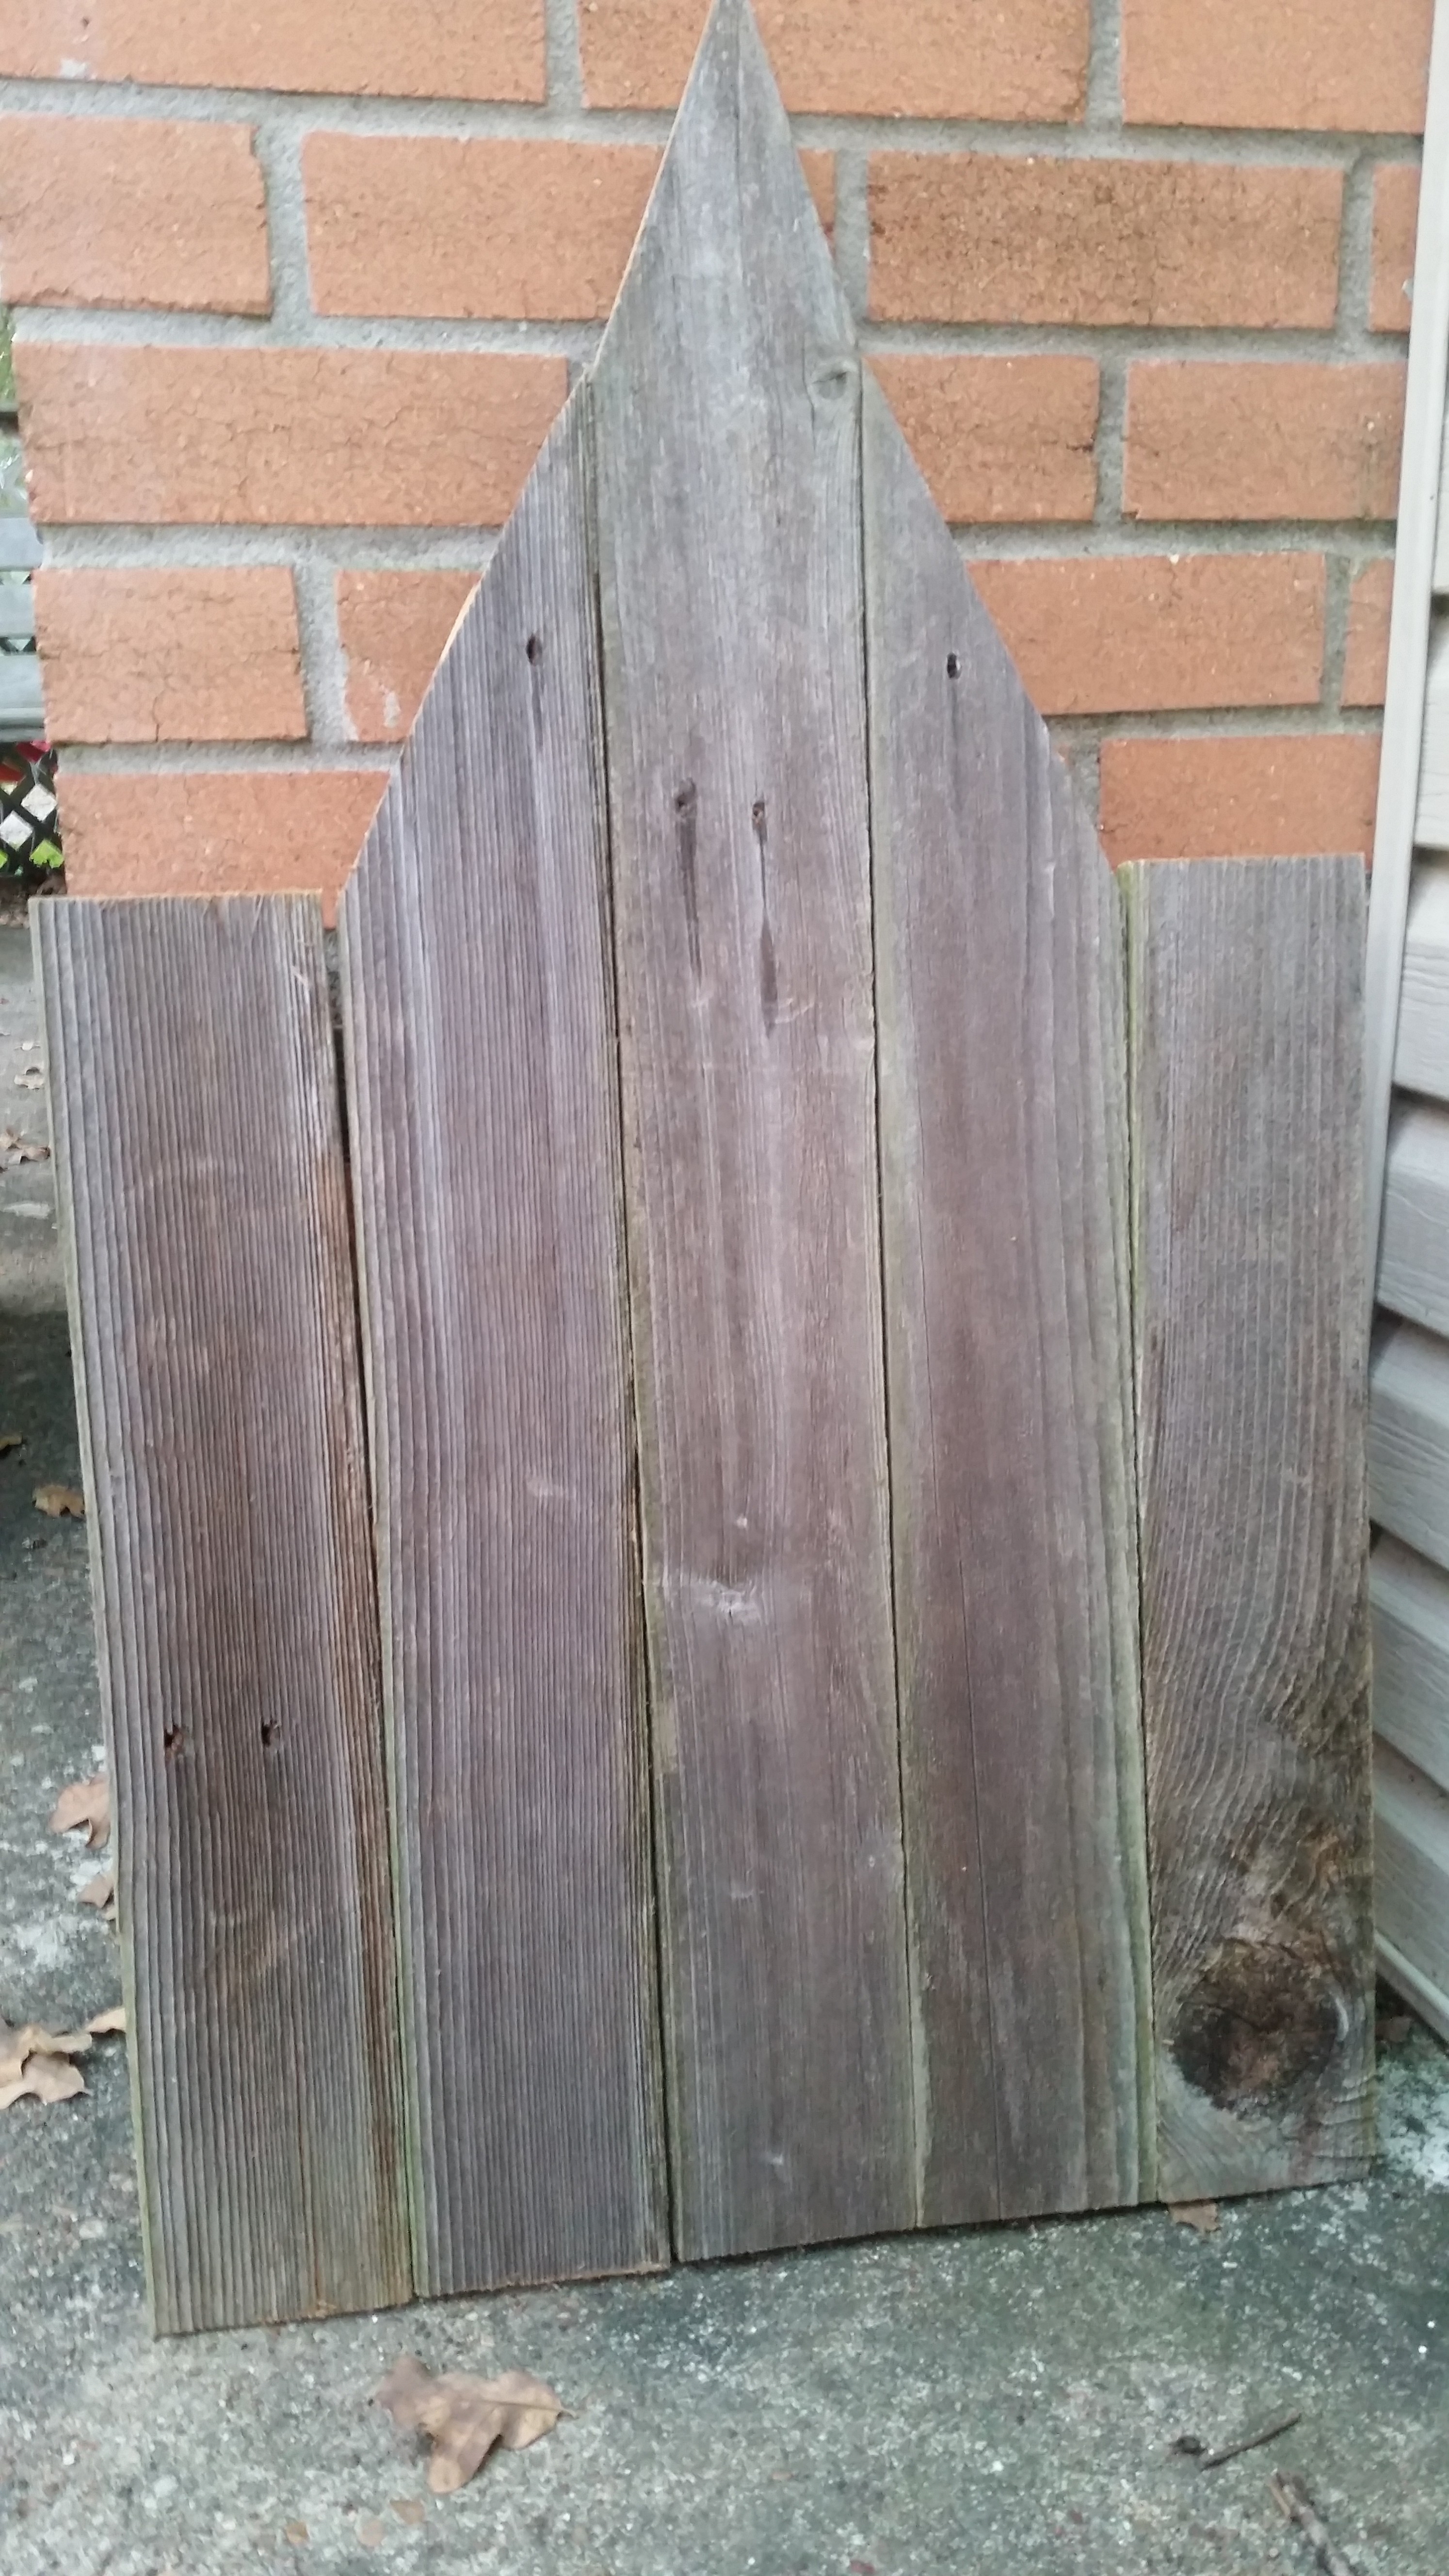
Using which ever saw you have on hand, cut each fence board 36″ long, making all boards are flat on each end except one fence board, leave the top uncut for the stem of the pumpkin character. Now for the scarecrow, this will be all the cutting needed on the boards to create his head since it is a simple rectangle shape. You will later need one cross board to create the brim of his hat. For the pumpkin and the witch, I took a jigsaw and cut them into the appropriate shapes. The pumpkin had gradual curves on the top and bottom corners and the center board was left 36″ tall for the stem. For the witch, I cut each board on the outside edges around 24 inches and then the inside ones I cut slanted to create a triangle top. I will later take a scrap piece of split fence board and create the brim of her hat.
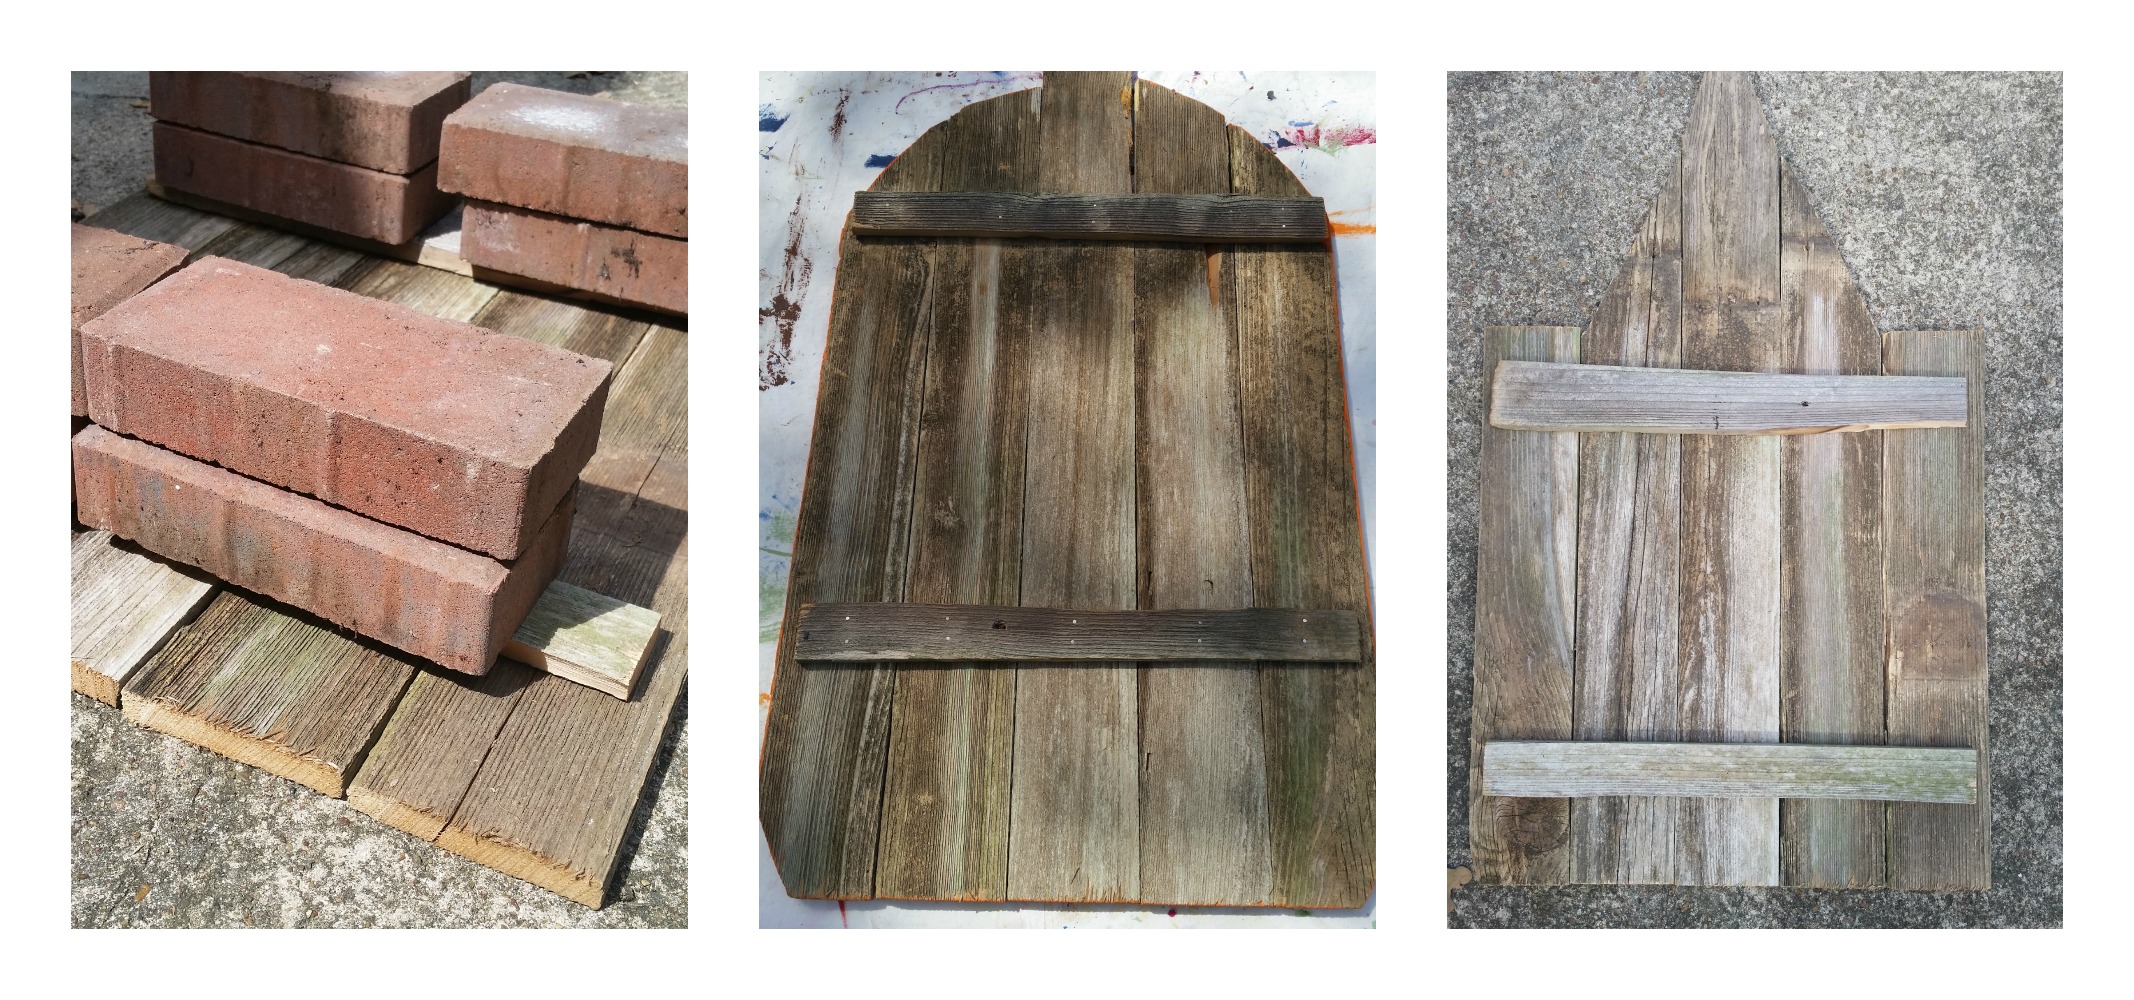
After each piece is cut, lay them out with the front facing down. You will need to take some wood and cut 2 cross boards at 18 inches long for each character. I used the fence wood but later learned that it was very soft. I would recommend using 1 x 4 boards for the bracing so there is something more solid to nail into. Because the wood was so thin, I ended up using very short nails, but I would also recommend screws just to be safe as well. Apply a generous amount of wood glue along where the cross board bracing will be. Glue down both braces on the back of each character about 8 to 10 inches from the top and bottom. Use about 8 bricks to weigh them down while they dry. I usually let it dry overnight to ensure that it holds. The next day, you will gently flip the character over and nail each board in from the front side and also from the back side. This is where I would recommend using screws for a better hold.
For the witch, I had a broken fence board that I liked the shape of. I used it for the brim of her hat. It extends about 5 inches wider than the face width. For the scarecrow, I cut one fence board about 24 inches long to create his hat brim. Set these two pieces aside for now.
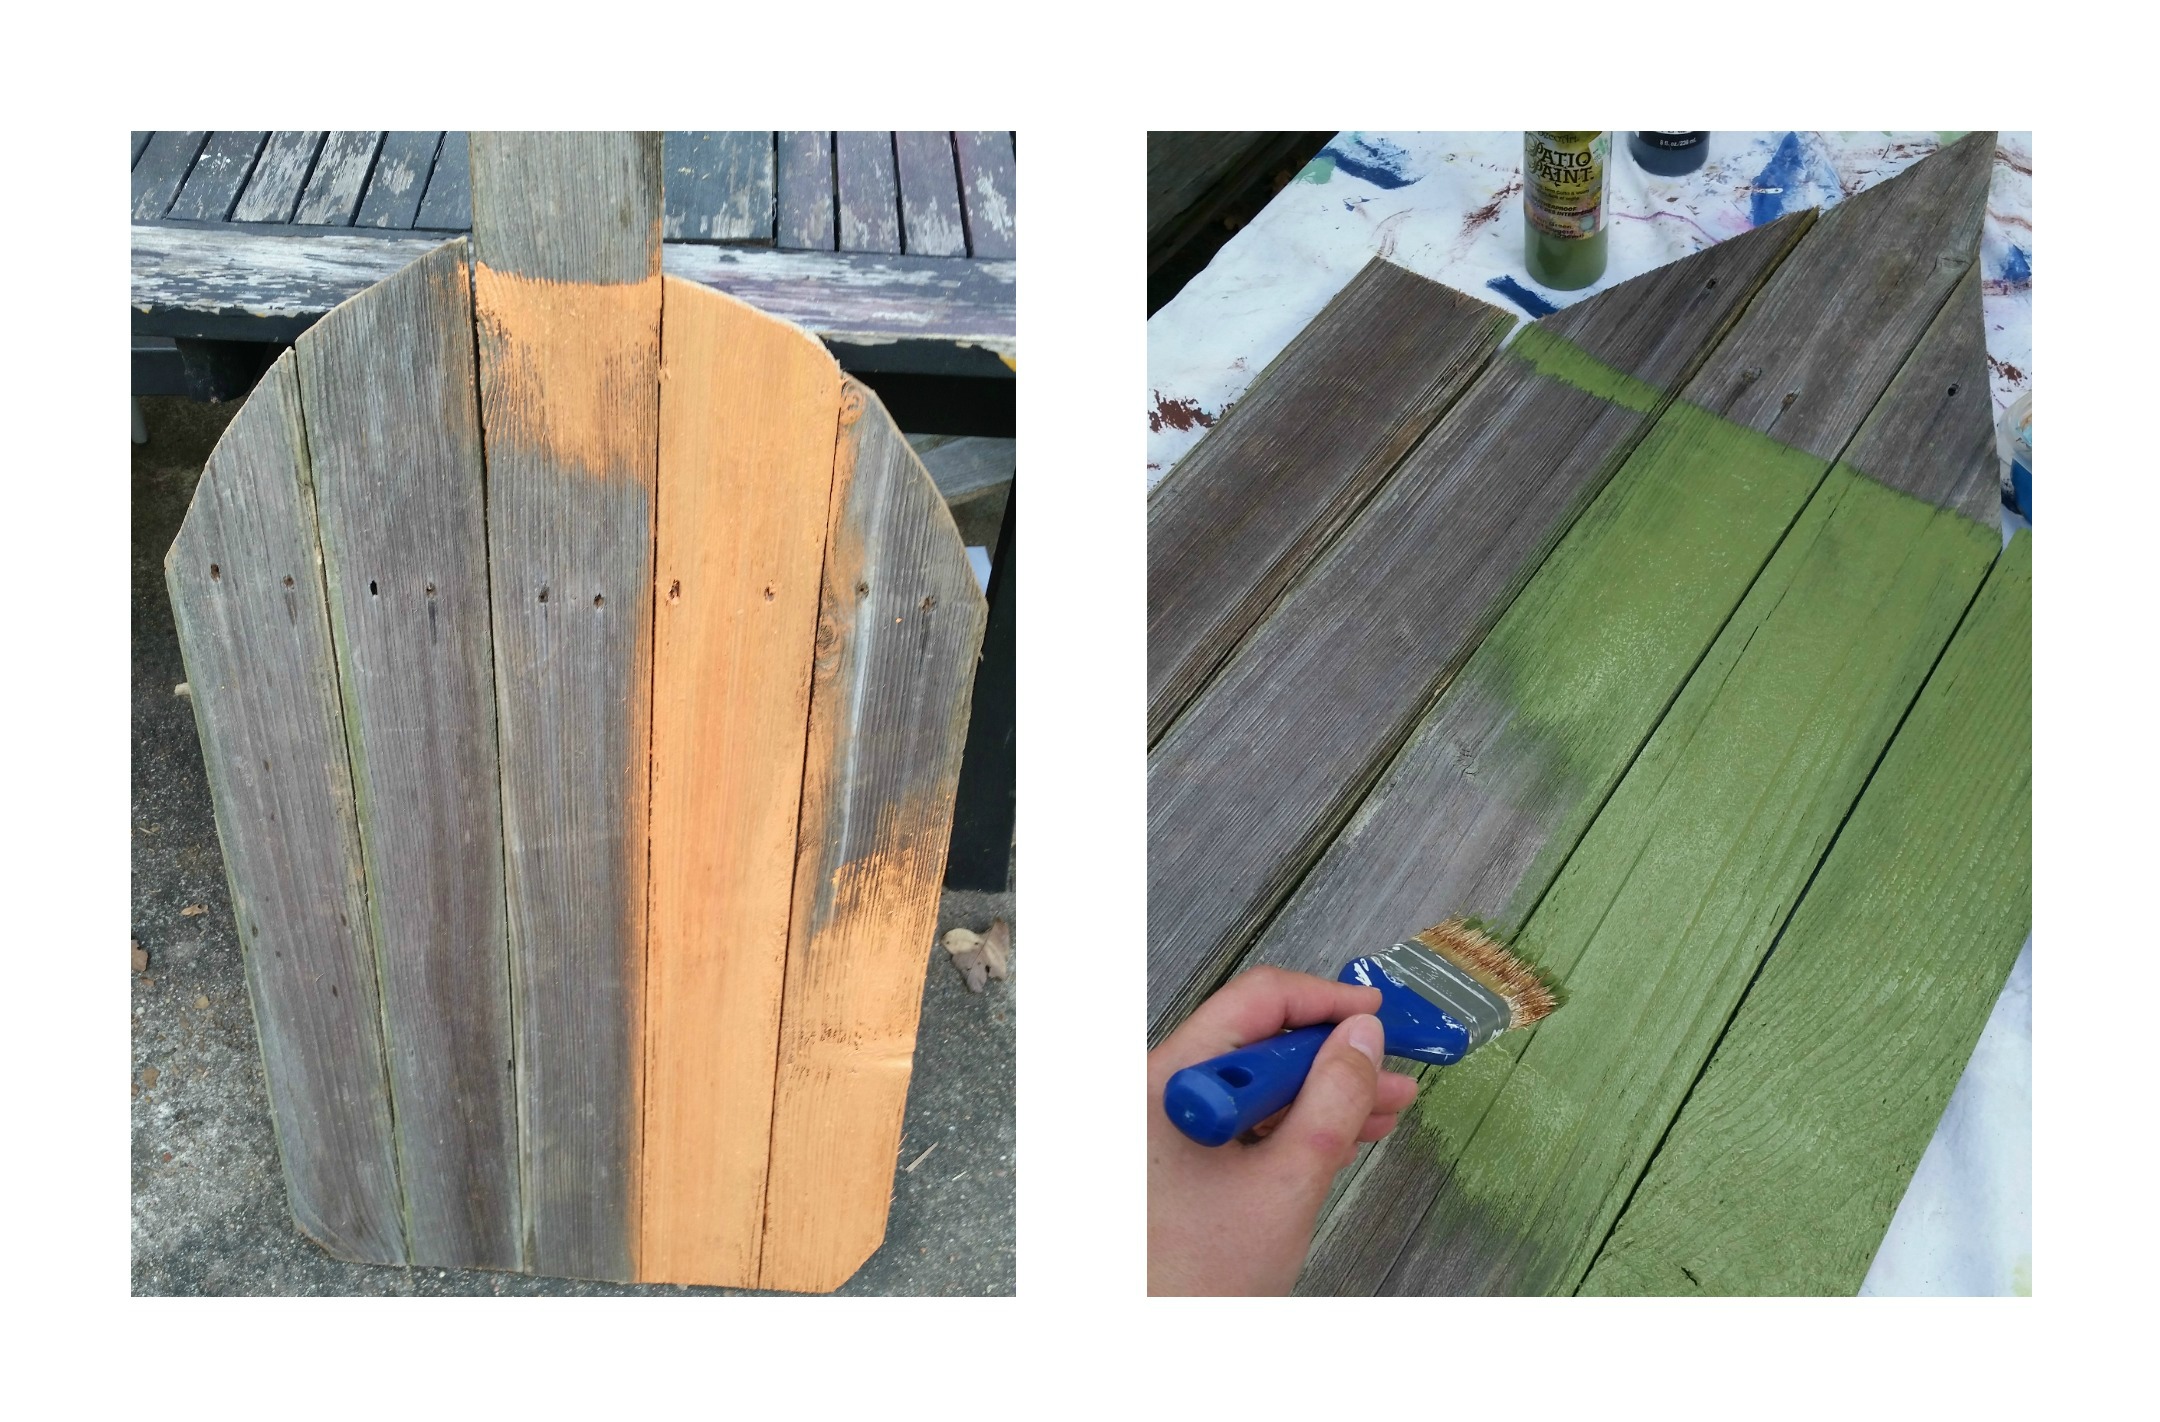
Here comes the fun part. You will now paint each face with a base coat of paint. For the scarecrow, you will need a creamy off white color that is slightly tinted yellow, like the color of vanilla ice cream. I had some house paint laying around but you can use craft paint, but you will need a large bottle to make sure you have enough. It will need at least two coats. For the pumpkin, I used a bottle of Apple Barrel pumpkin orange paint. Apply two coats. For the witch, I had some olive green Patio Paint that I used for her face. Apply two coats. While these areas are drying, you can paint the scarecrow’s hat brown and the witch’s hat black. When the pumpkin is dried, paint the stem brown.
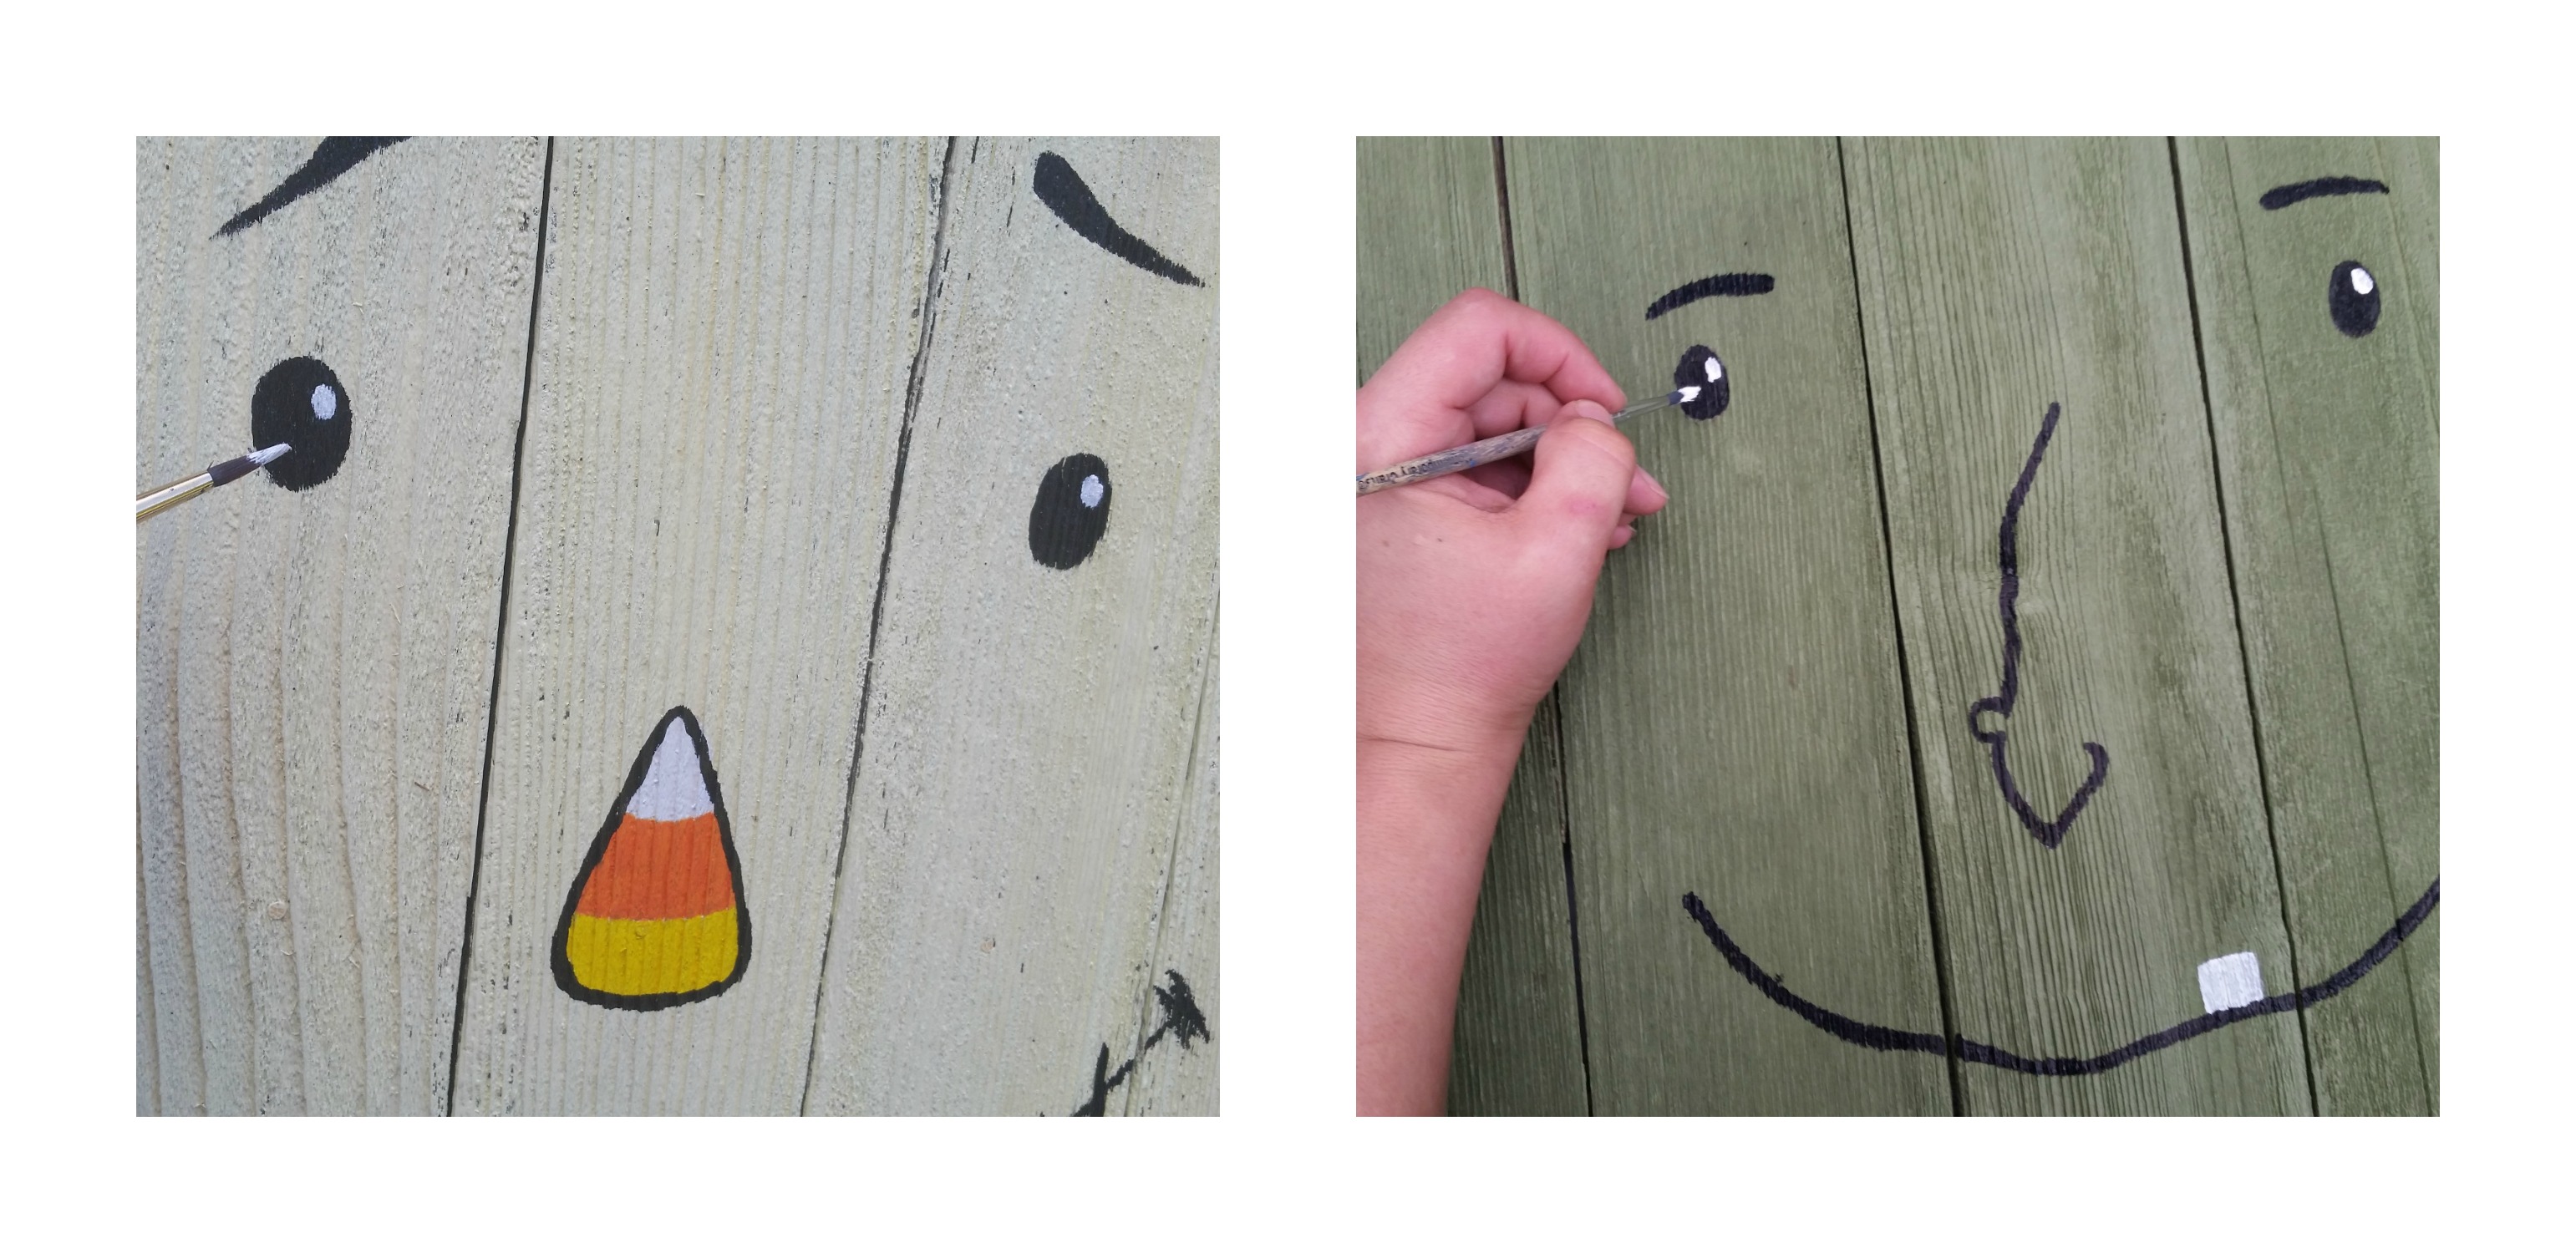
After the paint has dried, add in the facial features with your fine tip brush and black paint. The scarecrow has a candy corn for his nose so you will need a very small amount of orange, yellow and white to paint it in. Add a white tooth to the witch’s mouth and small highlights to their eyes if you wish.

When the characters are completely dry, you can assemble the brim of the hat onto the scarecrow and the witch in the same fashion as adding the back bracing. You will first apply the wood glue and then stack bricks onto it to help it dry. Again, let it dry overnight. When it is completely dried, add a few nails. If you are using screws, you can go ahead and put them in while the glue is drying and they will hold everything in place. Be sure to paint over your hardware after attaching these pieces.
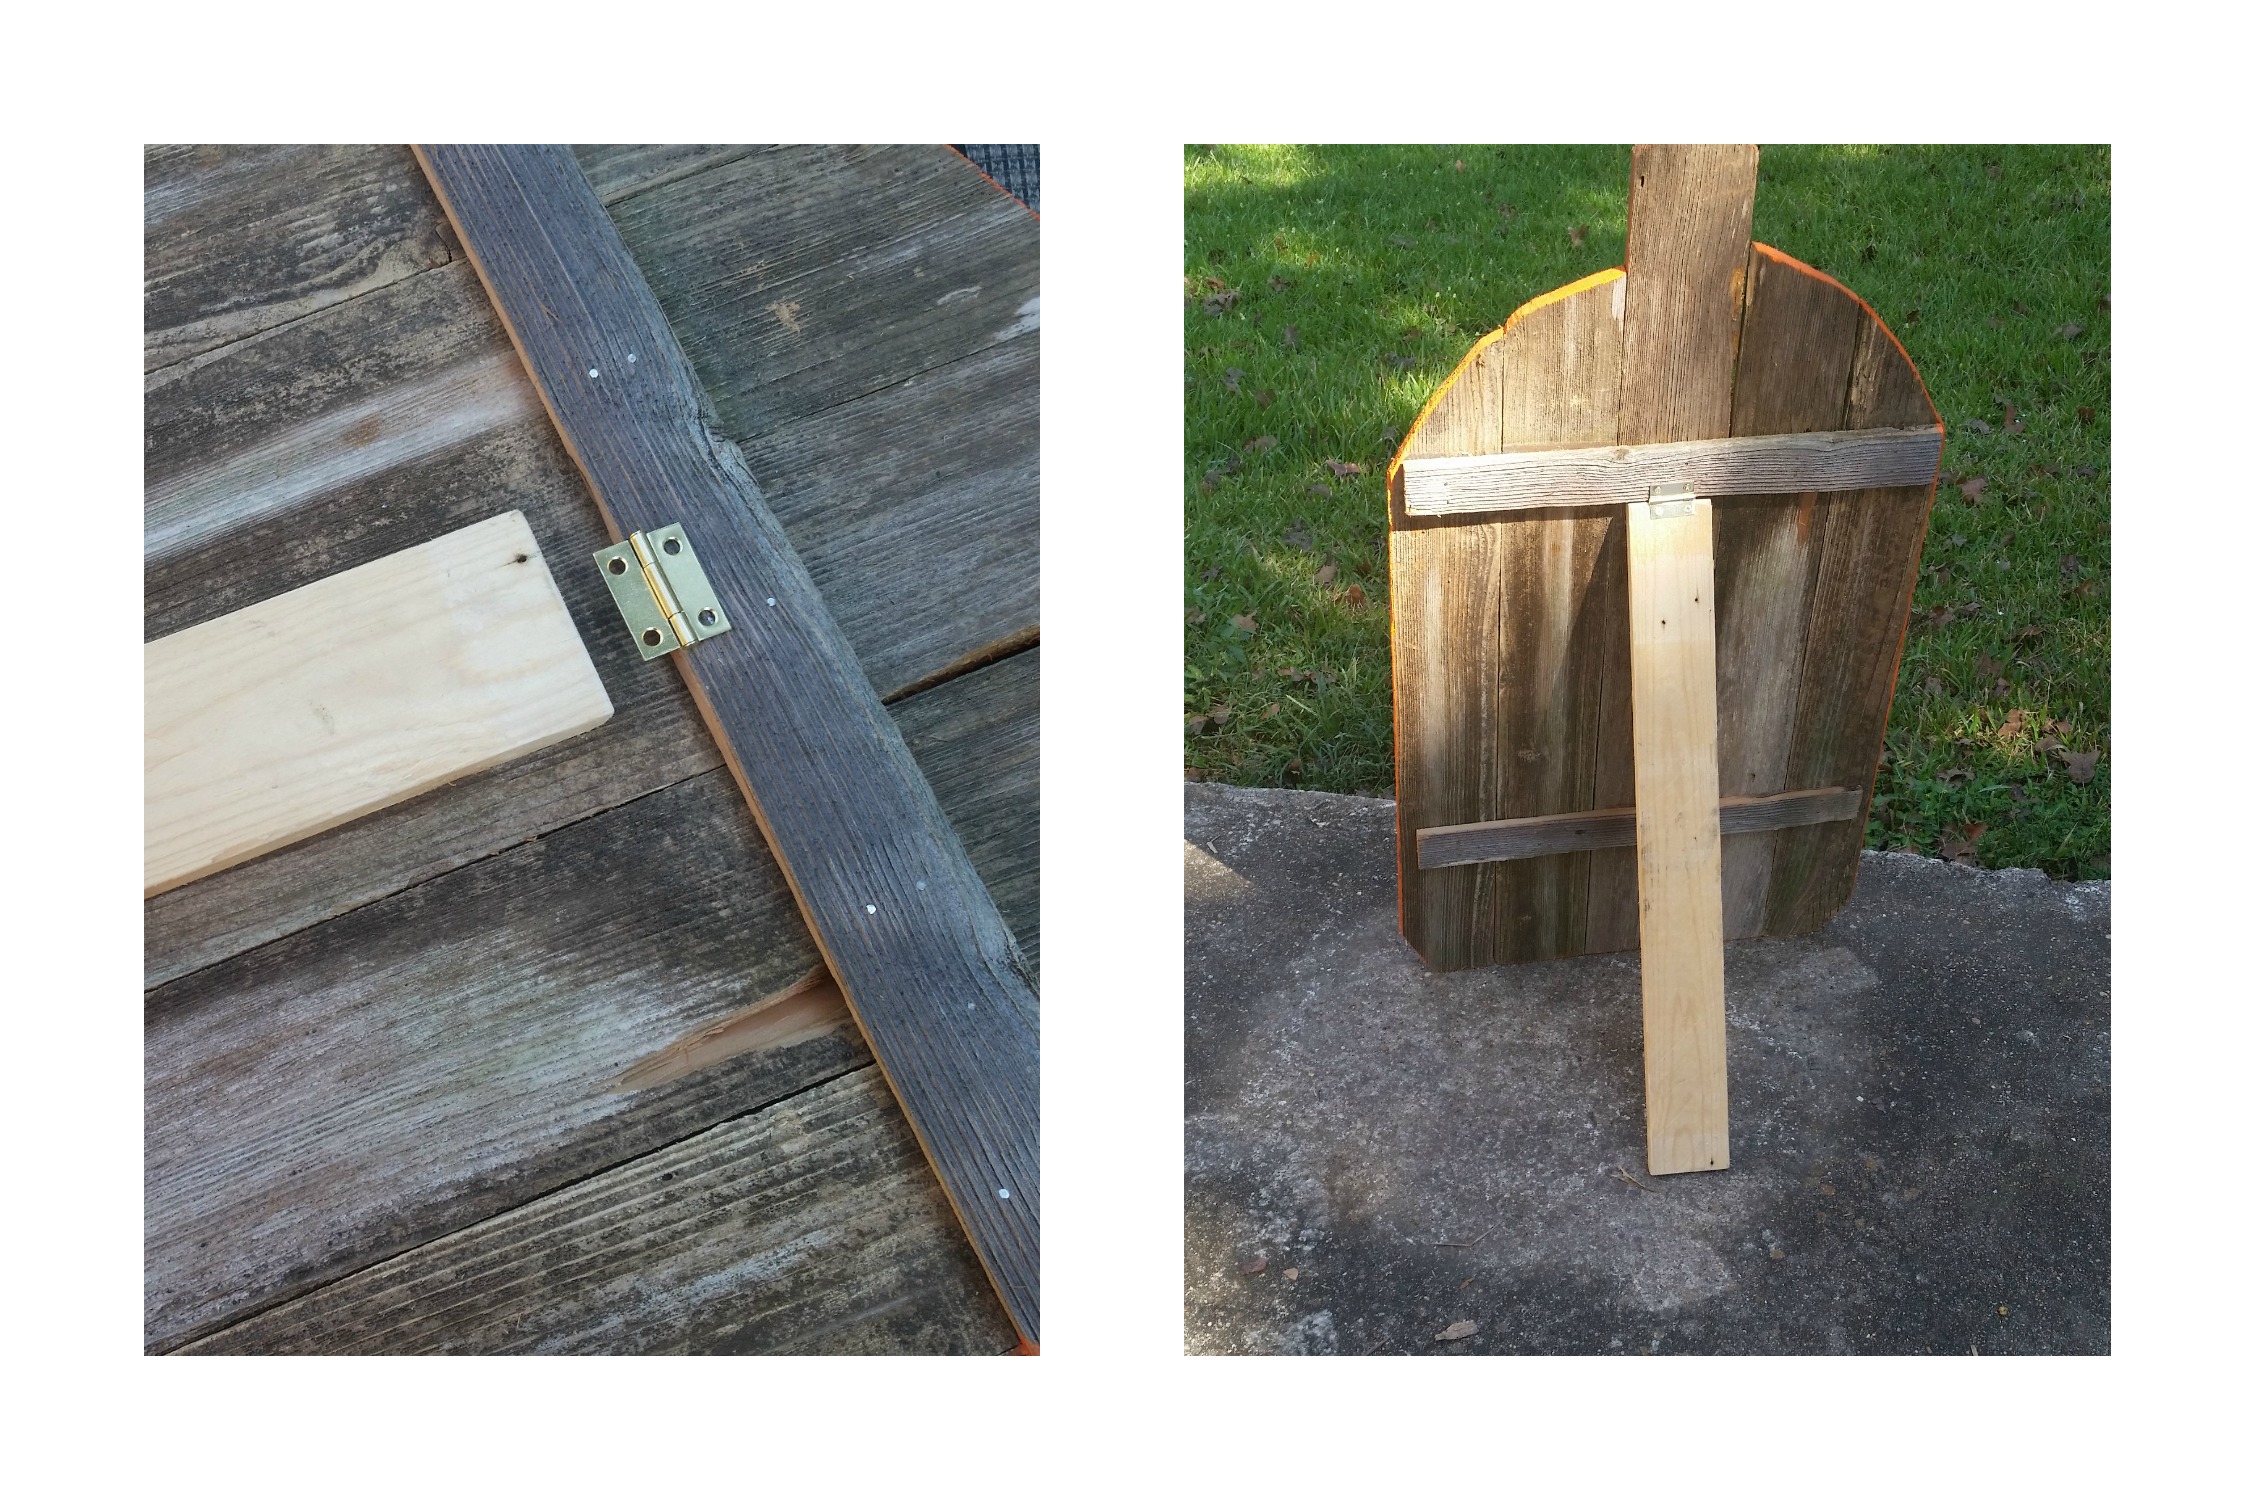
Once the entire design is completed and dry, we will add a hinged leg to help it stand up. This step is optional if you wish to lean it up against a wall instead. Turn the board over to where the back bracing is facing up. Where the top brace is located, this leg will be assembled right up against it. The hinge will be screwed into the wood of the top brace and into the leg board. I had to measure the length of the board and cut it to fit so it measures approximately as the same length of the piece from top brace board to the bottom. Cut the board and then screw it together. Test it out to make sure it holds up the piece properly.
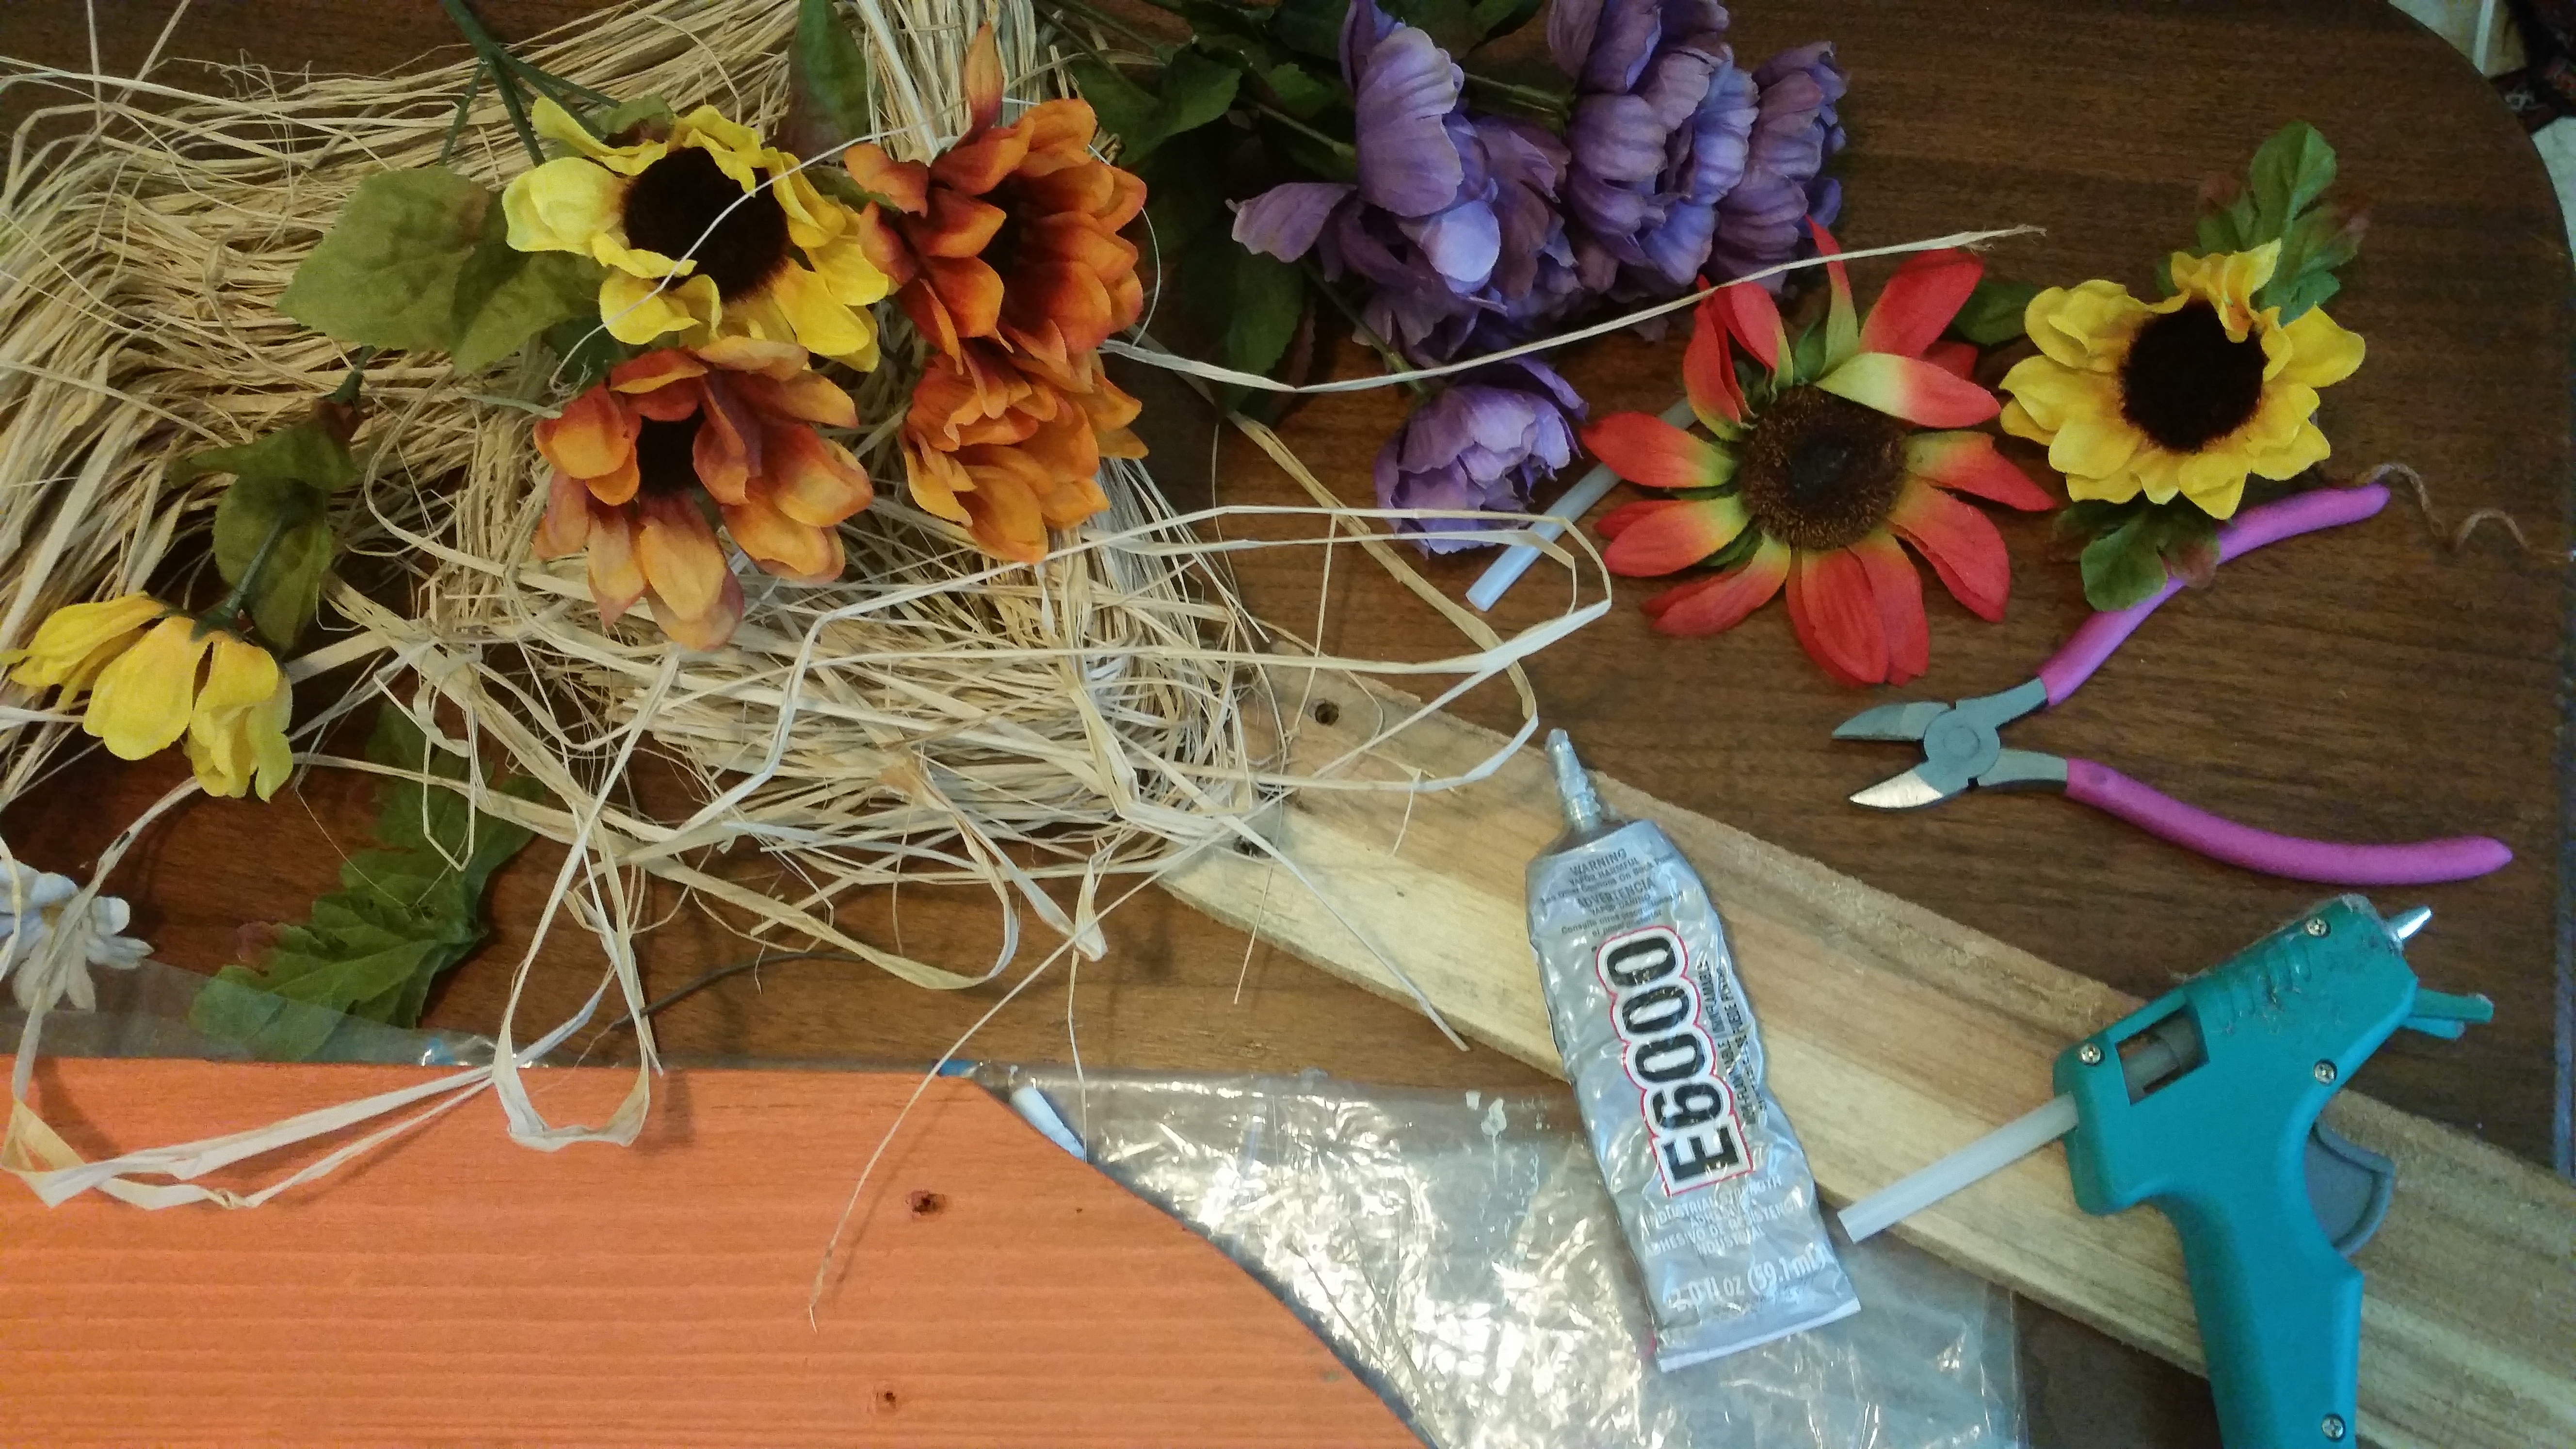
The final step is to decorate the character with some raffia and flowers. These final touches really dress up the piece. For the witch, I took a small handful of raffia and folded it in half. Then I tied it into a knot so that it would be glued the side of her face to create the illusion of hair. Repeat for the other side. On the pumpkin, I took a few strands of raffia and tied a bow around the stem. For the scarecrow, I took a small handful of raffia and tied a bow to embellish his hat. Trim up any longer pieces of hanging raffia. To secure it to the wood, I used two types of glue. Hot glue was used for an instant hold and E6000 was used to ensure a longer hold that will stand up to heat and weather. Place a large glob of each glue side by side for each area to be glued and press firmly in place until the hot glue dries. After the raffia is in place, attach your choice of fall flowers to the character in the exact same fashion. Allow them to dry laying flat for at least 45 min to give the E6000 time to completely dry.
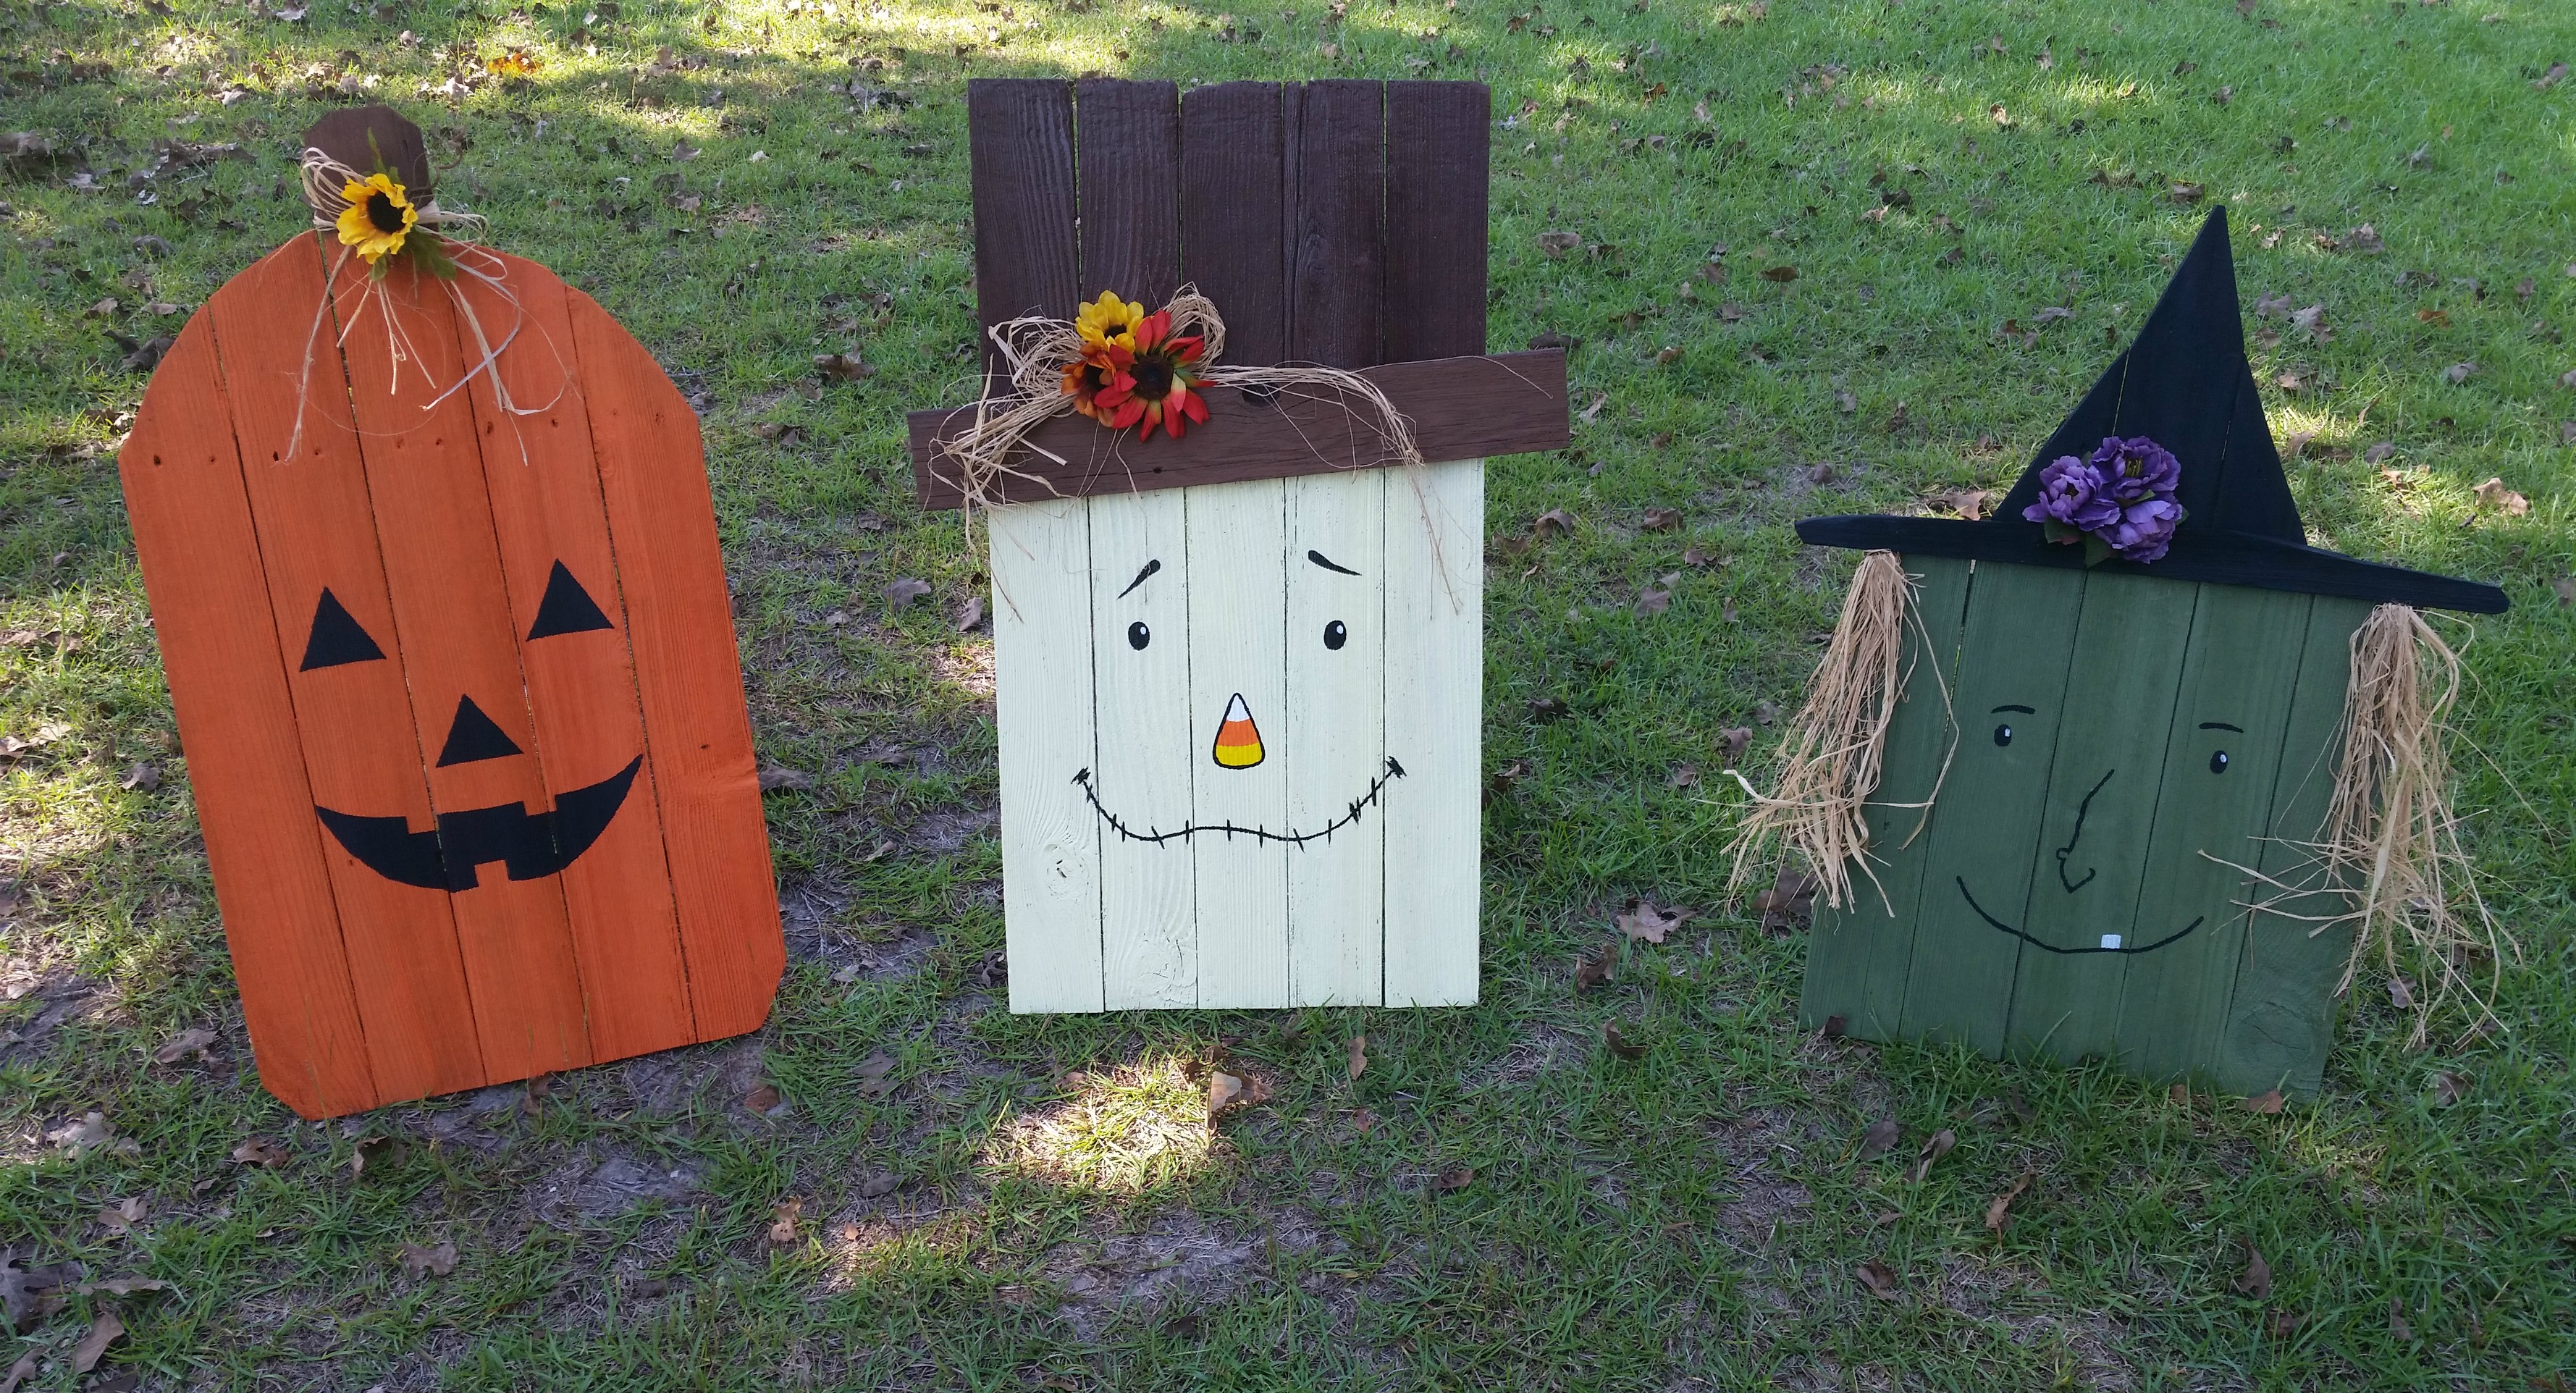
When they are completely dry, they are ready to display. These fall and Halloween characters are so very large and fun to display in your yard or even in your home. They even make great gifts too!
Leave a Reply