I am really into making fairy gardens, and my daughter loves them too. This is my first attempt at making a “self-contained” fairy garden in a terra cotta pot, to be displayed either inside or out on your patio.
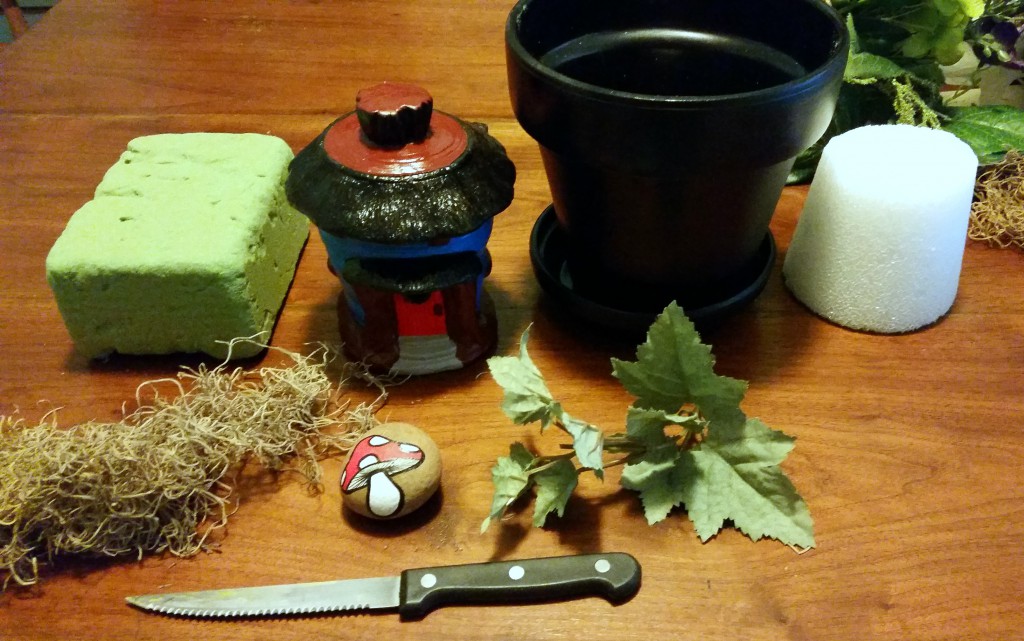
Supplies needed:
- A ceramic pot (any size or color will do)
- Rust-Oleum Painter’s Touch semi-gloss spray paint (optional)
- A small fairy house or birdhouse
- Floral foam or styrofoam
- Moss
- Fake greenery
- Marbles, rocks, flowers, or figures
- Knife
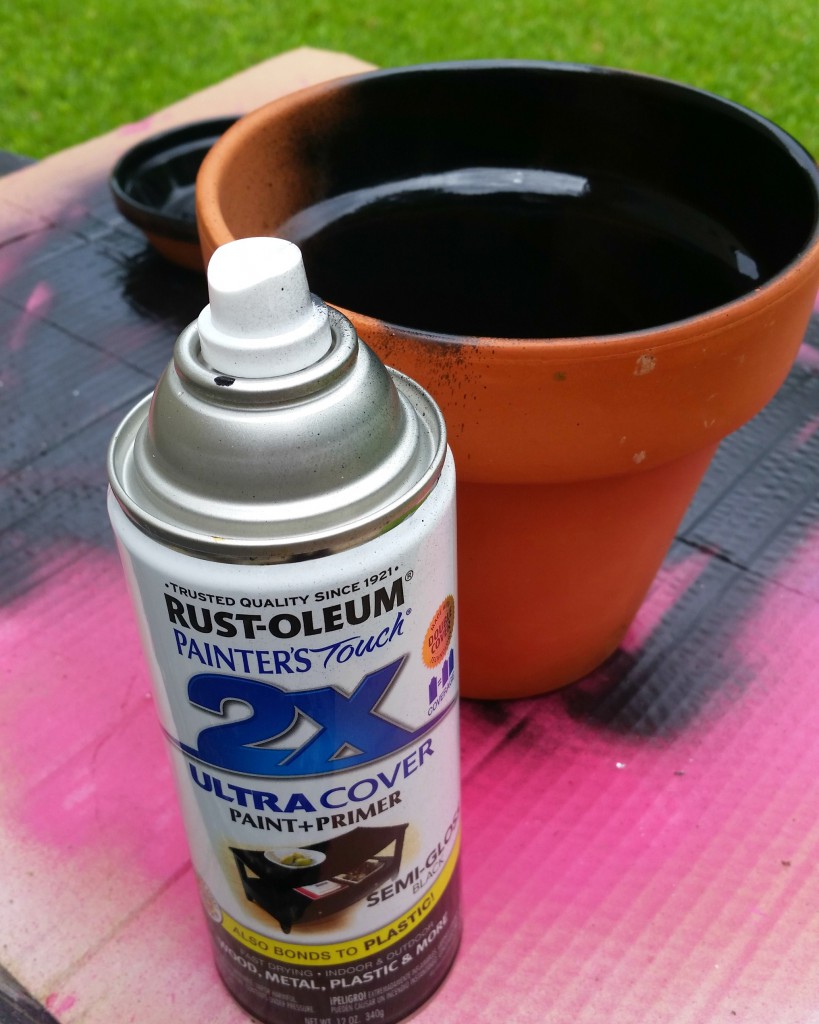
If you wish to change the existing color of the pot, I recommend using Rust-oleum Painter’s Touch semi-gloss paint. It is very durable and has a nice finish. It also comes in a variety of colors. I chose black to contrast with my colorful fairy house. Note that this pot is not going to be used for live foliage, or I would not have spray-painted the inside of my pot — the moisture would damage the paint, and it would most be unhealthy for the plants too.
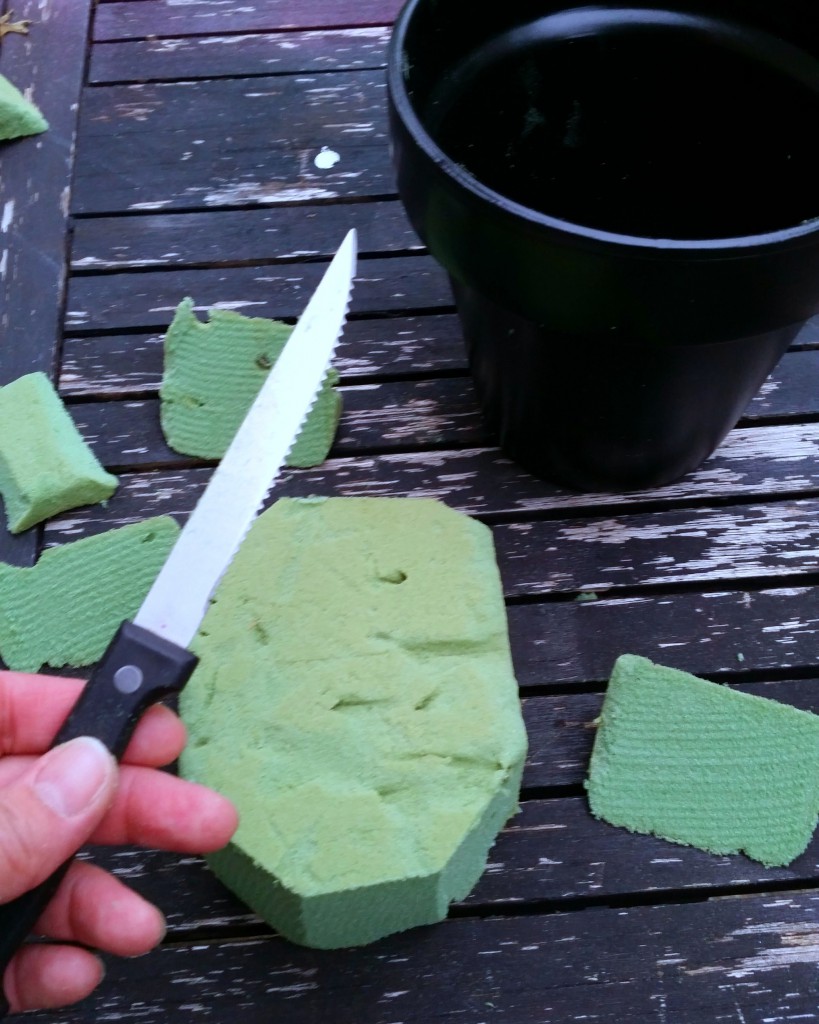
Next, trim the foam to fit the inside of the pot. I am using floral foam and a steak knife. Floral foam is much easier to cut than regular styrofoam, but either one will work for this project. Make sure that the foam sits inside of the pot without showing. It should be about 3/4″ below the top of the rim.
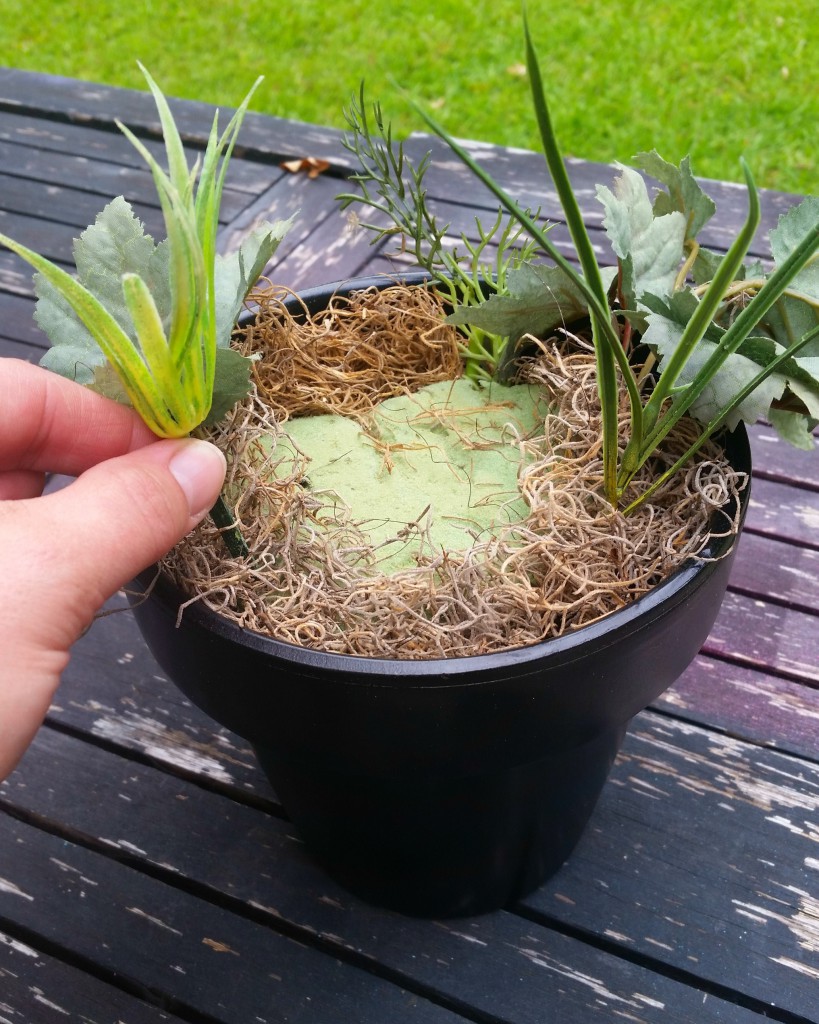
Place a thin layer of moss in a circle around the area where your house will sit. Tuck in any moss that hangs over the edges. Next, place your greenery around the moss circle. If you need to measure, place your house on top to make sure there is enough space for it to rest in the center. The greenery I chose was small, so it was proportionate to the size of the house. I used some short pieces of ivy and some small blades of grass.
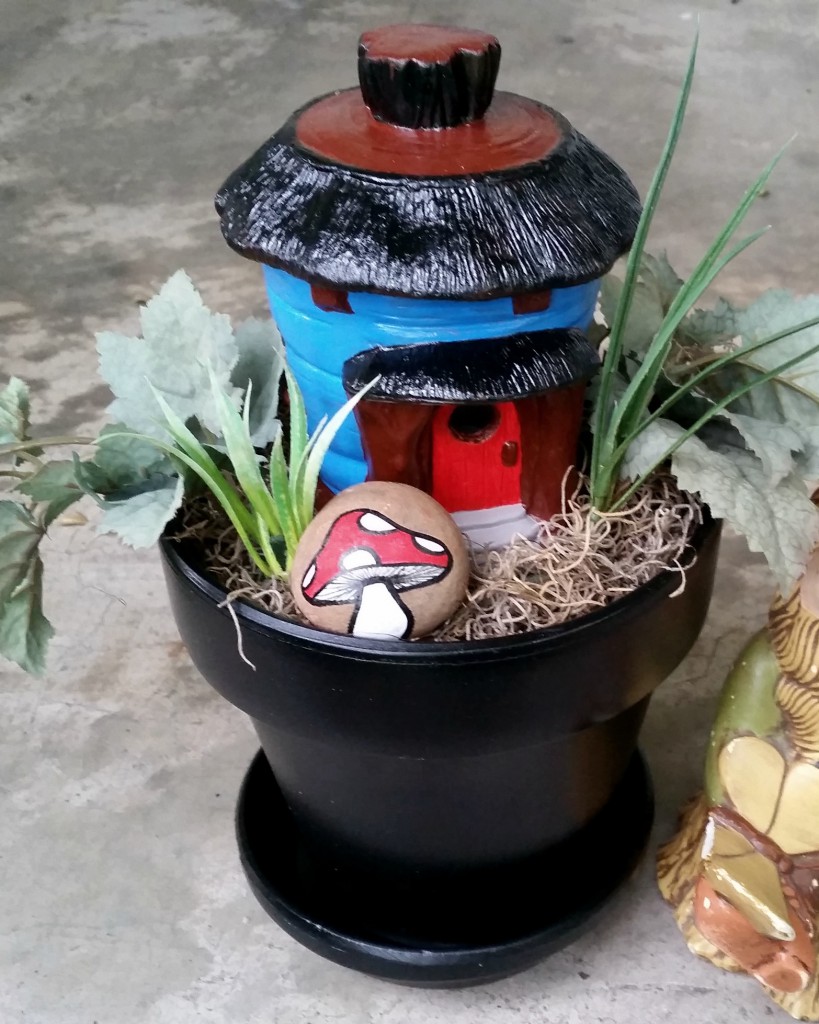
After you’re done placing the greenery in the pot, place the house in the center and rearrange any of the greenery that looks out of place. Finish decorating your fairy garden with marbles, rocks, or fairy figurines.

Now your fairy garden is complete! Display it either indoors or outdoors on your covered porch or patio.

0 Comments
1 Pingback