
Do you like stuffies, either for yourself or for your kids? An owl plushie can be an adorable toy or piece of decor. This walk-through tutorial teaches you how to sew a cute little owl-shaped pillow by hand.
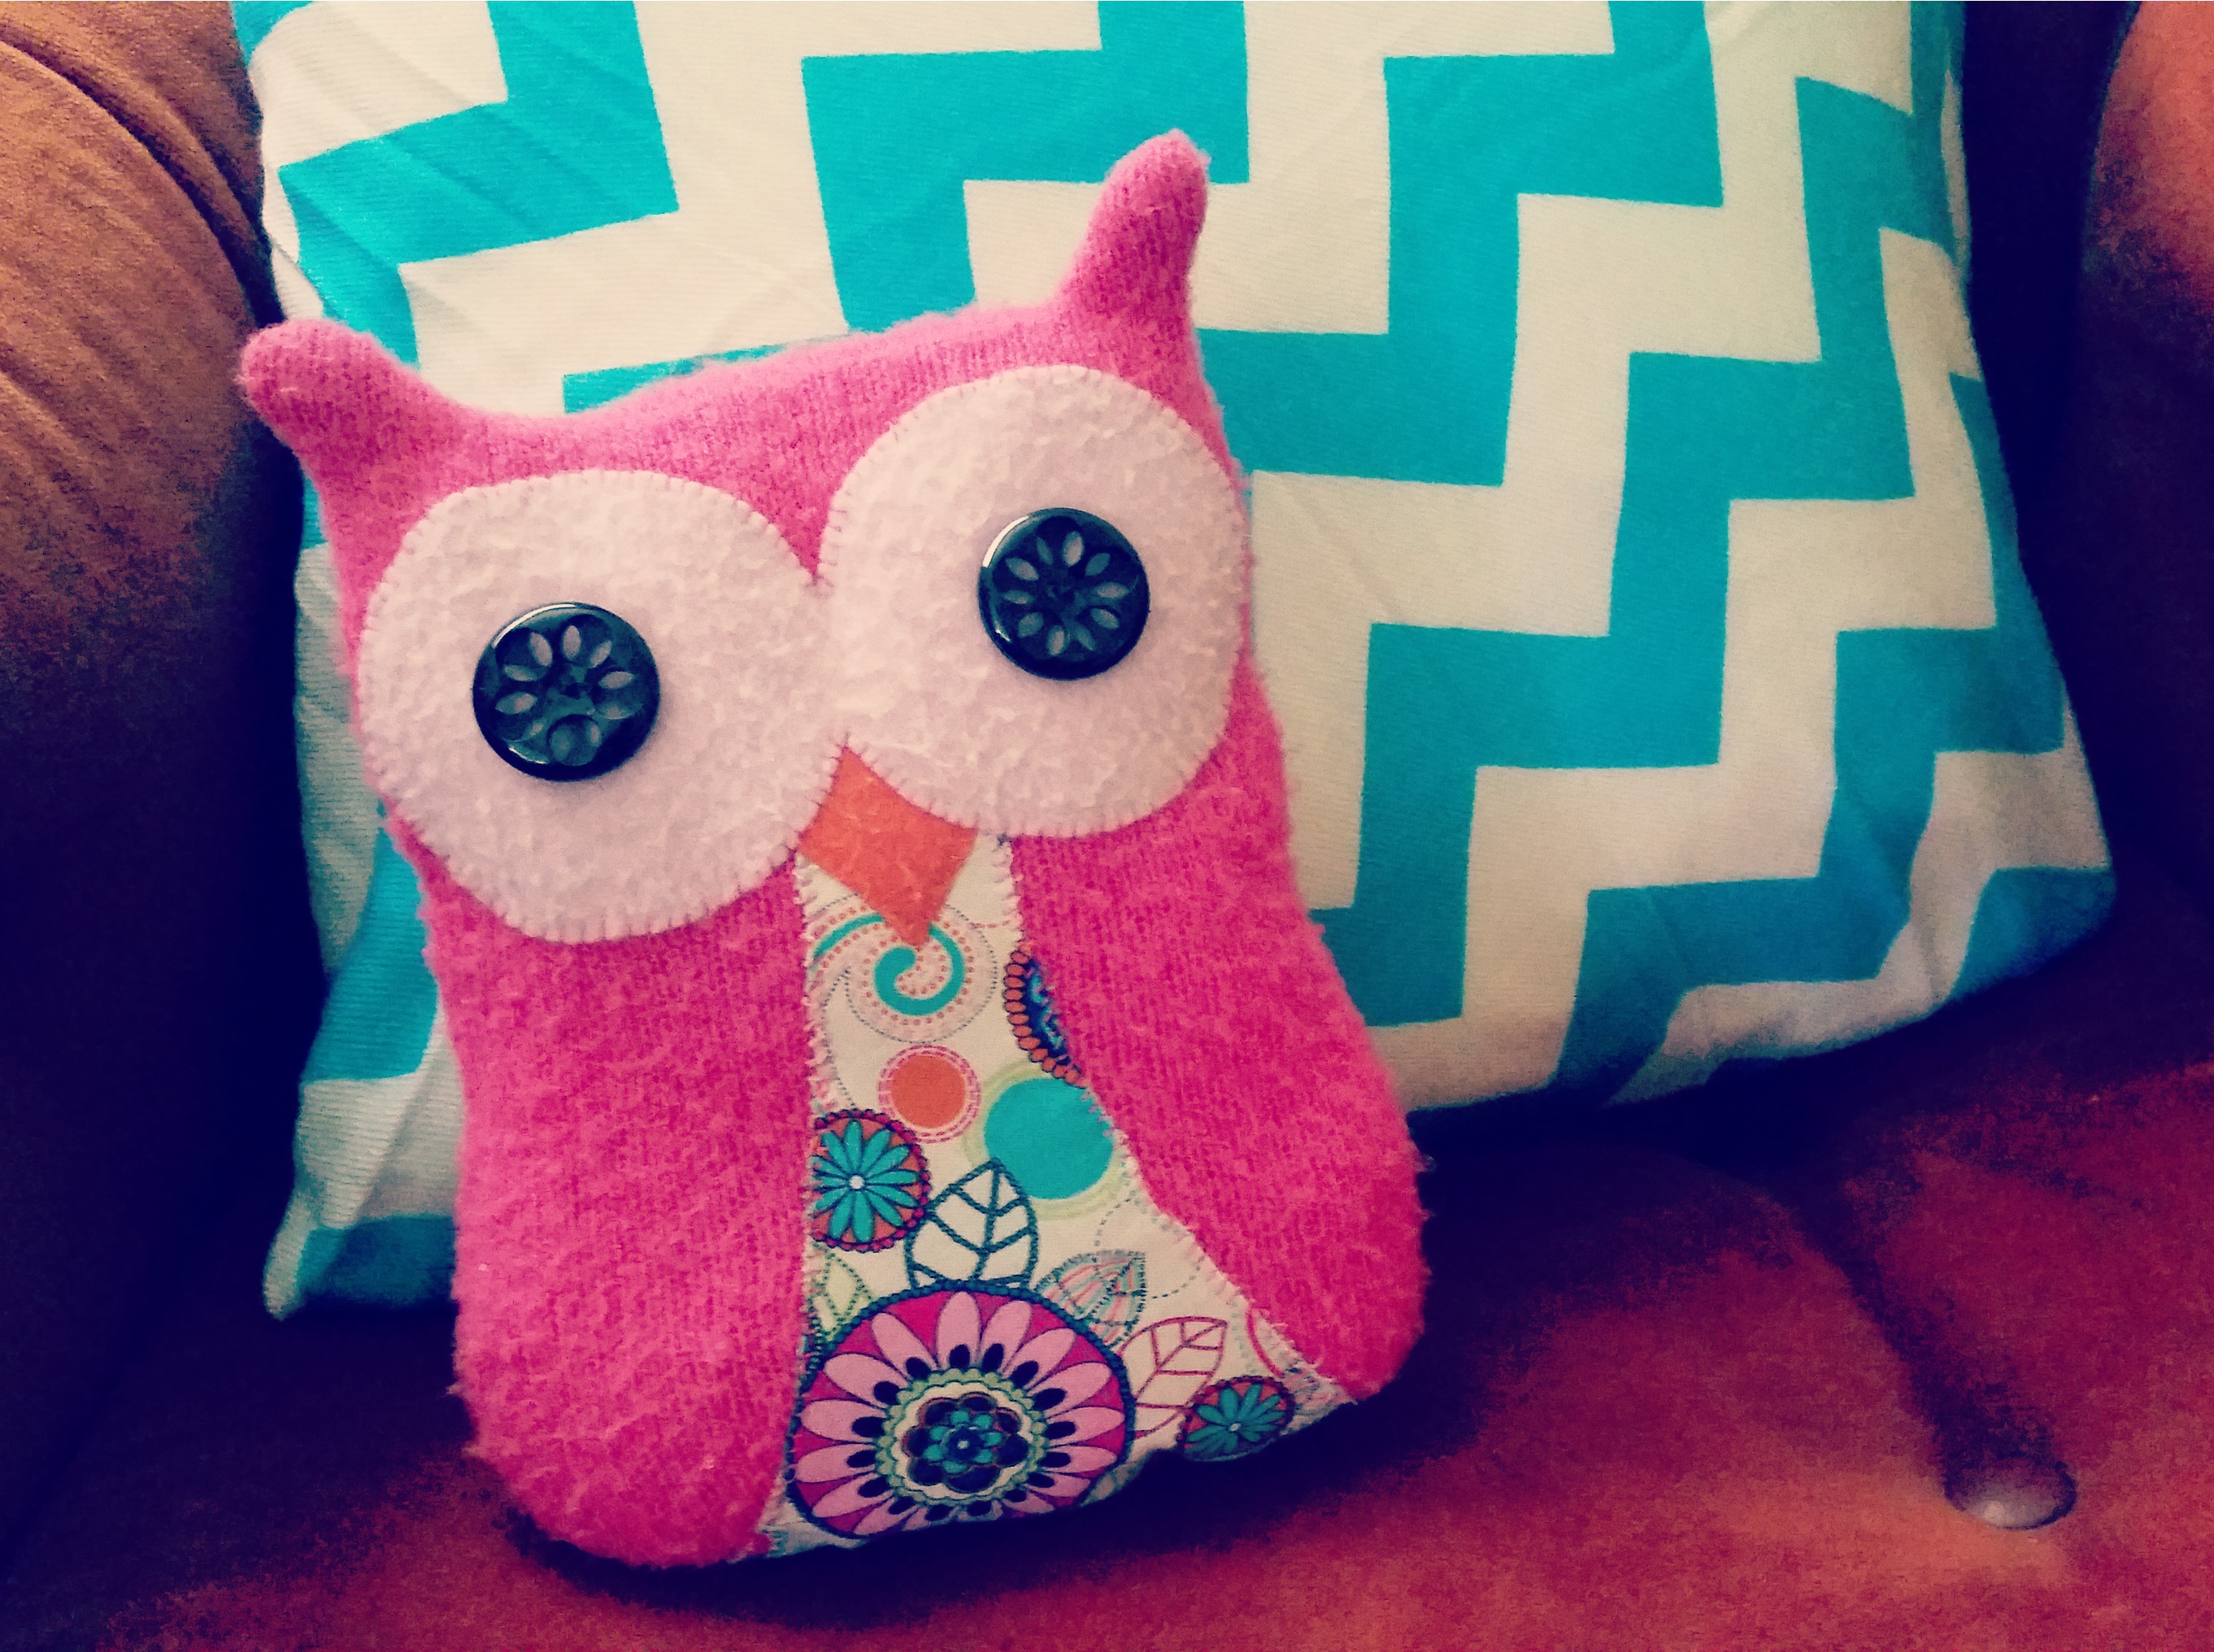
I used an old fuzzy pink sweater for the body, but any thick wool or fleece fabric will do. For the belly, I chose a bright and colorful cotton fabric with a retro floral design. Choose a belly fabric that complements your body fabric. The beak and eyes were made with different colors of felt, and two large buttons made the eyes come alive!
Here are the materials you need for this project:
- ¼ yard of thick fleece or wool fabric
- Cotton fabric scrap, 7″ x 7″
- 2 large buttons
- 2 pieces of felt, one orange and one a different color
- Poly-fil polyester filling
- Various colored threads
- Pins
- Sewing needle
- Scissors
- Owl plushie pattern (download my pattern)
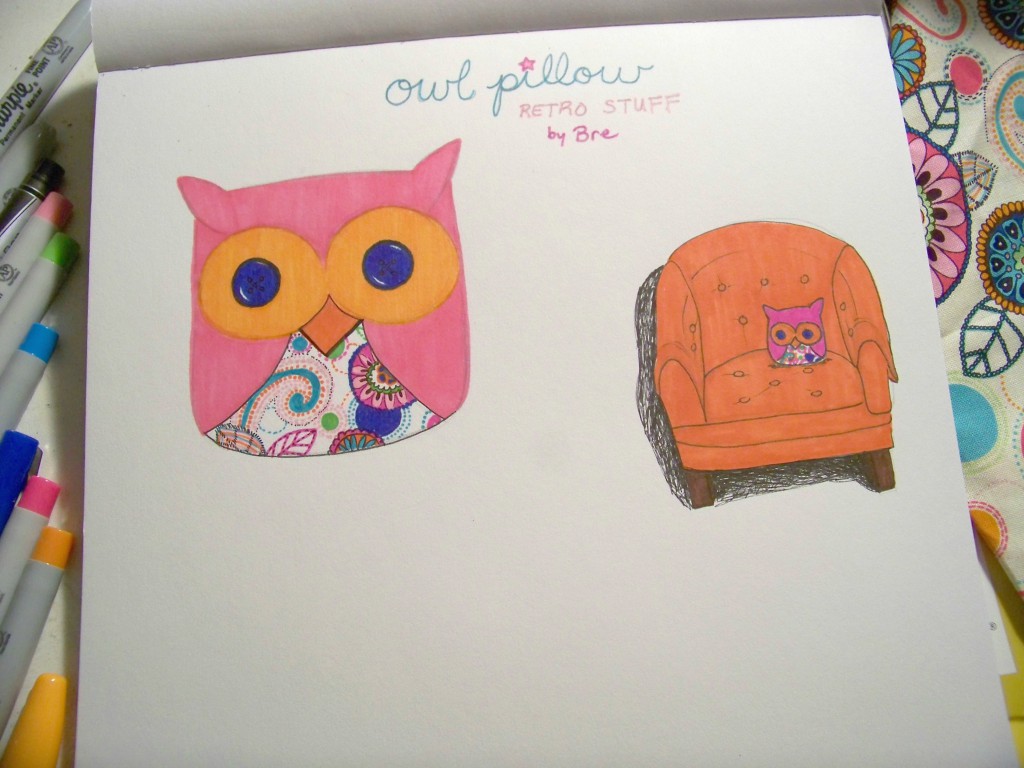
First I planned my owl design on paper, so I could visualize how the end product would turn out. Originally I was going to use orange fabric for the eyes, but later I decided that an orange beak would be better. I would use pink for the eyes instead.
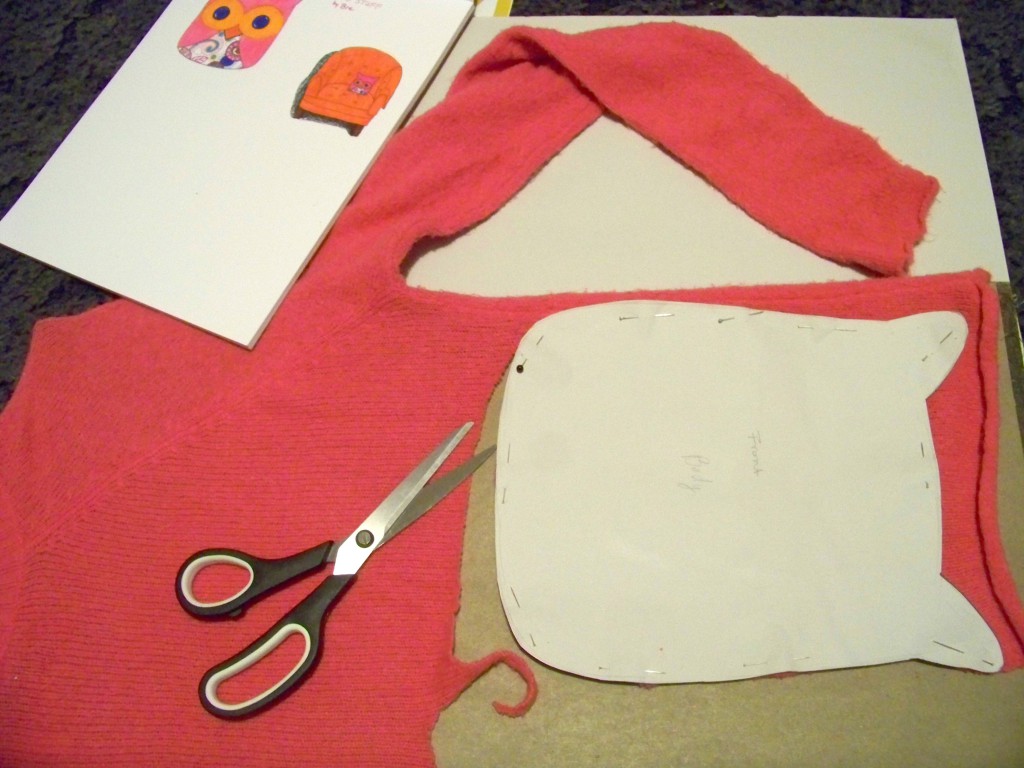
My owl is a simple, basic shape that can be drawn by hand, but I included a pattern to download. The body section of the pattern will need to be used twice — you will end up cutting out two identical pieces of fabric. Take each paper pattern piece and pin it to the corresponding fabric, then cut out around the pattern.
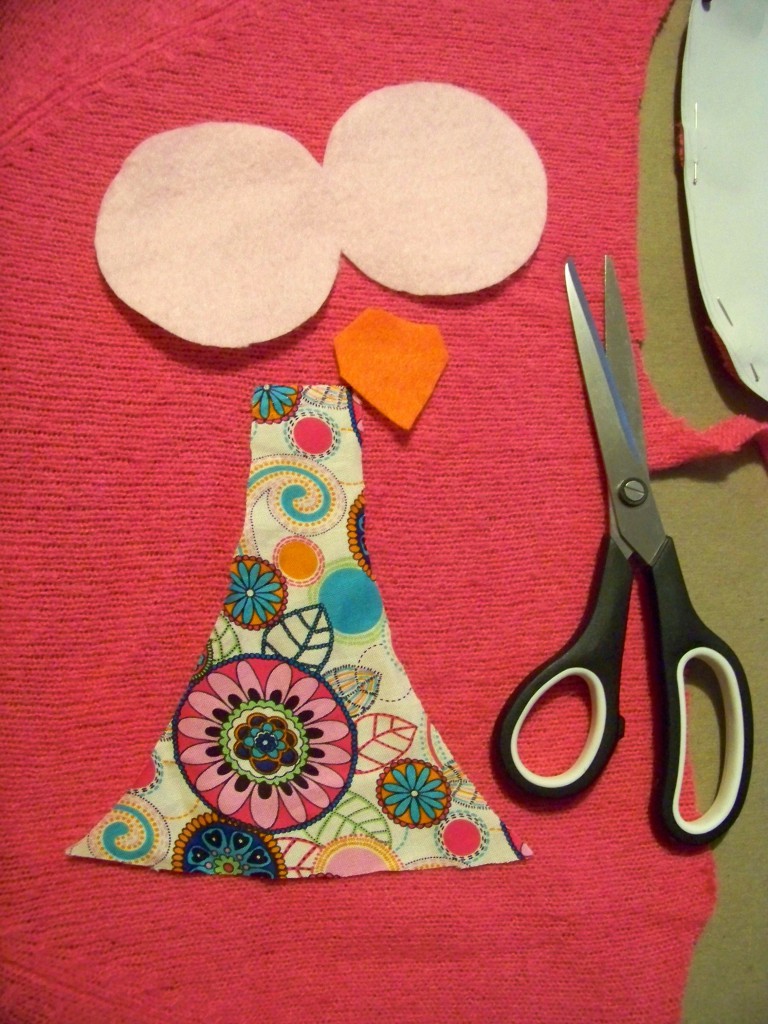
A few pieces after they’ve been cut out.
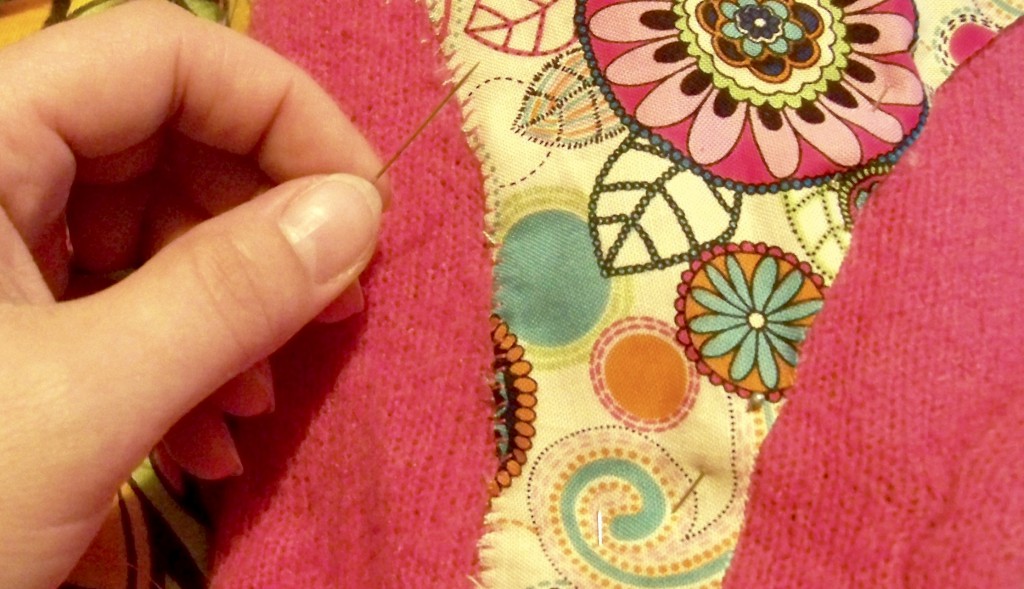
Starting with the front piece of the owl’s body, sew the patterned fabric to your owl’s belly area. I chose to hand-stitch mine for a little extra visual flair. This stitch is called an overcast or hemming stitch. Be careful to space each stitch evenly to help it look uniform. Alternatively, you can simply use a straight stitch, but if you do, make sure to fold under the edge of the floral fabric so that it doesn’t fray over time. If you choose a straight stitch, also add roughly a quarter-inch of fabric all the way around the belly pattern so there will be enough fabric to fold under without altering the original design.
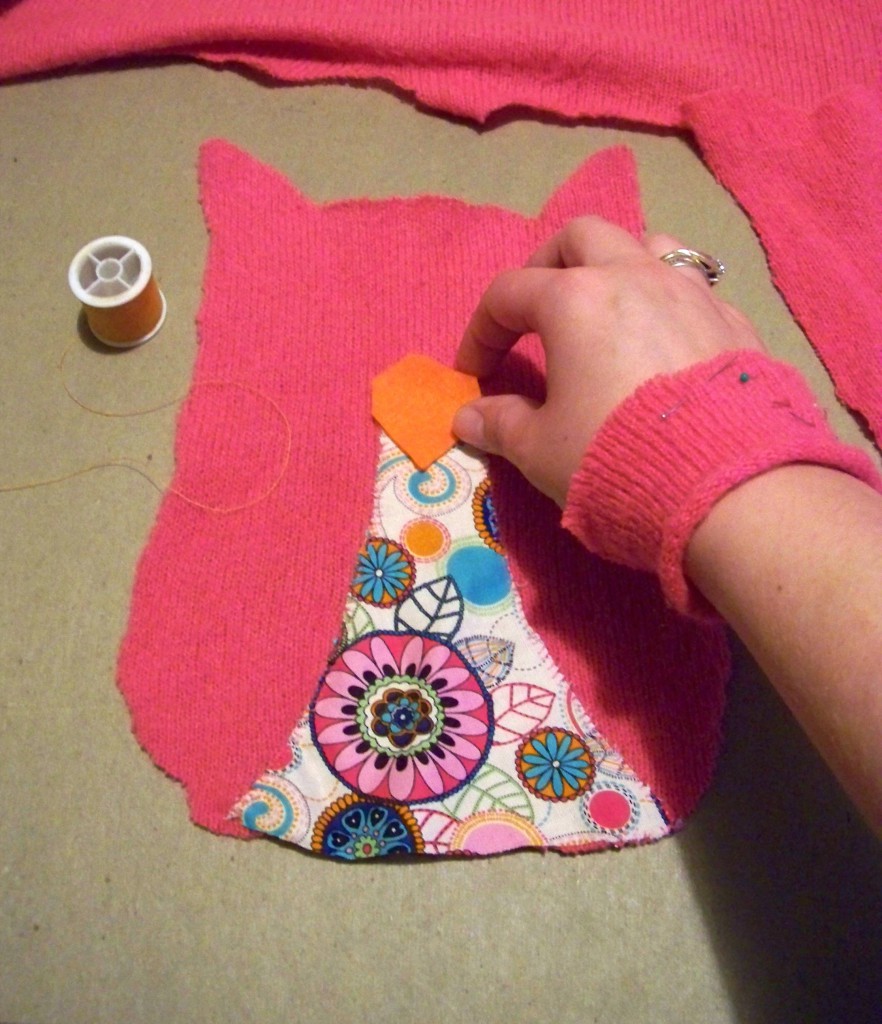
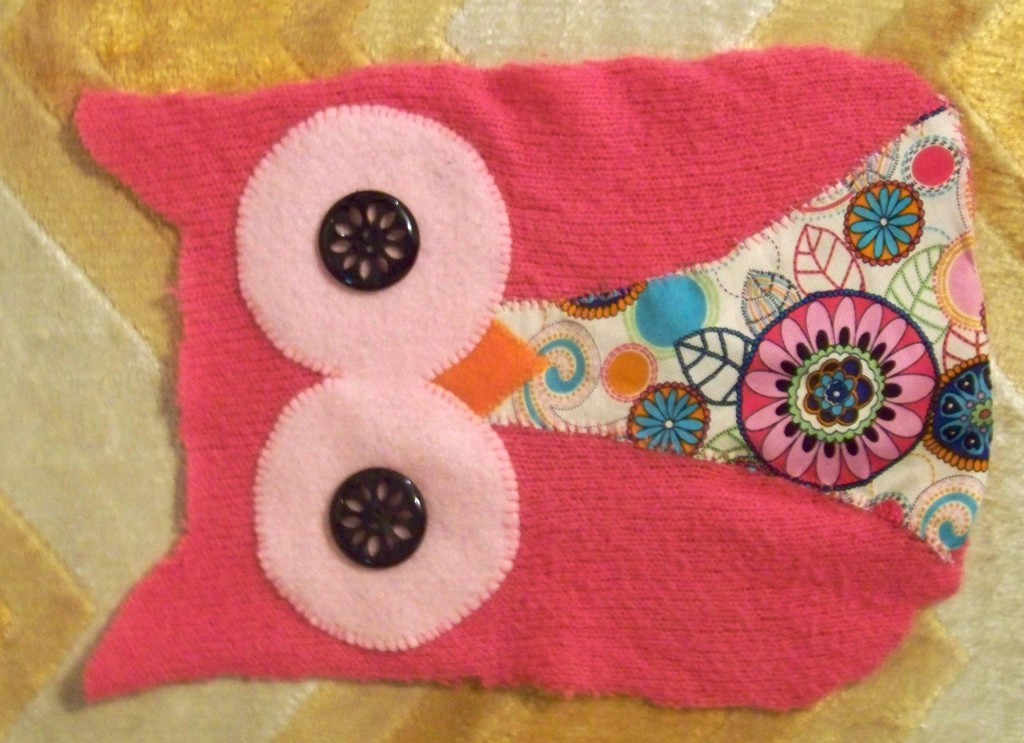
Next, sew the beak on so that it overlaps the floral fabric at the top. Then add the eye piece, overlapping the top of the beak. Finally, attach the button eyes in the center of each side of the felt eye piece.
Take the two pieces that form the owl’s body and face the outside surfaces inward and place one on top of the other, lining up the edges. Pin the two pieces together all the way around. Sew along the edge, leaving a 3″ hole at the base, where you’ll add the stuffing. Gently turn the owl form right-side-out and slowly add clumps of poly-fil into the owl’s body until it is full and feels like a pillow. Lastly, fold each piece of the open hole in and stitch the fabric together using small hidden stitches, closing up the hole.
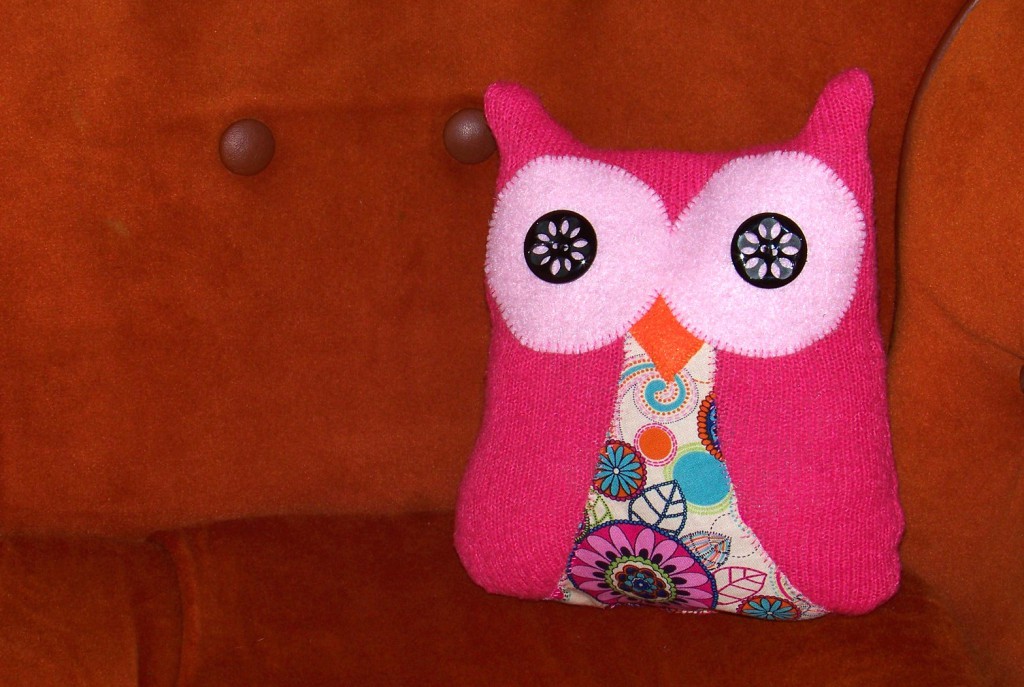
That’s it! I love my little owl plushie so much. And he really looks awesome on my vintage chair!
Sherrie Beil
Amazing website. I’m really impressed with all the Tutorials, photos and Advertisements. You’ve done a great job. Above and beyond what I expected.